What is Modeling?
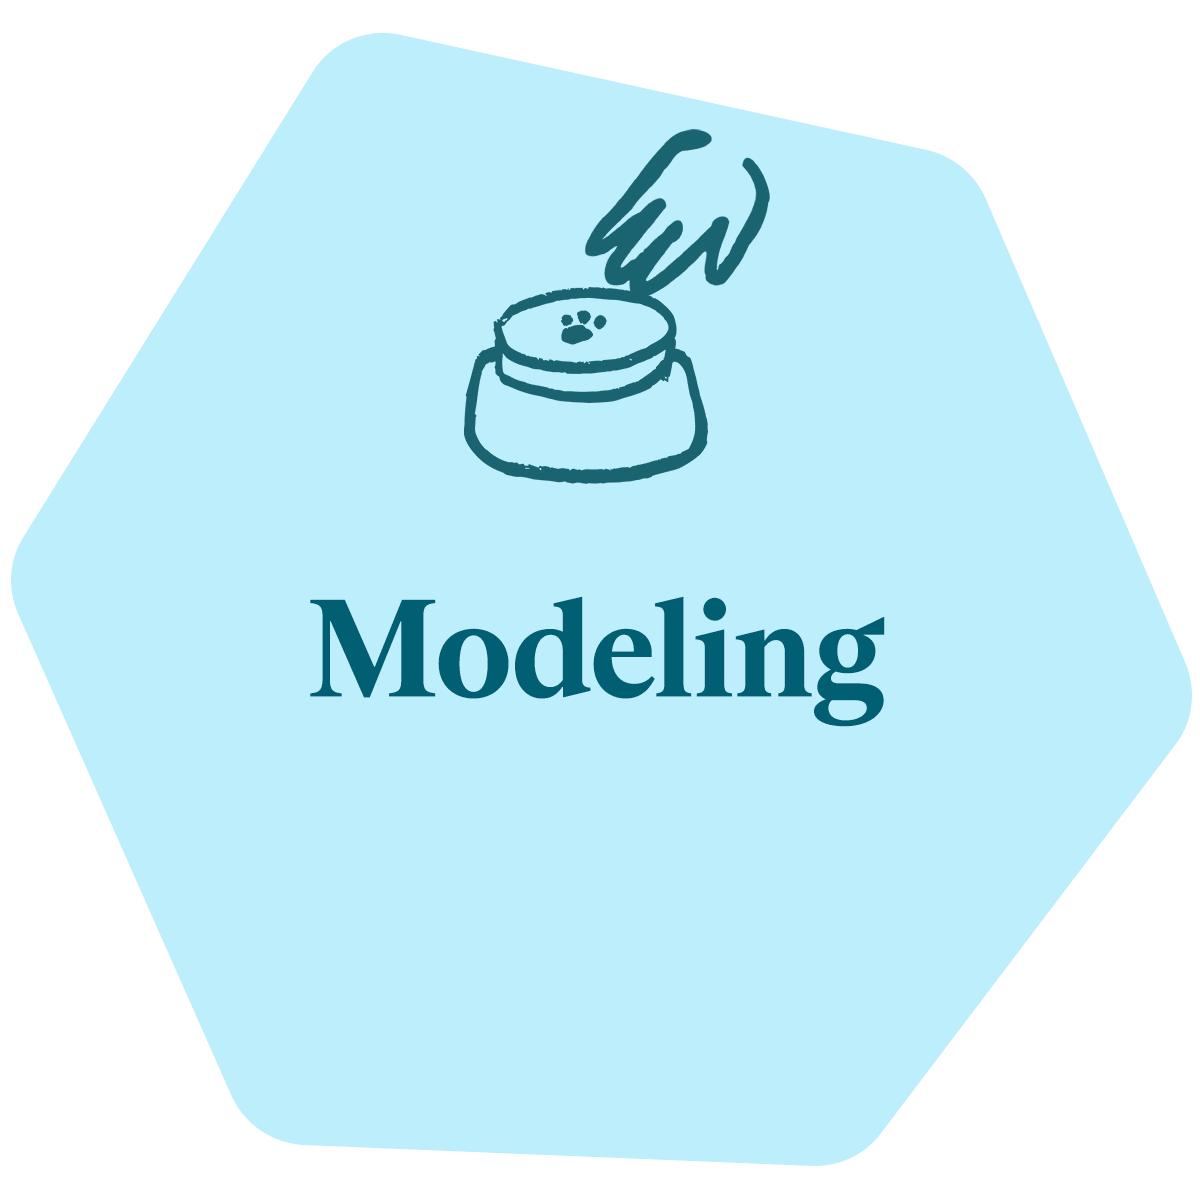
Modeling is the best way to teach new concepts and continue expanding your learner’s knowledge of known concepts. It involves pressing a button, and speaking the word or phrase recorded on that button out loud while demonstrating the meaning of that word. Try to say the word out loud at least 5 times throughout the modeling event.
Modeling can be boiled down to three steps.
- Press the button
- Speak out loud the word recorded on said button
- Show the meaning of said word
To show them the meaning of the word, you need to follow up with the appropriate object, place, or behavior. For the word “OUTSIDE,” demonstrating is as easy as opening the door and letting your dog or cat out. For something like “BALL,” demonstrating means tossing the ball to or for them.
More exposure = More learning
Model as often as you can! The more you use the word and model with the button, the more likely your learner will connect the sound and button to its meaning. Try to say the word out loud at least 5 times throughout the modeling event.
Did you know? Pressing buttons while speaking the corresponding words out loud is known as aided language input. This combination approach is believed to increase learner comprehension and language output.
The more you use their soundboard, the more they will too!
To remember how to model, think “P.R.E.S.S.”

Press the button
Repeatedly &
Enthusiastically
Say the word out loud
Show them what that word means
 |
Modeling for Your Learner
Attention is key. Always begin by trying to draw your learner’s attention to the soundboard. Watching you press will help them make connections with specific buttons and learn their locations.
Pro Tip: position yourself next to your learner facing the soundboard from a similar angle they are when pressing buttons in front of them if you can. This cuts down on the mental gymnastics they have to do while they’re learning button locations.
Ask Don’t Force. If your learner isn’t in the mindset to give you their attention or doesn’t want to approach the soundboard, accept that and never try to force it. Go ahead and model anyway. You’d be surprised how much they absorb what goes on around them even if they don’t appear to be. This only works if they learn it on their own terms.
Be Patient & Persistent. Don’t get discouraged if they aren’t pressing buttons themselves yet, everyone starts with modeling and the first stage of learning any new language is observing and absorbing. Production comes later.
Modeling Tips
- The more you appropriately model concepts in different ways, the stronger your learner’s understanding of that concept’s true meaning will become. For example, you can model “WATER” when running water from the faucet, when setting down their filled water bowl, or when playtime involves water.
- If you can tell what they want or are trying to say with their natural communication, use it as an opportunity to model a related button for them.
- SNACK:
- PLAY:
- SCRITCHES:
- Accidental button presses are excellent learning opportunities. Even if you don’t think they meant to press a button, respond to it as though they did and show them what it means.
- Don’t be surprised if they begin “testing” out new words as they figure out exactly what they mean and how they can be used. Use all of these as modeling opportunities and respond appropriately!
How do I expand their vocabulary through modeling?
Try to model and speak a step up from their current ability level. If they are pressing 1 button at a time, use 2-word phrases. If they use 2 buttons, begin modeling and speaking 3-word combinations, and so on. This helps reinforce their vocabulary and shows them words they can combine.
For example, if they are pressing single buttons, you might say things like:
“WANT OUTSIDE” “YES OUTSIDE” “OUTSIDE NOW” “GO OUTSIDE” “[their name] OUTSIDE”
What’s the best way to model new concepts for my learner?
- I make sure my learner is paying attention or looking at me
- I notice when they want to express something, so I press buttons and model what I think they want
- I give my learner time and space to approach the soundboard
- I position myself next to my learner so that we’re both facing the soundboard
- I pay attention to my learner’s body language
- I’m consistent and model whenever we encounter their button word
Try to practice all of the above behaviors when modeling. When your learner watches you press, it helps them make connections and learn the locations of specific buttons.
What are fun ways to model concepts with my learner?
Modeling games! Try out the following water and play focused modeling games with your learner.
WATER Modeling Games
To help you think about creative ways to model concepts in a fun and diverse manner, try these WATER modeling games with your learner. WATER can be modeled every time you fill their water bowl as you normally would, but it can be modeled in a lot of other ways too!
These games can be played throughout the day as you model WATER or any time your learner presses the WATER button on their own. These games can be played separately or combined within the same modeling session.
Be sure to keep this a fun and positive experience! Be creative about other ways to model but don’t splash water in their face or flick it on them since they probably won’t appreciate it. And filling a tub with water might not be the most positive modeling scenario unless your learner genuinely adores baths.
Printable instructions for WATER Modeling Games
Educational Waterfall
You will need:
Button concept: WATER
- a large water bowl
- 3 cup-like containers that can hold/pour water and are safe for your learner to drink from
(optional) towel, placemat, or water-absorbent rug
Set-up:
- Make sure your water bowl isn’t completely full, you may want to dump it out for this activity- don’t worry, we’ll be filling it up again!
- Move their water bowl into the same room as the soundboard if it’s in a different room
- The buttons are drool resistant, but not waterproof, so don’t place the water bowl too close to the soundboard
- Consider placing a towel or absorbent mat underneath the bowl for this activity to protect your floor from splashing
Fill each container with water.
How to Play:
- Draw your learner’s attention to the soundboard. Press the WATER button and pour some water into their bowl from one of the containers while repeating “water” out loud as you do in every modeling scenario.
o If they want to drink from the stream as you pour, that’s great! The more engaged they are the better.
o Tip: If they're having fun with this, you can mix it up to keep them guessing. Pour a little, then stop. Pour a little more, then stop again. You can also vary the height you pour from. See if there’s a pattern they like!
- After pouring half of the container in this manner, give them a moment to think about it and process the modeling event before moving on. They may even go press the button on their own to keep the game going!
- If they don’t engage with the soundboard on their own after about 30-45 seconds, you can go back to the soundboard with them to press WATER in front of them before resuming your game at the water bowl.
Focus on repetition & engagement. Keeping your learner’s attention and button press repetition is key here. The more times you return to the soundboard to press WATER while keeping them engaged the better. And remember to clearly say “water” out loud intermittently throughout.
My Cup, Your Cup
You will need:
Button concept: WATER
- 2-3 cup or bowl-like containers that can hold water and are safe for your learner to drink from
- Try containers of different sizes and shapes for an added element of novelty to keep this activity interesting for your learner
- a cup you’re comfortable drinking out of
- (optional) ice cubes might be a nice touch if your learner is particularly fond of cold water
Set-up:
- Fill the cups/containers with water and set them on a surface in the same room as the soundboard
How to Play:
- Approach the soundboard with your learner and press WATER in front of them. Say “water,” then take a sip from your cup.
- Press the WATER button again. Repeat “water” out loud in a pleasant voice and hold out one of the containers to offer them water from it. Let them drink out of it as you hold it if they will (some learners might be more comfortable with it set on the ground).
Pro Tip: You may have to say “okay” to reassure them they are allowed to drink from this novel container. Don’t force them if they don’t want to, that’s totally fine! It’s about offering it to them as a modeling event.
- Press WATER, say “water,” take a sip of your cup and offer them their cup again. Remember to repeat “water” out loud when you offer it to them.
- Repeat as desired
PLAY TUG or BALL Modeling Games
One of the easiest ways to introduce 2-word combos to your learner is through play. Yay, for fun learning! There are many different games or toys that can be combined with PLAY. This game focuses on the concepts of BALL and TUG but feel free to branch off with your own versions that best suit your learner.
Cat Considerations: Feline learners may prefer games that involve concepts like TEASER or FLIRT POLE which make great variations of this game for dogs too!
As your learner gets more advanced, thinking about the true meaning of each concept will help you model more consistently. For this game, let’s say PLAY TUG means playing tug of war with a specific toy that can withstand a solid game of tug (rope toys are great). And PLAY BALL is going to mean the game of fetch with a ball toy. If your learner already knows these concepts, great! If they don’t, this is still a great way to introduce them, just expect you’ll be in the modeling stage longer.
Printable instructions for PLAY TUG or BALL Modeling Games
You will need:
Button concepts: PLAY, BALL, TUG (or TEASER)
- ball toy
- tug toy or teaser toy (review toy selection tips in Types of Motivators)
- somewhere you can set the toys out of your learner’s reach
- a safe space to play in the same room as your soundboard
- Safety First: hardwood floors can be difficult for learners to grip and aren’t the safest surface to have them running on. Know your learner and ensure they won’t get carried away and accidentally hurt themselves in their exuberance.
Beginner Version
Part A for dogs: Start by modeling PLAY TUG
- Draw your learner’s attention to the soundboard.
- Press PLAY, say “play,” press TUG, and say “tug.” Then say “play tug” together again.
- Repeat the key phrase “play tug” at least 5 times throughout.
- Offer your learner one end of the tug toy and entice them to grab it. When they do, let them pull!
- When you’re done, place the tug toy out of your learner’s reach (ideally where your learner can still see it).
Pro Tip: It’s important to let them “win” these games of tug. They’ll be more eager to bring it back to you and keep playing that way. You shouldn’t be pulling so hard that you rip it out of their mouths. The goal is to provide just enough pressure and resistance that they're enjoying themselves. Also, never pull your learner straight up where their front legs leave the ground- it’s not good for their body!
Did you know? A good, hard 15-20 second game of tug releases chemicals in a dog’s brain that can aid learning.
Part A for cats: Start by modeling PLAY TEASER.
- Draw your learner’s attention to the soundboard.
- Press PLAY, say “play,” press TEASER, and say “teaser.” Then say “play teaser” together again.
- Repeat the key phrase “play teaser” at least 5 times throughout.
5. When you’re done, place the teaser toy out of your learner’s reach (ideally where your learner can still see it).
Pro Tip: It’s important to let them “catch” the teaser toy sometimes. They’ll be more eager to engage with you and keep playing that way. You shouldn’t be moving it so fast that they never get to touch or grab it. The goal is to provide just enough chase that they are enjoying themselves.
Part B: Next, model PLAY BALL.
- Return to the soundboard and call your learner’s attention to it.
- Press PLAY, say “play,” press BALL, say “ball.” Then say “play ball” out loud again.
- Grab the ball for your learner and toss it somewhere they can safely chase it.
- When they bring it back, praise them and place the ball where the tug toy is sitting.
Part C: Model another round of PLAY TUG (or TEASER) and then model PLAY BALL for them again. Repeat this cycle a couple more times and then pause after you’ve placed both toys in their place out of reach.
Watch what your learner does. Try to wait a whole minute to see if they’ll interact with the soundboard. While you wait you can try giving them hints or reminders such as:
- Stand with your body facing the soundboard while looking directly at it.
- Look at your learner, catch their gaze if you can, then look back and gesture at the soundboard.
- Throw a “what want?” or a similar phrase in there if they know what that means.
Do they still want to play? If so, and you’ve waited the whole minute, return to the soundboard with your learner and try pointing to or tapping around the buttons to encourage them to interact with them. Remember to give them a good 20-30 seconds to think before moving on and choosing whether to model PLAY TUG/TEASER or PLAY BALL for them.
This exercise is meant to be fun first and educational second. It’s important to give them a chance to interact with the buttons on their own but you don’t want to be too hard on them by requiring them to interact for the game to continue. Keep it positive and keep the fun going if you can tell they still want to play. With that in mind, it’s always best to end on a good note so if you get to a point where you think that’s enough repetitions for this session, wrap it up and be ALL DONE.
Advanced Learner-Led Version:
Advanced learners who are already pressing buttons on their own can play the learner-driven version of this game. Model PLAY TUG/TEASER and PLAY BALL for them at least once each to start with a refresher. Then, ask them what they want to play!
Advanced Rules for Dogs:
- If they press PLAY, play with them without a toy. For more experienced learners you can also ask “play what?” to see if they want to pick a game.
- If they press TUG, offer them the tug toy to enjoy on their own.
- If they keep trying to put the toy in your hand, return to the soundboard to press PLAY TUG so you can model playing tug for them.
- If they press BALL, offer them the ball toy to enjoy on their own.
- If they keep trying to put the ball in your hand, return to the soundboard to press PLAY BALL so you can model throwing the ball for them.
- If they press PLAY TUG, then play tug!
- If they press PLAY BALL, then throw the ball!
- If they press TUG BALL or PLAY TUG BALL, ask “which one?” “what want?” or “play what?”
- If they become frustrated or confused and don’t follow up with any presses, pick one to model for them.
Advanced Rules for Cats:
- If they press PLAY, play with them with the last toy they used. For more experienced learners you can also ask “play what?” to see if they want to pick a game.
- If they press TEASER, offer them the teaser toy to enjoy on their own.
- If they sit by the wand toy and stare at you accusingly, return to the soundboard to press PLAY TEASER so you can model playing wand for them.
- If they press BALL, offer them the ball toy to enjoy on their own.
- If they sit by the ball and stare at you accusingly, or bat it under a surface before turning to you for help, return to the soundboard to press PLAY BALL so you can model throwing the ball for them.
- If they press PLAY TEASER, then play with the teaser toy!
- If they press PLAY BALL, then throw the ball!
- If they press TEASER BALL or PLAY TEASER BALL, ask “which one?” “what want?” or “play what?”
- If they become frustrated or confused and don’t follow up with any presses, pick one to model for them.
If you have questions or feedback regarding this content, please email us at learning@fluent.pet





Leave a comment
This site is protected by hCaptcha and the hCaptcha Privacy Policy and Terms of Service apply.