Introduction
Introduction to button communication
If you’ve ever wondered what your dog or cat was thinking, they might be wondering the same right back at you.
Button communication, a form of assistive language technology, can give your companion a voice and a way for them to understand you better too.
Button communication opens up new avenues of conversation and empathy, whether your learner wants to alert you to their needs or simply show you their love. From dogs and cats to birds and horses, we have many animals learning to talk to us on this unusual but rewarding journey.
For over a year now, we’ve worked on developing this curriculum at FluentPet. Having sold over 40,000 kits, we’ve directly engaged with thousands of successful learners. With more than 18,000 members on our FluentPet Community forum and with insight from over 3,000 progress reports submitted bi-weekly by research participants, we have a trove of information that we’d love to share with you.
Our work with the the How.TheyCanTalk Research team and the FluentPet Community has helped us distill their knowledge into one official how-to guide. With their best advice, we’ve made the learning process as easy as possible for you.
So what is button communication?
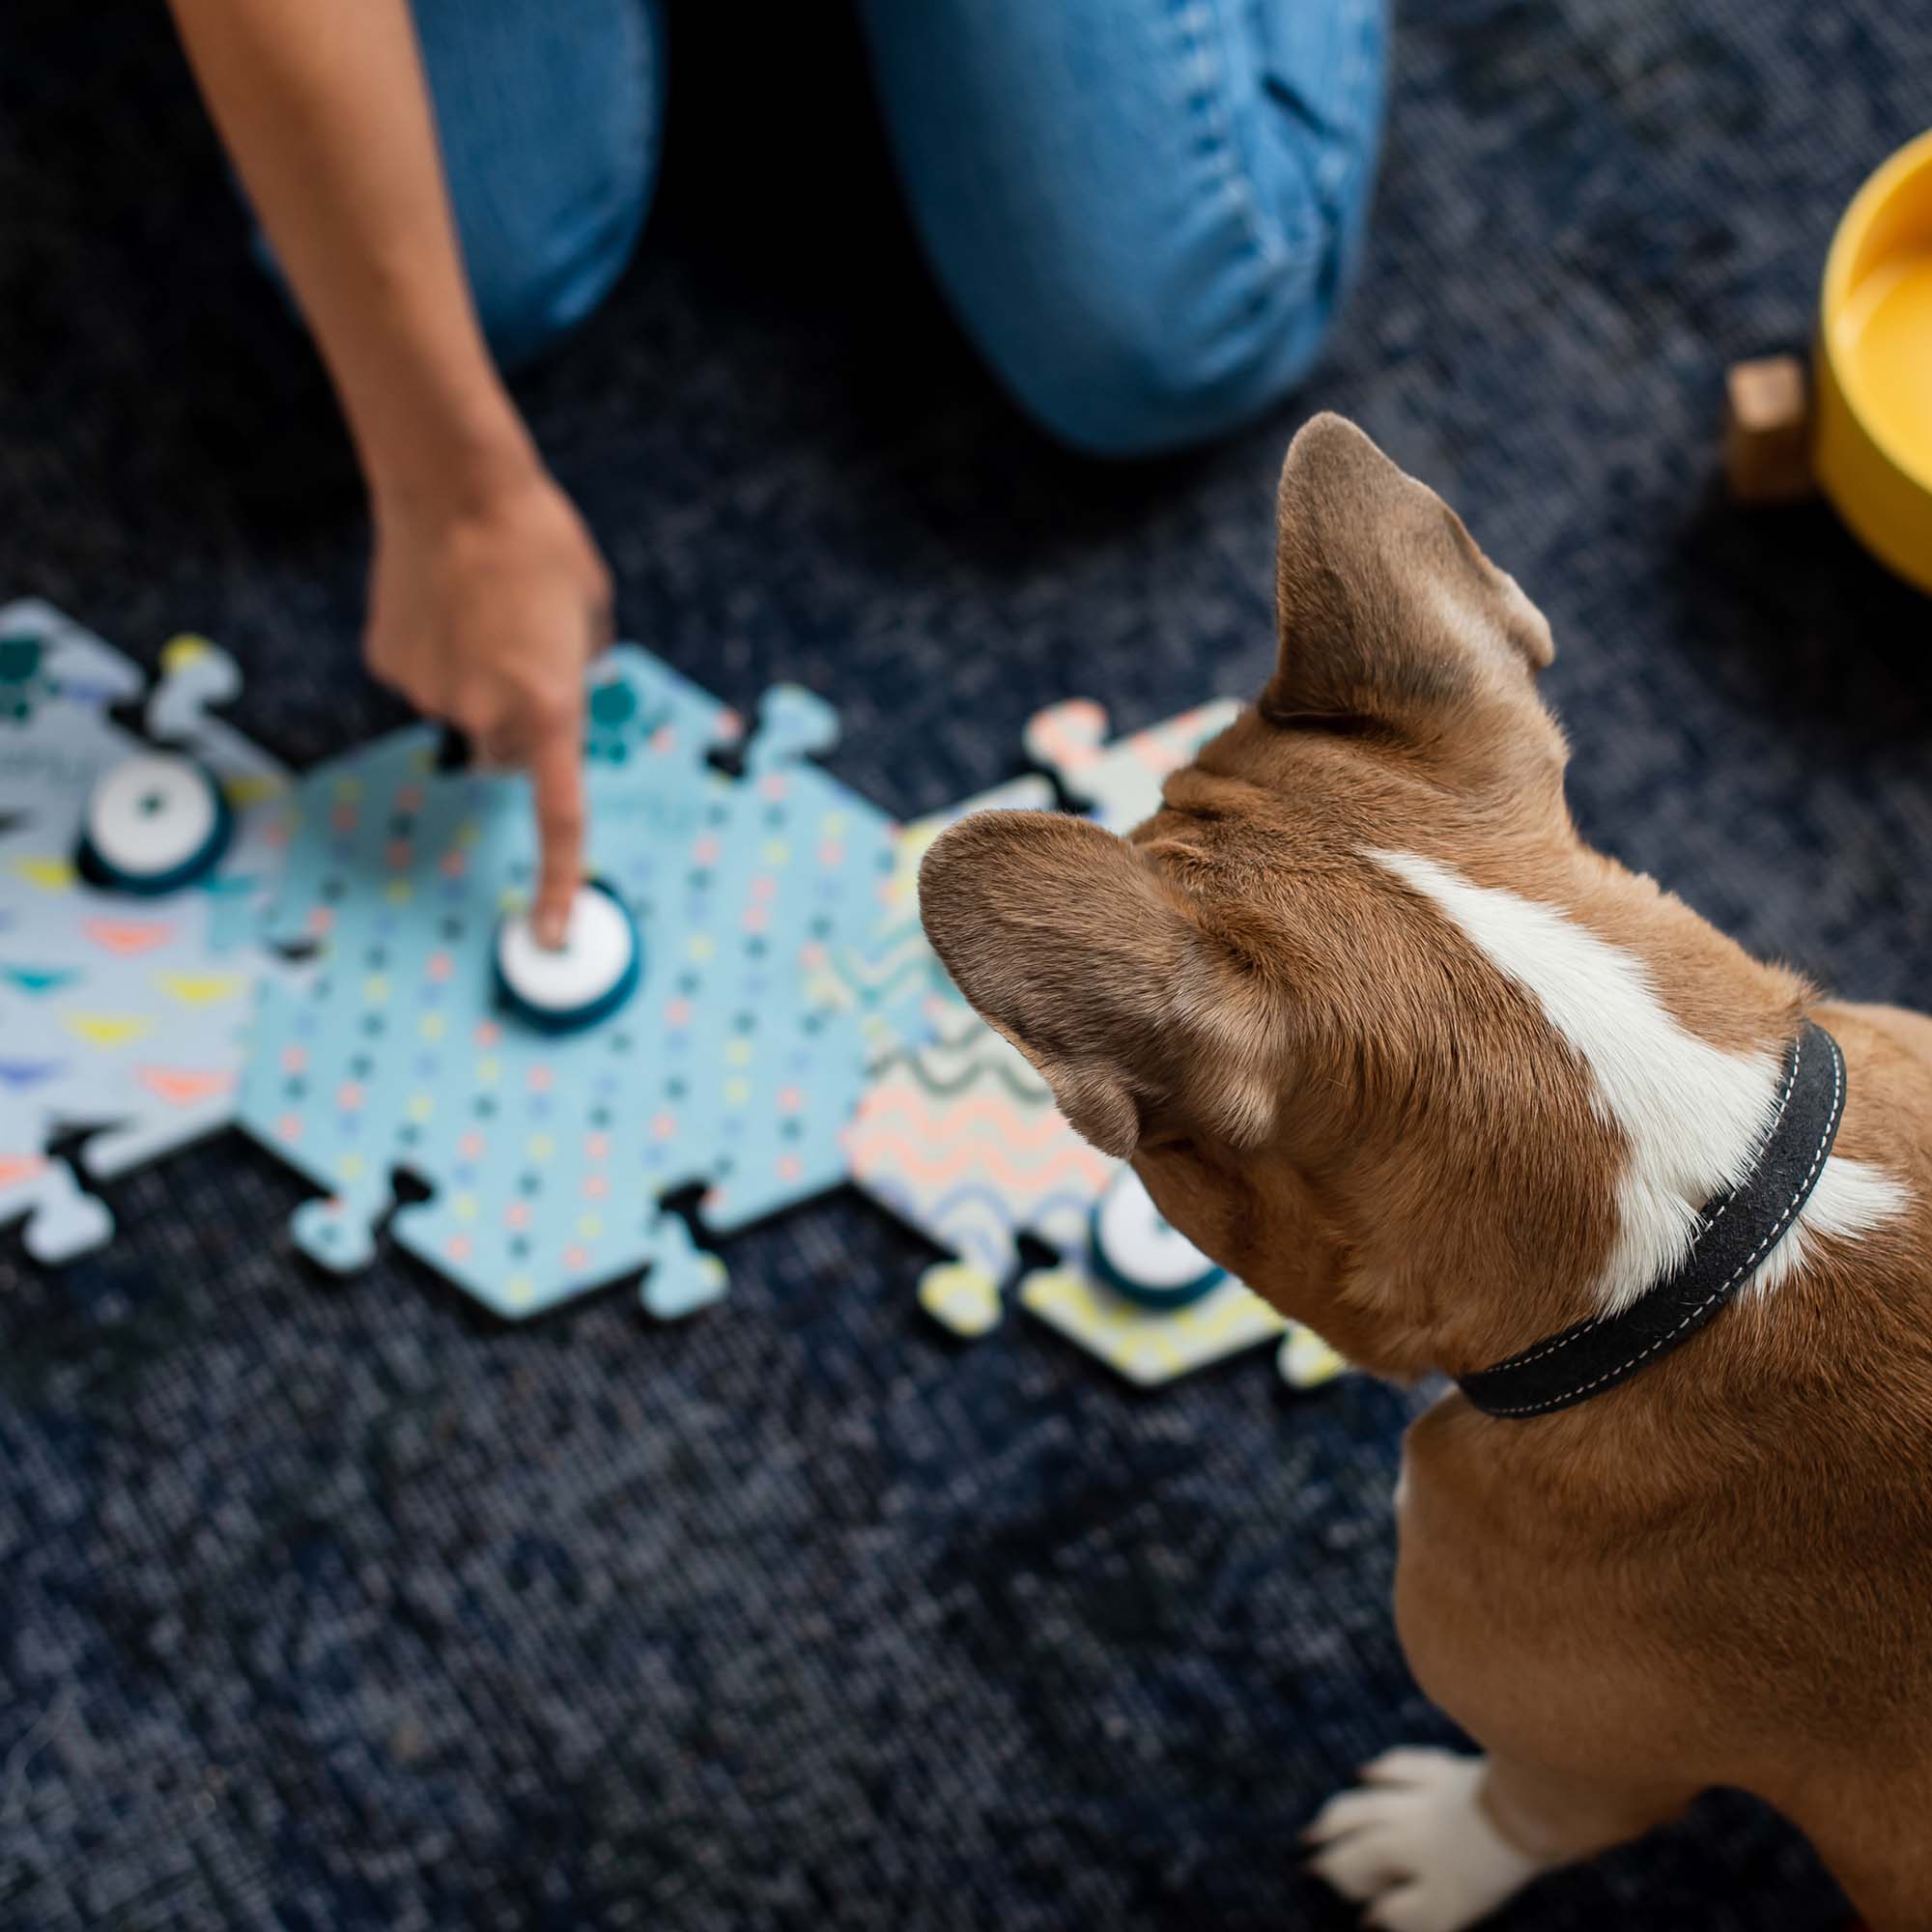
Through pressing buttons of pre-programmed speech sounds or words, animal learners can share their requests, thoughts, and feelings. With time and patience, learners have been incredibly successful. Some have not only been able to communicate needs and wants, but also seem to relay more abstract concepts such as feelings or time.
But can I teach them to talk?
Yes! Remember that believing in your learner’s potential is the first step. Our curriculum will guide you through the rest. While the idea may sound daunting, anyone and any learner is capable (though our fish friends might have a harder time).
STAGE 1
Preparing your learner
Even before you get your buttons, you can start with the following.

Step 1: Get to know your learner
You’re probably already familiar with your learner’s quirks. Maybe they expect—or demand—walks after dinner by waiting at the door, or they wake you up at 5 AM for sleepy cuddles.
Maybe you know that saying BALL will get your learner overexcited, so you’ve started spelling B-A-L-L out loud instead. They probably recognize more words than you realize!
Armed with this knowledge:
- Pay attention to the words or phrases that are frequently used and highly motivating to your learner.
- Jot down the words you notice yourself using often so you can refer to them later.
- Honor your learner’s current communicative behavior. If you notice your learner trying to tell you something through whining, pawing, sitting, or looking at you, try responding to them! You don’t have to give in to their requests for treats, but they’re trying to get your attention, so get in the habit of acknowledging and honoring their “language.” This builds mutual trust and good communication habits.
Step 2: Talk to your learner throughout the day
Why do we do this? Our learners are like babies before the babbling stage. They’re absorbing everything in their environment and making connections between sounds and experiences all the time.
Be consistent.
- Speak often to your learner simply, clearly, and enthusiastically.
- Be consistent with word choice.
- Engage your learner! For example: “Do you want to PLAY? Let’s go PLAY. We PLAY? Yes, PLAY.”
Guide Tip: Speaking to Your Learner. Here, Joelle Andres (Bastian’s Mom) shows us the best ways to talk to our learner and why it’s best to keep things simple and clear when using language to interact and respond to our animals. @bastianandbrews
Be responsive.
Follow up with the object, action, or event word in a timely manner. If you say “Let’s go OUTSIDE,” try to not let too much time pass before you head out the door. This helps your learner associate the word with a specific object or event.
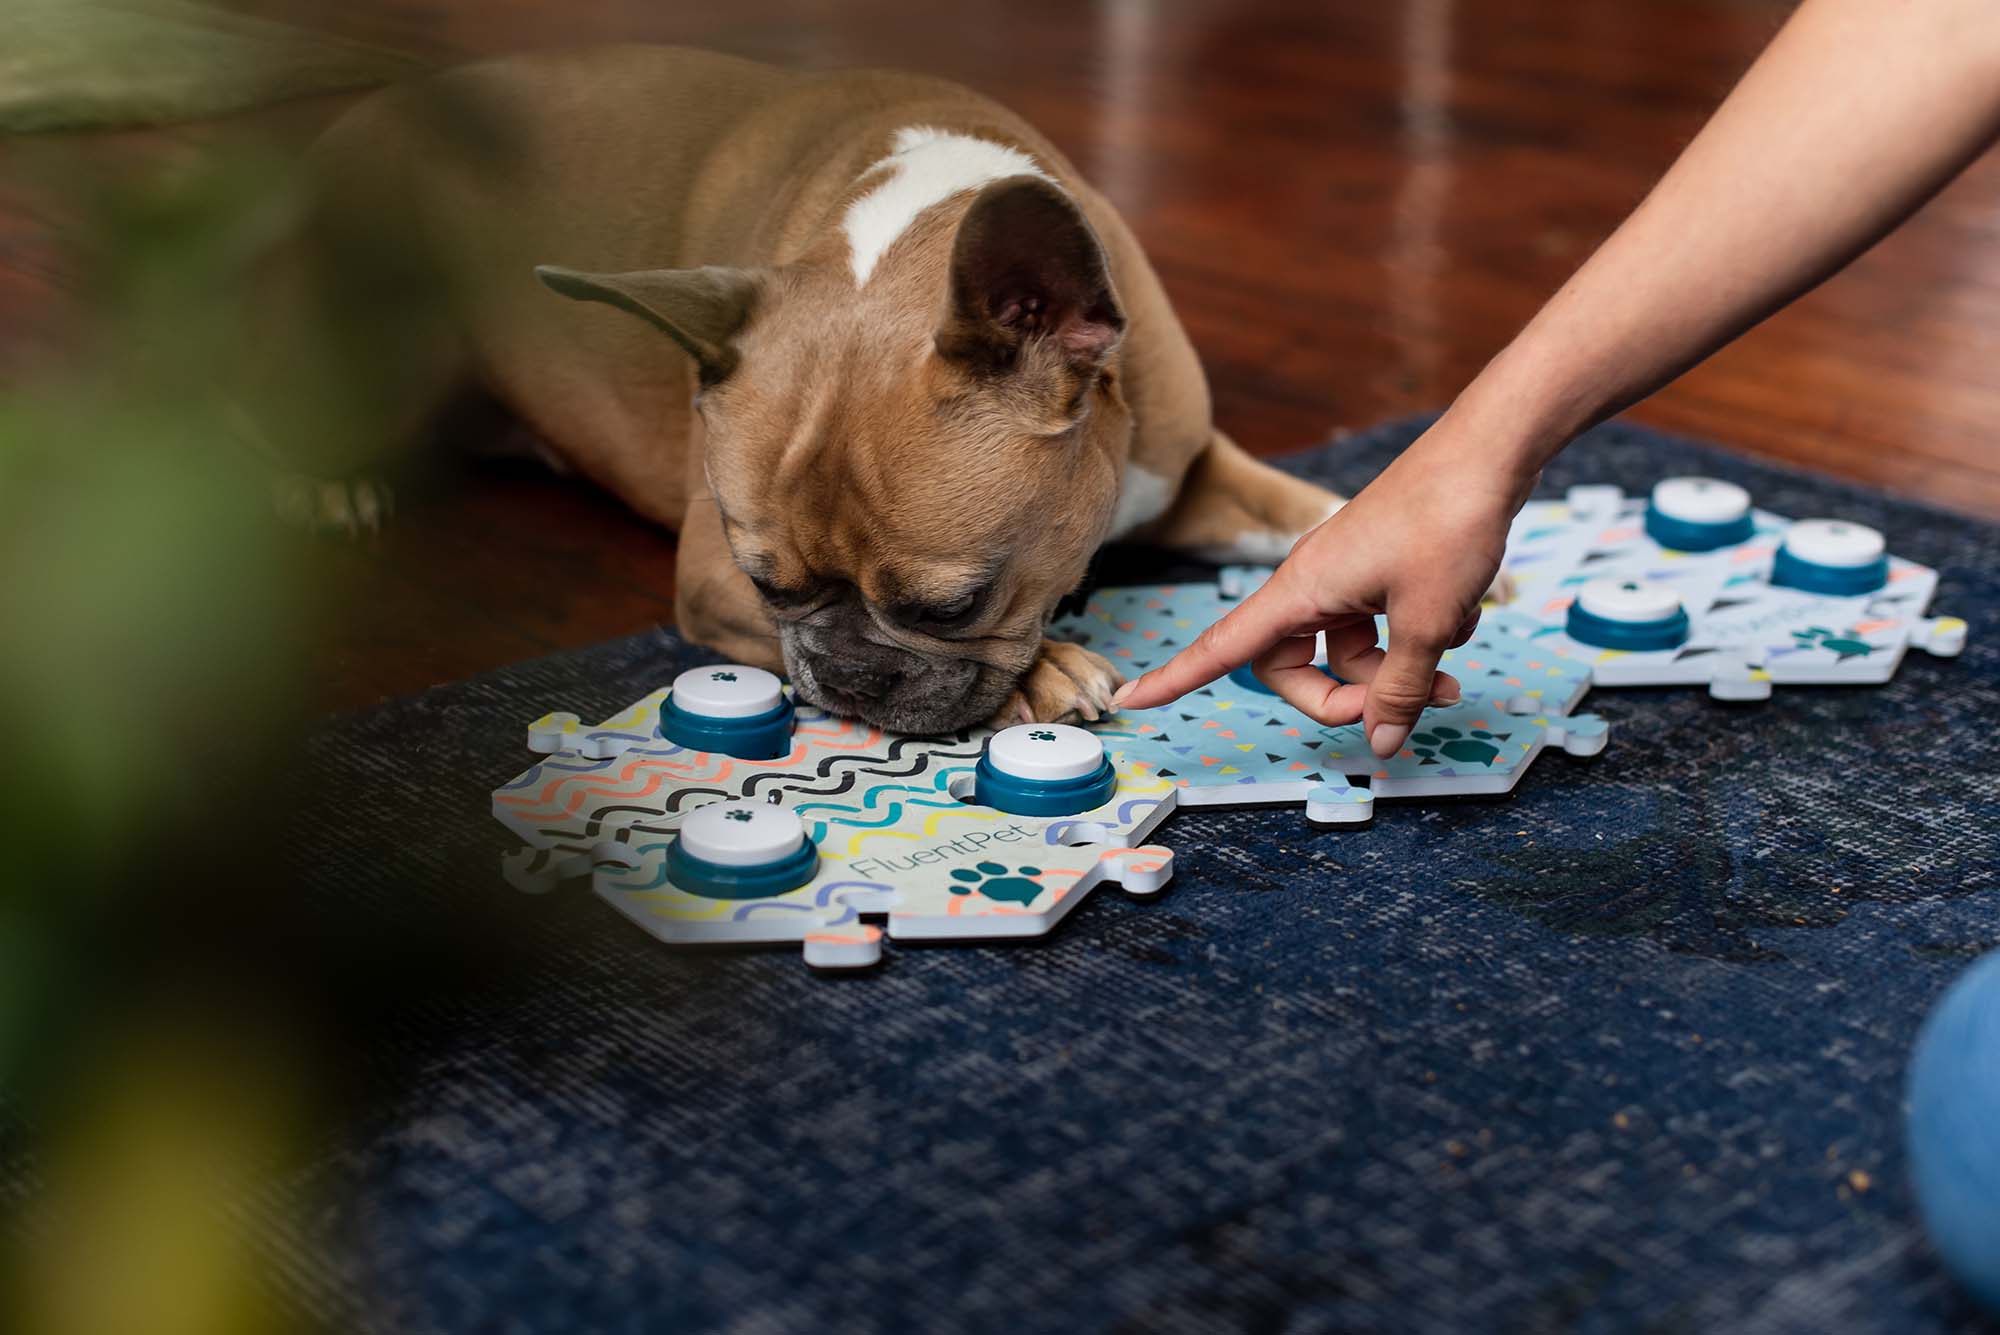
We recommend target training for learners who struggle with precision or are reluctant to interact with buttons.
Step 3: Target training
We recommend target training for learners who struggle with precision or who are reluctant to interact with buttons.
What is target training?
Target training is teaching your learner to touch a predetermined object. It can be helpful in teaching your learner that the buttons are important to pay attention to.
How can I start target training?
In target training, you reward the activation of the food-related button with a food reward. Starting out, you may be the one to press the button, but over time, as your learner gains more confidence and skill, they will be doing most of the pressing.
Since your starting buttons should all be for things that you can reinforce instantly and repeatedly, you can use any of them for target training, but you may have the most success using your food-related button.
To get started with target training, check out this tutorial video here.
Target training is a great way to develop learner skill and confidence.
Is your learner having trouble with target training?
We’ve compiled some helpful tips and suggestions that can ease the process.
Tip 1: Learner Uninterested? Try Rewarding for Noticing the Target.
If your learner has no interest, first start by rewarding them for looking at the target. Reward quickly when you see it. When they’ve started looking at the target regularly, reward moving closer to the target. Then, reward for even putting their nose/paw near the target. Finally, you can reward for actually touching—and then pushing—the target.
Tip 2: Motivating Your Learner With What They Love
If regular treats aren’t doing the trick, try some other exciting and interesting (but safe) foods. For example, small pieces of string cheese or blueberries.
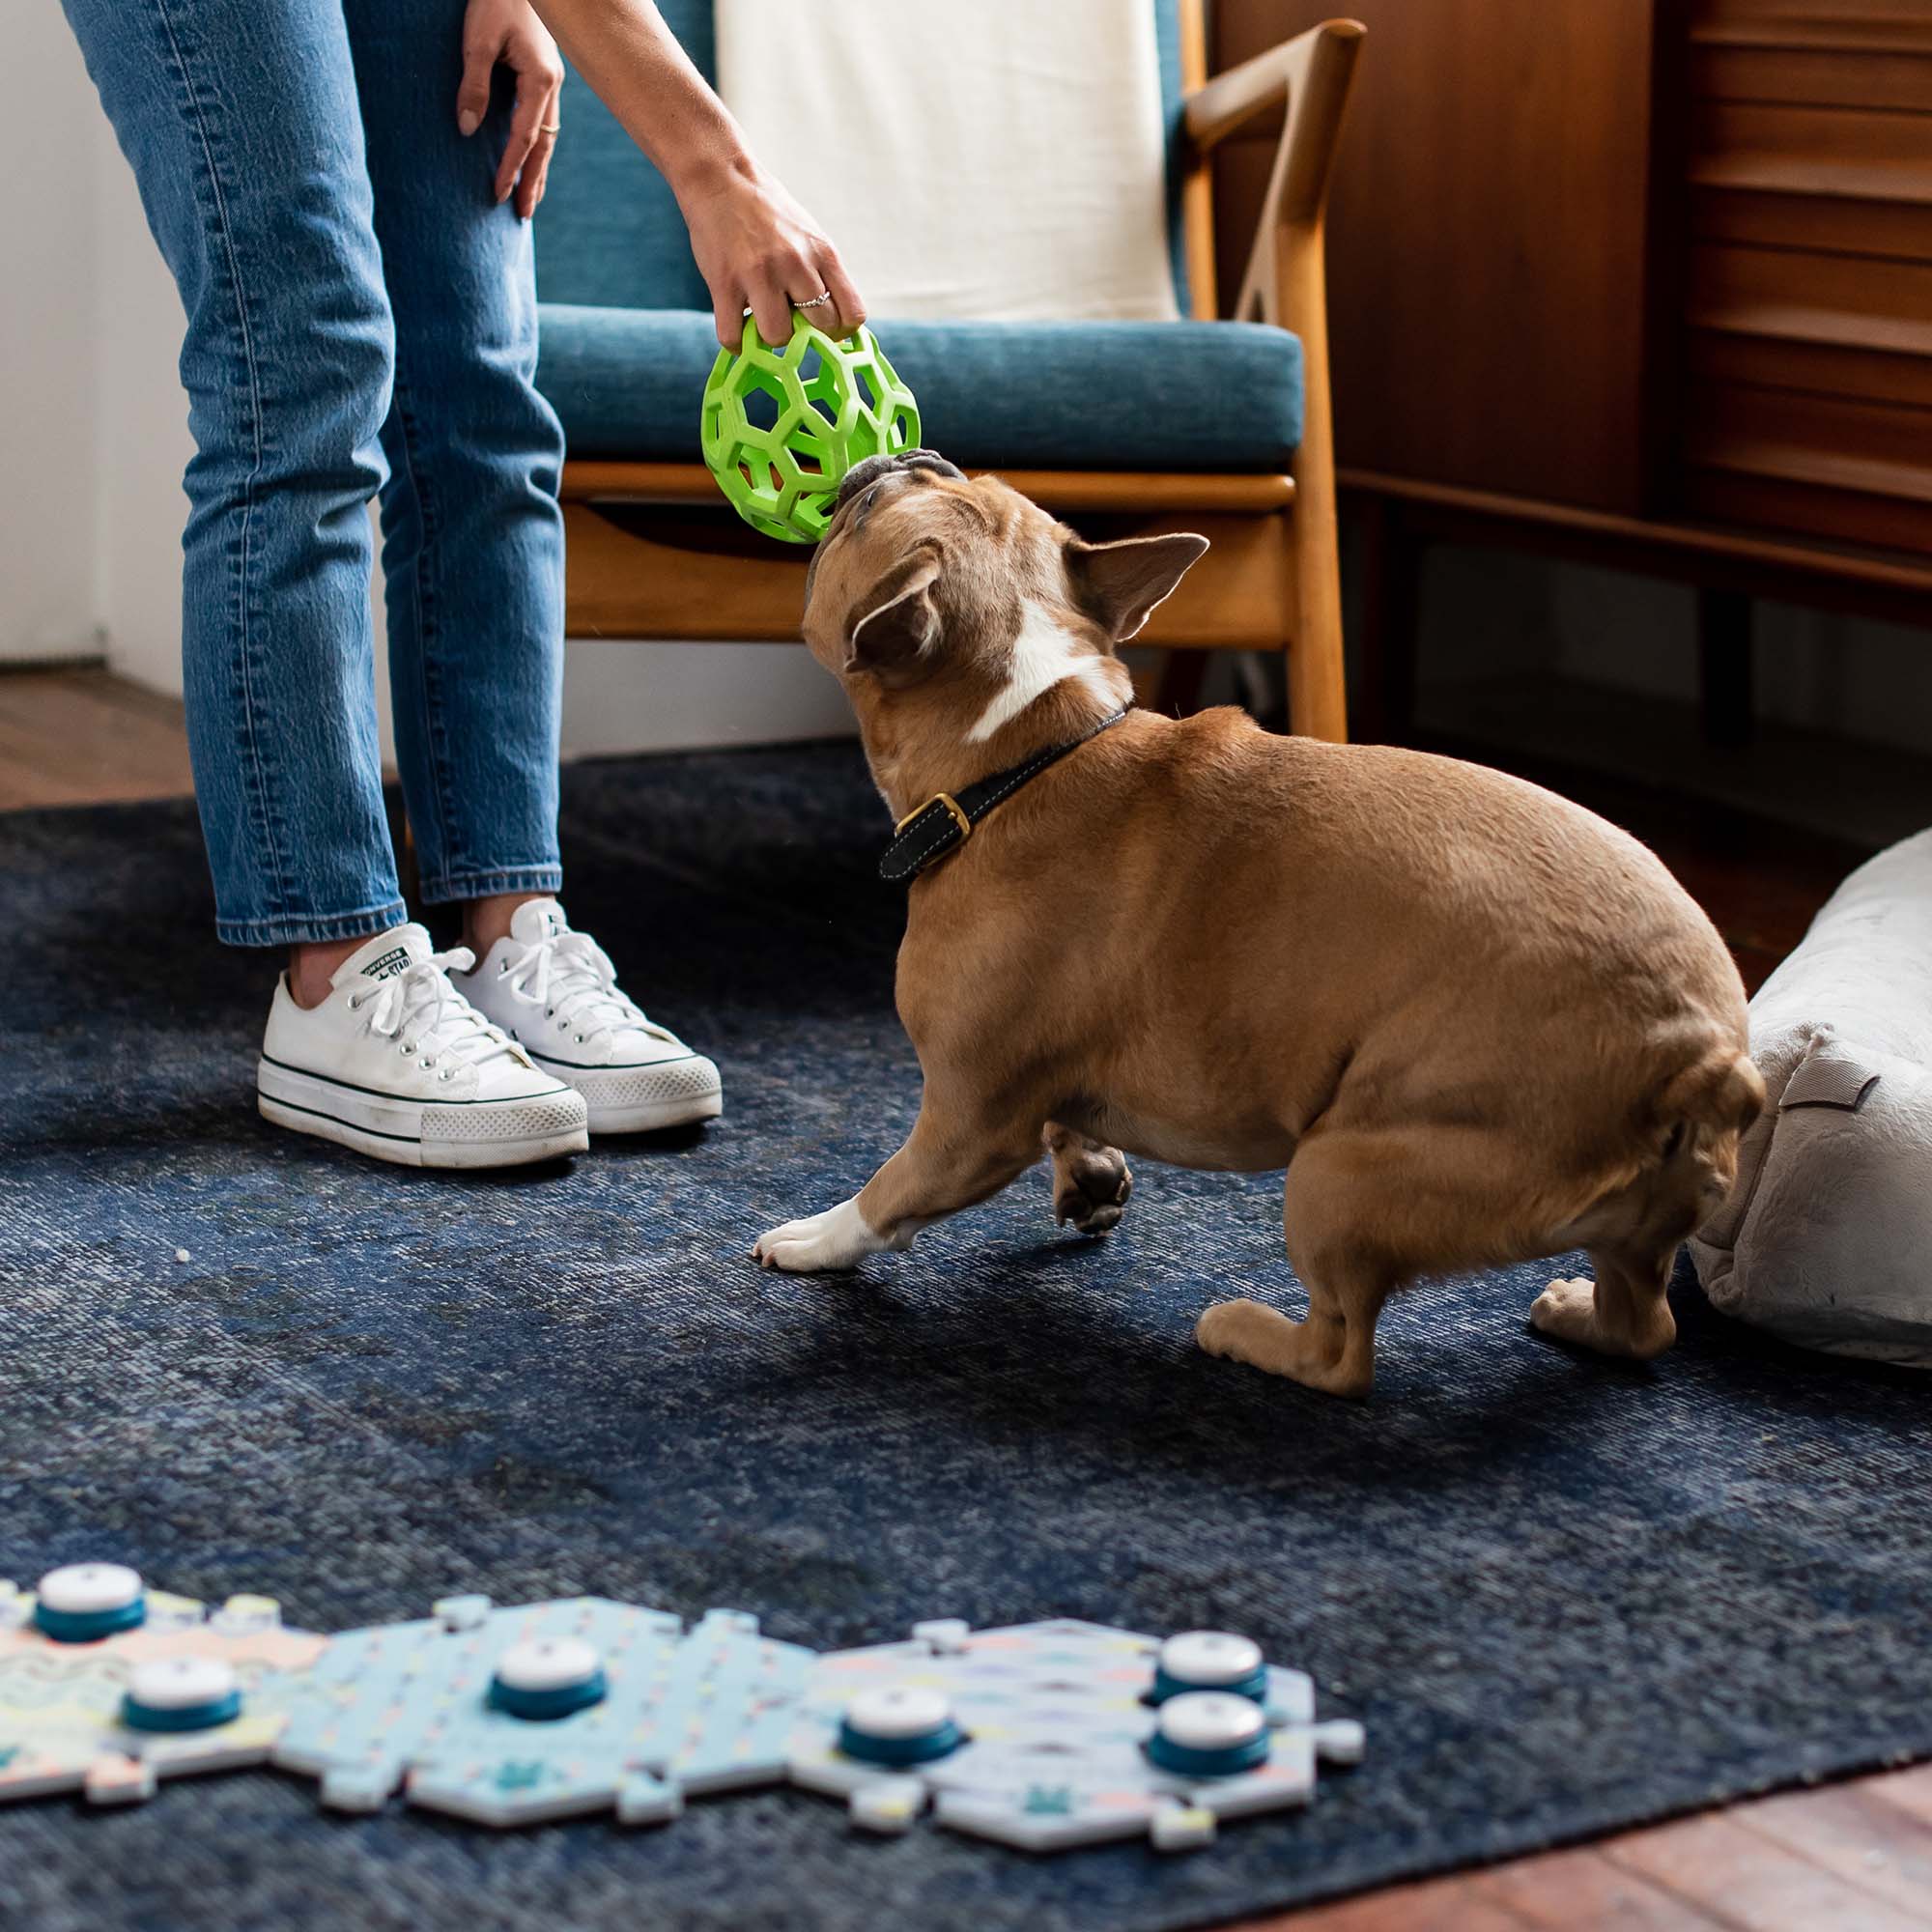
Some learners just aren’t interested in food, though. For those learners, try to find something else they love like playing with a ball, playing tug, or belly rubs. You can reward appropriate presses by immediately playing tug for a few seconds—or whatever else your learner loves.
Tip 3: Always End on a Success
If you’re going slow and your learner jumps ahead a step or three, go ahead and reward that heavily (with a bunch of treats) and end the training session there. You can always train more later, but you want to end on a success.
FluentPet Button Kits
STAGE 2
Your buttons are here! Now what?
It's time to set up your buttons.
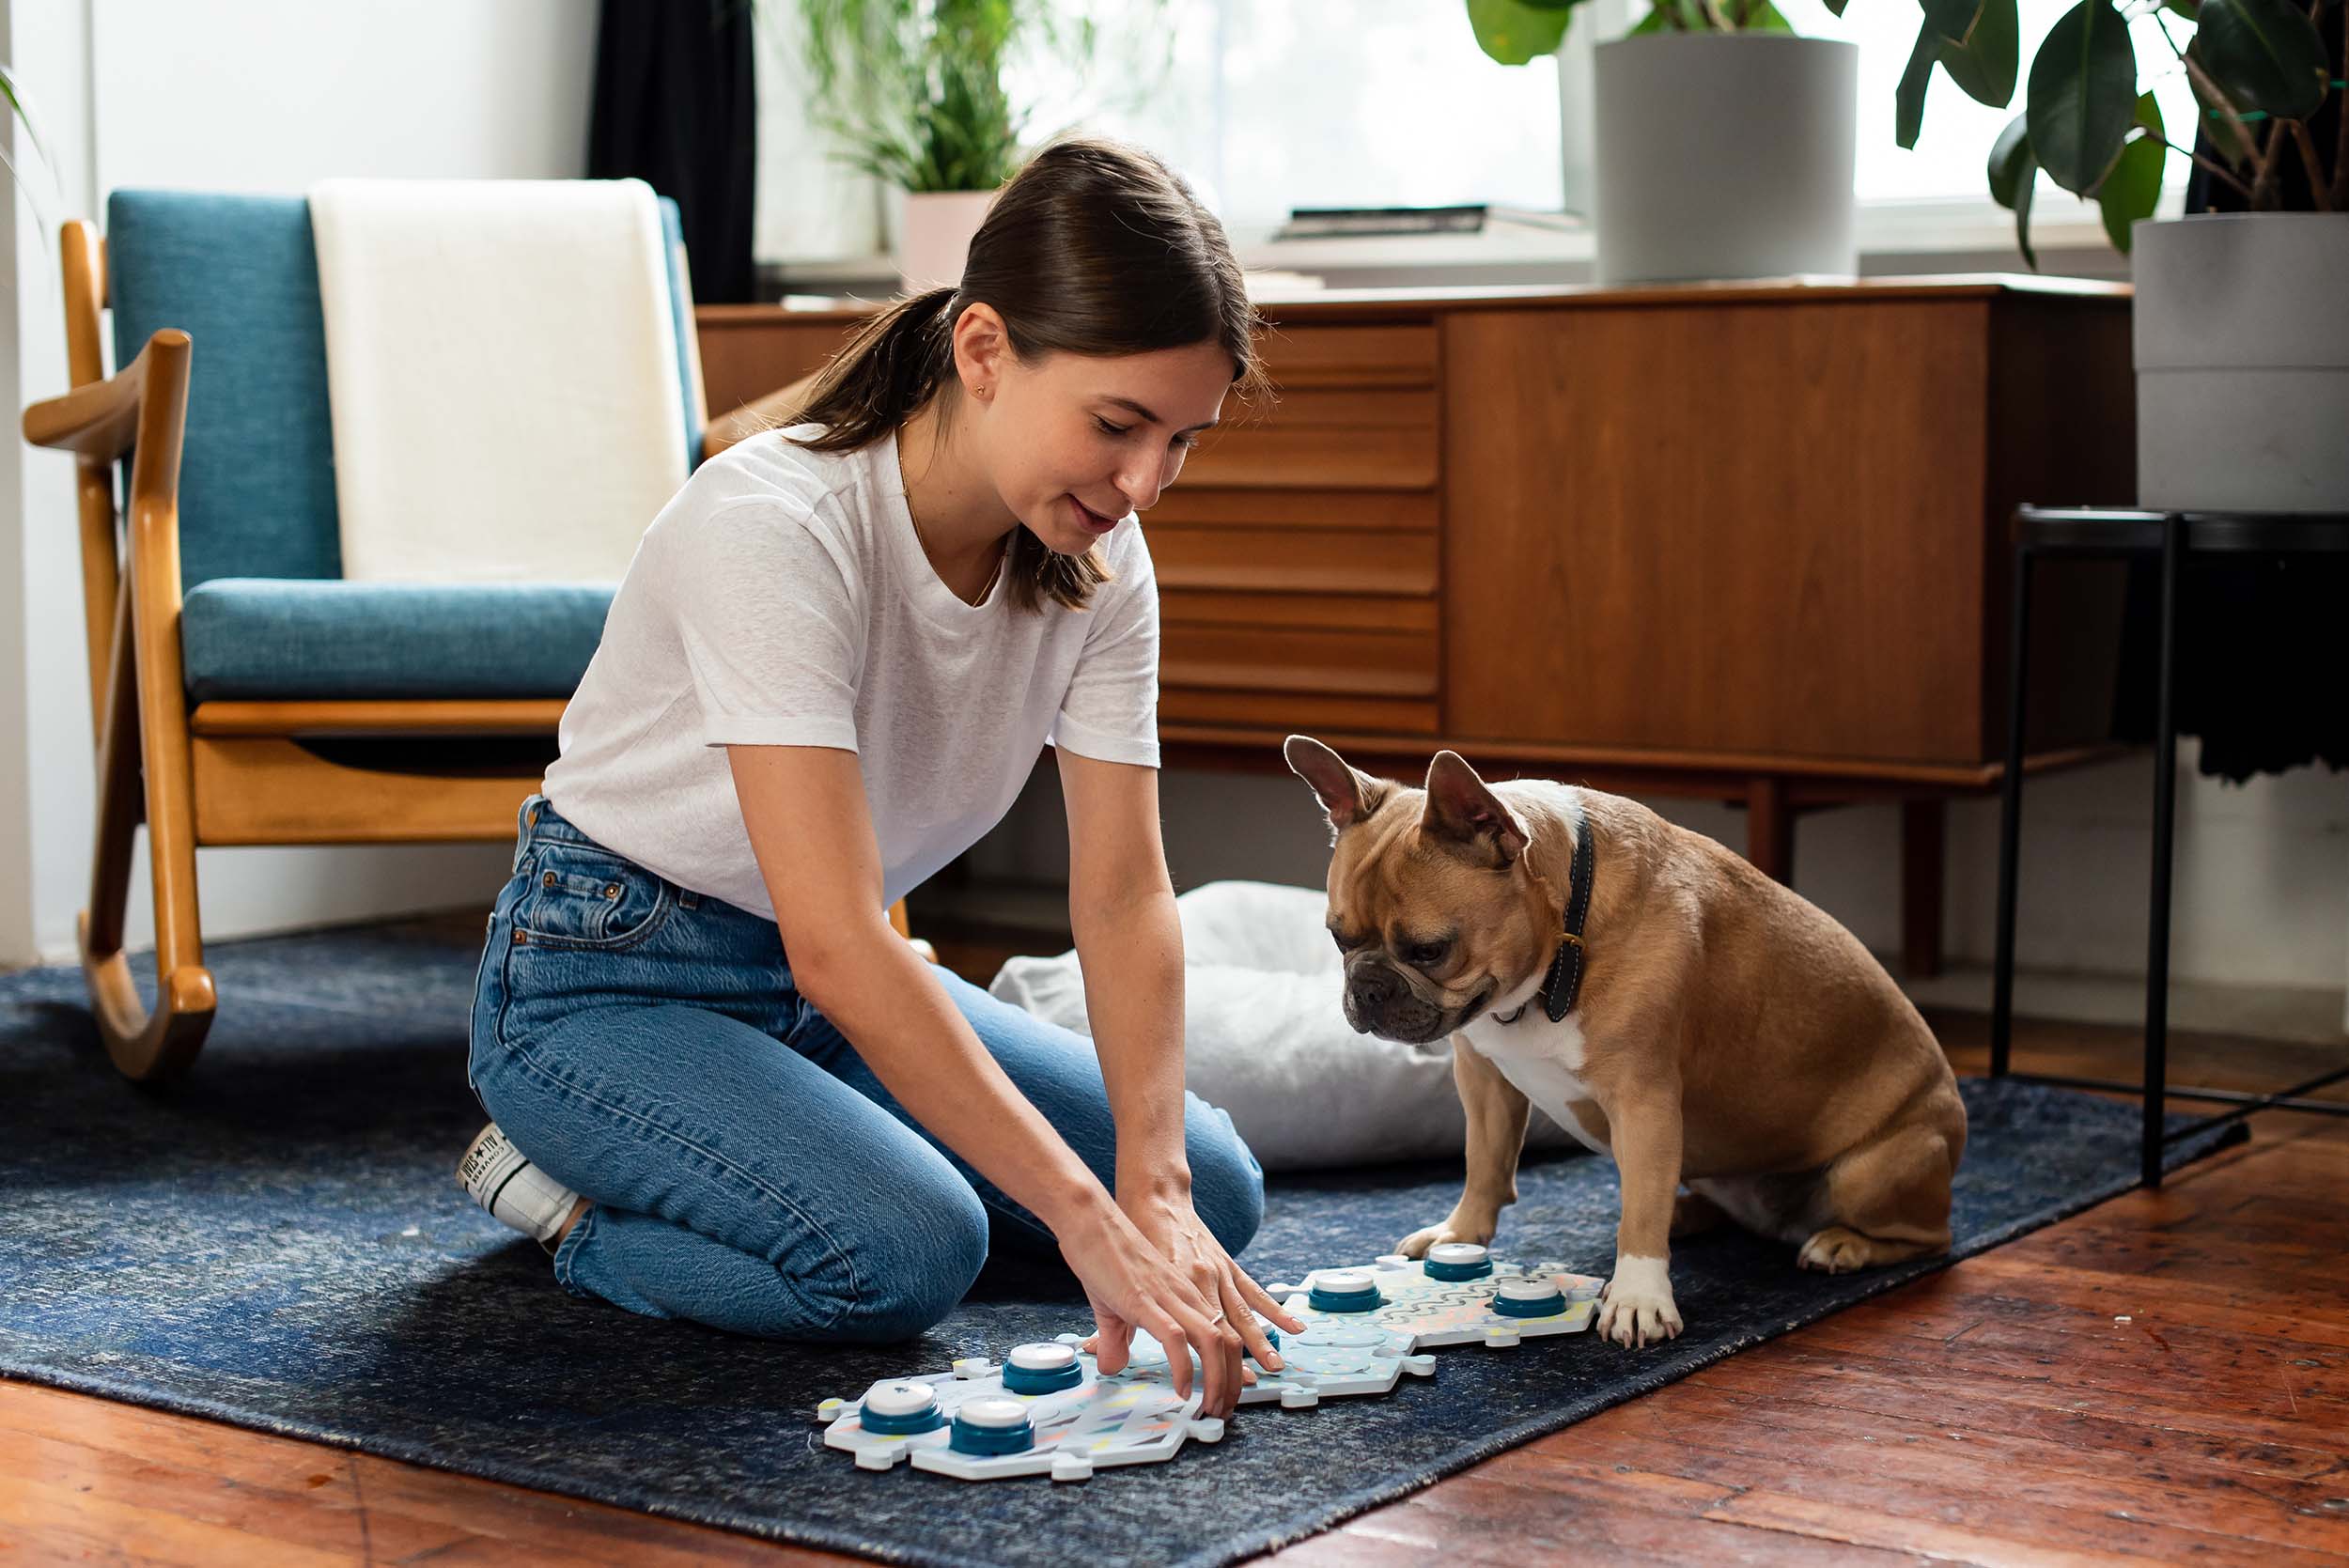
Step 1: Set up your buttons as planned
Consider when setting up your buttons:
- In the case of expansion, how will you add new buttons?
- Are the buttons easily accessible to me and my learner? Ideally, you and your learner should be able to access them quickly and easily in order to encourage modeling. Some families have found success with placing the buttons in the living room or by the kitchen, since they spend a lot of time there.
- Will putting buttons against a wall prevent my learner from looking at me when using them?
- Does your learner have larger paws or trouble with accuracy? If so, they might need more space between buttons or larger tiles. Some learners may lose progress if their setups significantly shift. Will my setup require changes later and if so, am I prepared for any setbacks?
All of the above are only suggestions as everyone’s home and learner looks different.
Step 2: Finish choosing words
By now, you should have an idea of what words are motivating, interesting, and frequently used when you’re with your learner.
Try choosing words that your learner wants to communicate to you.
Start off with 2–3 buttons. Some learners actually understand faster when you have more than one button. Providing more avenues of communication can be motivating!
Consider keeping buttons with similar meanings together.
Good starting words to consider:
- SNACK / KIBBLE / TREAT
- PLAY / TOY
- PETS / SCRITCHES / CUDDLE / BRUSH

If you see them looking at the buttons, standing near the buttons, or pawing at the buttons, get excited! Give them praise and attention (but no treats) for showing interest.
Step 3: Your learner is finally starting their journey!
Here are some key tips:
Tip 1: Every learner is unique.
You know your learner best! Some of these tips and hints might not work for you. Your learner will have his/her own pace and own style of communication. Avoid comparing your learner with the other dogs and cats out there who are using buttons as well.
Tip 2: Motivation matters more than you think!
Behavior driven by internal satisfaction is called intrinsic motivation. The desire to do the task comes from within. Extrinsic motivation means behavior driven by the desire for external rewards or incentives, such as treats.
Help your learner maintain intrinsic motivation.
When you communicate with your friends and family, you usually aren’t speaking to them with the hope of getting a reward. Unless you’re requesting free ice cream. Part of the joy of being able to communicate is getting to tell someone what you want or need.
They will communicate to you when they find it meaningful.
Let your learner explore. Using the buttons itself should be rewarding, so don’t lure them with treats. They’ll tell you what they need when they need it.
Tip 3: Celebrate small successes to encourage them.
Your learner might ignore the buttons for the first few weeks. Some of the most famous button-using learners took weeks to begin acknowledging their buttons.
So just try rewarding small successes. If you see them looking at the buttons, standing near the buttons, or pawing at the buttons, get excited! Give them praise and attention (but no treats) for showing interest. When your learner starts paying attention to the buttons in the right context, that means they might be ready to start using them soon.
Tip 4: Prompt casually.
If they’re trying to communicate with you by looking, whining, or pawing, you can walk over and stand near the buttons. Give them time to respond (count slowly to 10 before doing anything else). If you decide you need to prompt more, use natural behaviors such as pointing or tapping near the buttons. If they don’t react after 10+ seconds, go ahead and demonstrate the button use and continue the activity.
DON’T reward button presses with a treat unless the TREAT button is pressed. If the PLAY button is pressed, reinforce with a play session or a toy. If the PETS button is pressed, reinforce by petting your learner. If the KIBBLE button is pressed, reinforce with a piece of kibble. Etc.
DON’T overprompt. If you’re rapid modeling one of your starting buttons and your learner doesn’t join you, they might not be in the mood for whatever that button represents. If your learner doesn’t join you at the board for rapid modeling sessions over a few days, you may need to increase the value of whatever you’re pairing the presses with. For example, if your learner isn’t joining you at the soundboard when you reinforce SNACK presses with kibble, try reinforcing with a higher value food.
DON’T force your learner to press the button. If you know what your learner wants, and they’re not using the relevant button to communicate it, press the button for them and reinforce its meaning. Forcing learners to use the buttons can be very harmful. Imagine being forced to give a speech when you’re not ready. Communication should always be up to your learner. Instead, model the words verbally and by using the buttons yourself at appropriate times.
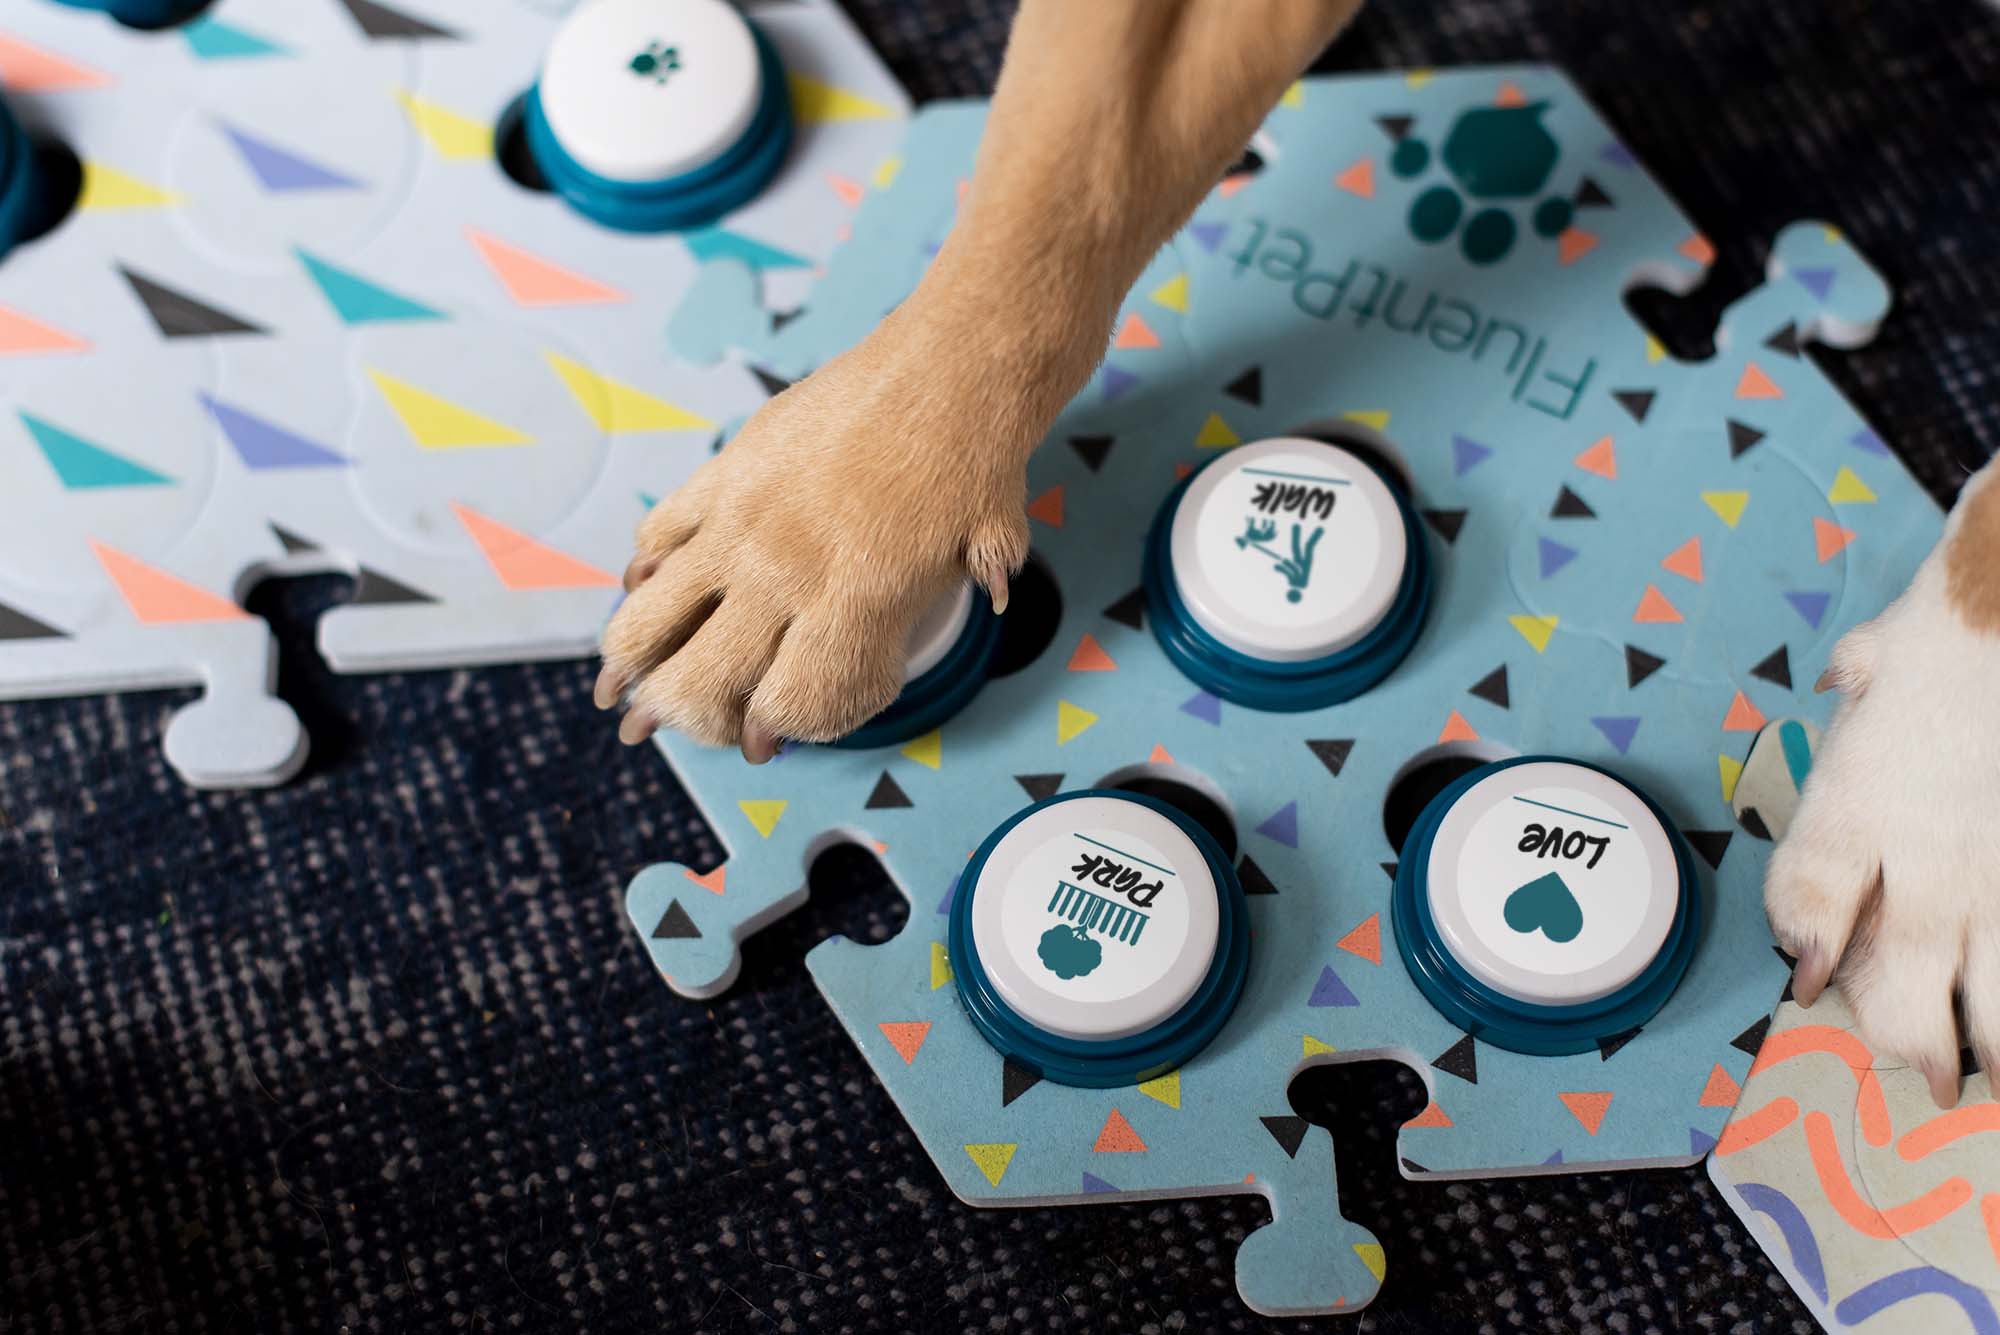
Whenever you say a high-frequency word, press the corresponding button then follow through. Repetition and consistency is important, so do this whenever you use the appropriate word.
Step 4: Always model, model, model!
No, not runway modeling. Modeling in a button-teaching context refers to being a role model for button usage, as well as observing and imitating.
Whenever you say a high-frequency word, press the corresponding button then follow through. Repetition and consistency is important, so do this whenever you use the appropriate word.
For example, if your learner is standing by the toy bin, looking at you intently because they’ve been waiting all day to play, you might say “Buddy, you want PLAY? Okay, let’s PLAY!”
Next, you can press the PLAY button. “Yes, we PLAY.”
Then, you grab a toy and engage in a play session. Next time it’s time to play, you would repeat this process.
Tip 5: Use the same word in multiple appropriate contexts.
If your other family members play with your learner, try to have them say and press PLAY as well. If you’re playing with a new toy or a different play activity, say and press PLAY.. If you’re playing outside, verbally pair the word PLAY throughout the session, and press the PLAY button before and/or after you go out to play.
Tip 6: A quiet and calm environment can help your learner focus.
Your learner might be too distracted in a busy and crowded room to investigate the buttons. It might help to turn off the TV or find activities to keep other learners busy.
STAGE 3
Patience and Persistence
Stay consistent, clear, and enthusiastic with your modeling.
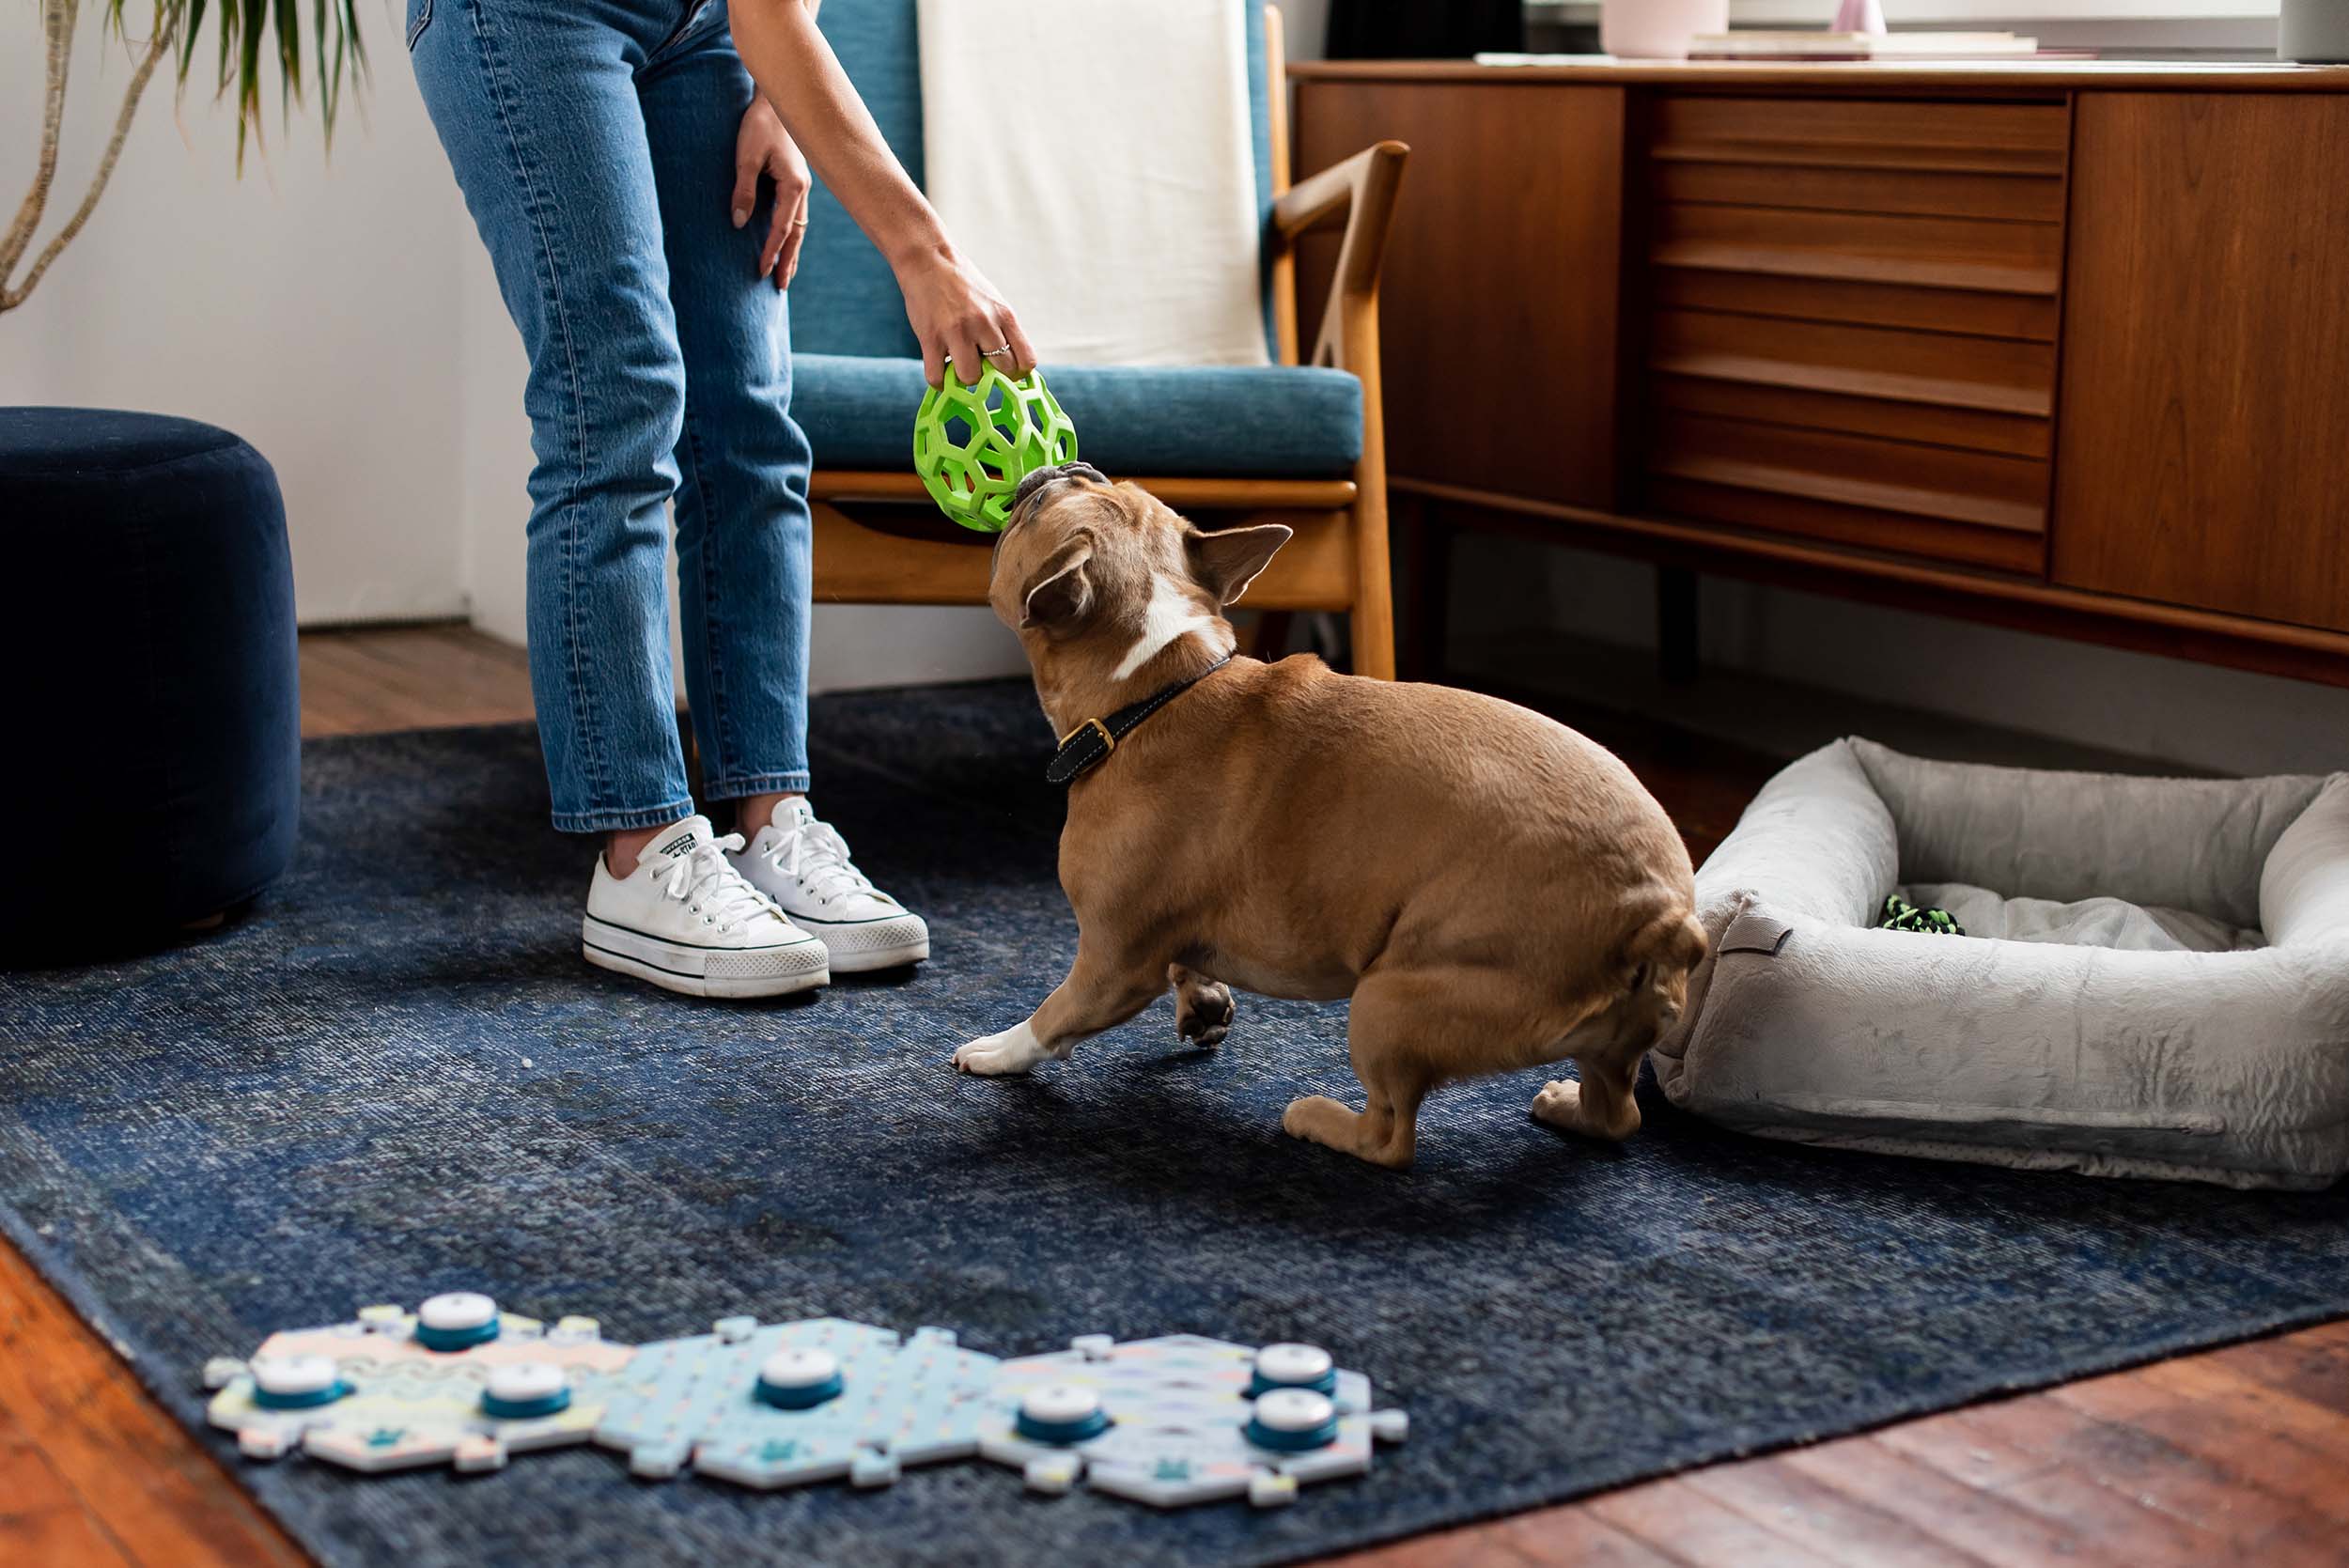
Step 1: Model with consistency
Stay consistent, clear, and enthusiastic with your modeling. Use the buttons in any appropriate context and have friends and family join in!
Remember to combine verbal language with button usage when you do speak to your learner.
Tip 7: Random button pressing is a good teaching opportunity
Even if they press buttons on accident, react to them. Random button-pressing is often a “babbling” stage in their learning process, so this is a good opportunity to reinforce word meanings.
For example, if they accidentally walk onto the PLAY button, you can grab a nearby toy and ask, “Did you want to PLAY? Want to PLAY?” Then, press PLAY again and play with them.
Tip 8: Don’t jump in to correct or demonstrate immediately.
Give your learner a chance to try and fail before modeling for them again.
Tip 9: Don’t automatically fill in the empty silences.
Everyone needs time to think. If your learner is starting to look at the buttons in the right context, waiting at least 10 seconds can give them the time they need to respond. Our research team has seen learners taking upwards of 40 seconds to answer. If nothing happens, don’t worry, just model again.
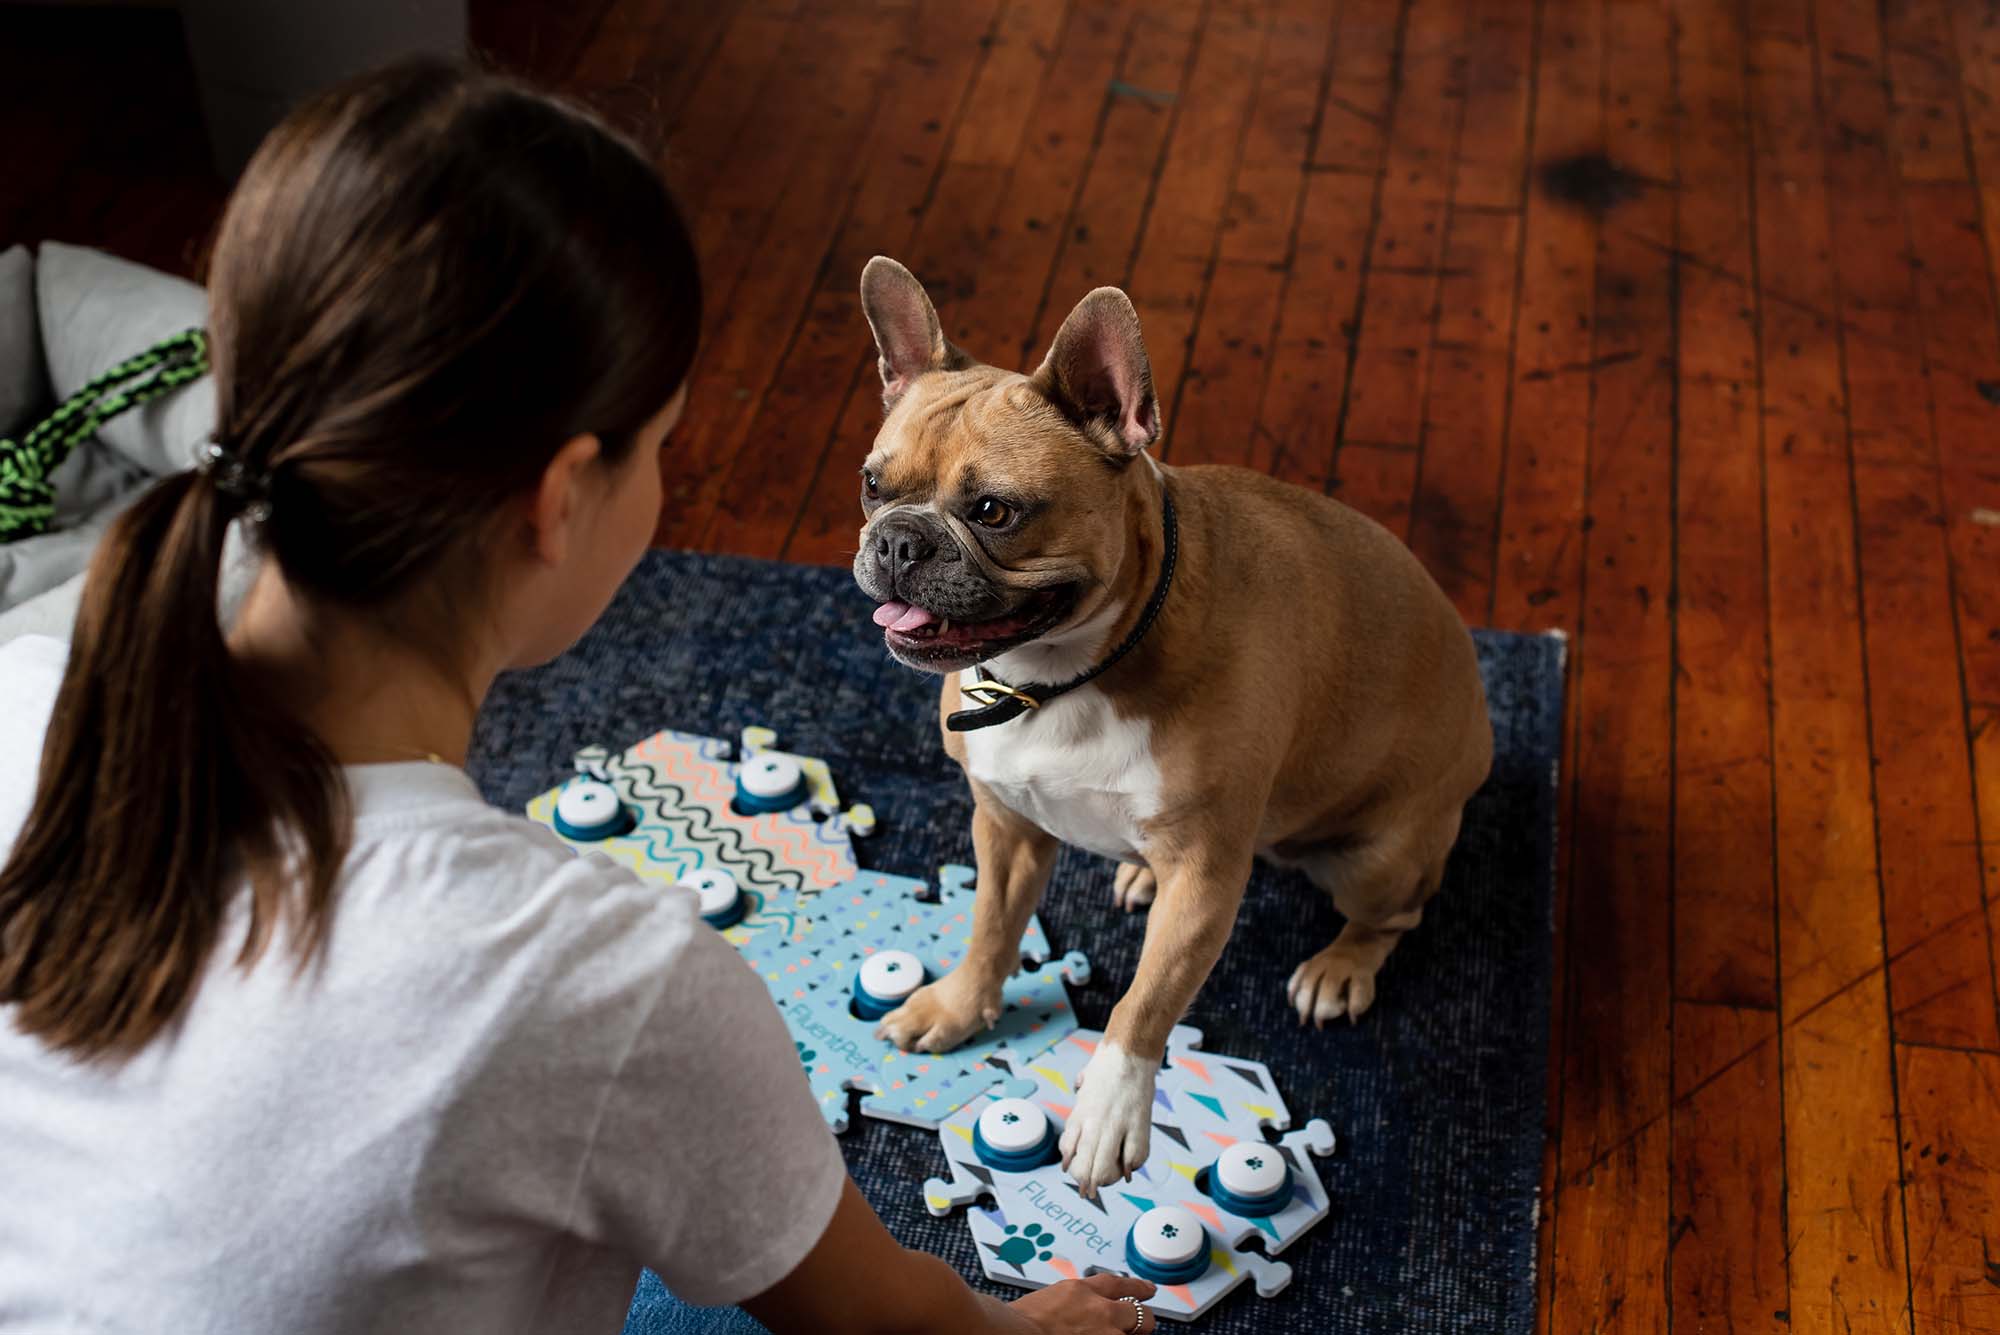
Everyone needs time to think. If your learner is starting to look at the buttons in the right context, waiting at least 10 seconds can give them the time they need to respond.
Step 3: Have faith and be patient
Have faith in your learner! When learning any new language, the first stage is observing and absorbing. This language observation and listening stage takes time. Don’t be intimidated by what you see online.
Tip 10: If you have a multi-learner household (more than one button user), add words at the pace of the fastest learner.
Every learner is different, and you may notice some of your learners are more interested in the buttons than others. This is common; it takes different amounts of time for each learner.
We recommend adding words at the pace of the fastest learner and be reassured that, even if it doesn’t seem like it, the others are paying attention in the background. In fact, your learners might even pick up button usage from each other!
Tip 11: It’s normal for your learner to cycle through talkative and quiet periods.
New events, people, and locations can all cause changes in your learner’s button behavior. Learners usually bounce back, but let them take their time and keep supporting them with modeling.
If you notice your learner avoiding the buttons or becoming uncharacteristically quiet, check if their physical needs are being met first. Do they seem safe, comfortable, and healthy?
FluentPet Connect Kits
STAGE 4
Growing vocabulary
While every learner is different, many start with observing and investigating, then requesting, mapping, commenting, and finally abstracting.

Observing and investigating
Observing and investigating refers to watching you as a teacher model, as well as tip-toeing around the board and exploring what it does.
Requesting often
Requesting often starts with an “ask,” whether for a toy, attention, or an activity. At this stage, your learner is interested in getting what they want through a button press.
Mapping
Mapping is when your learner starts to realize that the meanings of the buttons persist, and map to their definition, regardless of where they are physically located.
Commenting and abstracting
Commenting and abstracting are higher level communication skills. Your learner may start to narrate, describe, or comment on what they do or what you do. They may seem to be abstracting or attempting to communicate concepts such as love, time, or emotions.
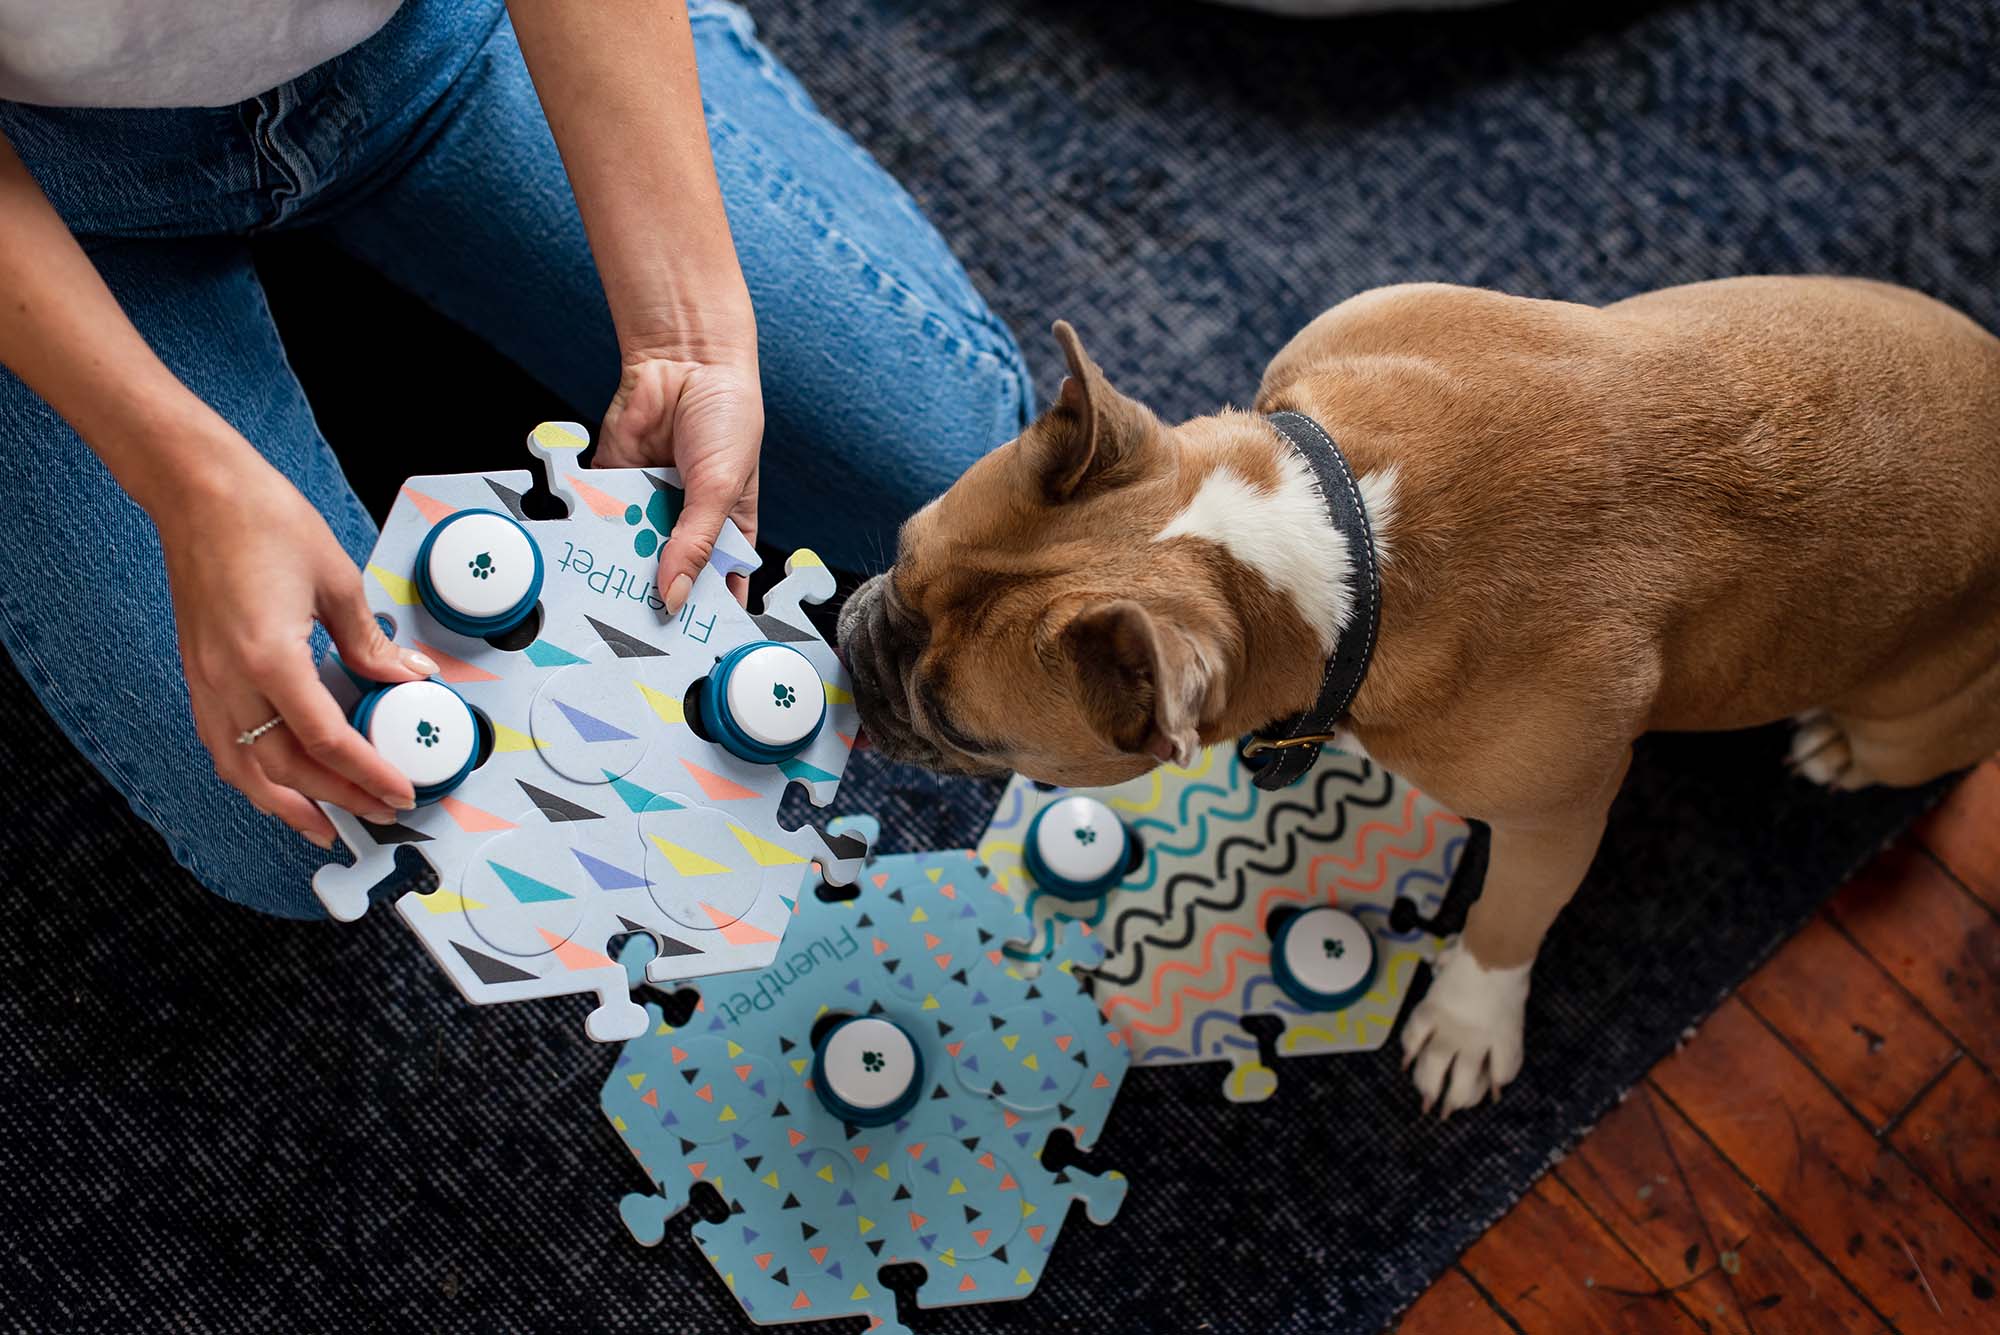
If your learner has started using one word for multiple meanings or if they have started combining words, it might mean they need more accurate words. Try to maintain having one or two more words than what your learner currently uses.
How can you help your learner advance?
Below we’ve compiled answers on how to add new words and what words to add.
When do I add new words?
Add words when you seem to need more words as long as your learner understands:
- How to press buttons
- That pressing a button = something happens (like “OUTSIDE” = going outside)
- The meaning of the buttons they already have
If your learner has started using one word for multiple meanings or if they have started combining words, it might mean they need more accurate words. Try to maintain having one or two more words than what your learner currently uses.
What new words should I add?
Add new words for your learner that are relevant in many different settings and activities.
Core words are words that make up to 70 - 90% of our daily vocabulary, typically prepositions, verbs, and adjectives.
Some examples might be “more,” “want,” or “my/mine.” As humans, we know thousands of words, but we don’t need all of them in our daily life. The same goes for our learners.
However, that’s not to say you shouldn’t add “fringe” vocabulary words too! Fringe words are more specific words that are lower frequency. They’re often nouns or pronouns. If you notice that your learner has been interacting with a specific toy or liking a certain activity, try adding that word.
Where should I add new words?
Some of our learners find it easier to keep similar categories of words together. For example, placing people, places, and actions in their own word groups. Adding new words to your current board without rearranging all of the buttons will make your learner’s transition easier.
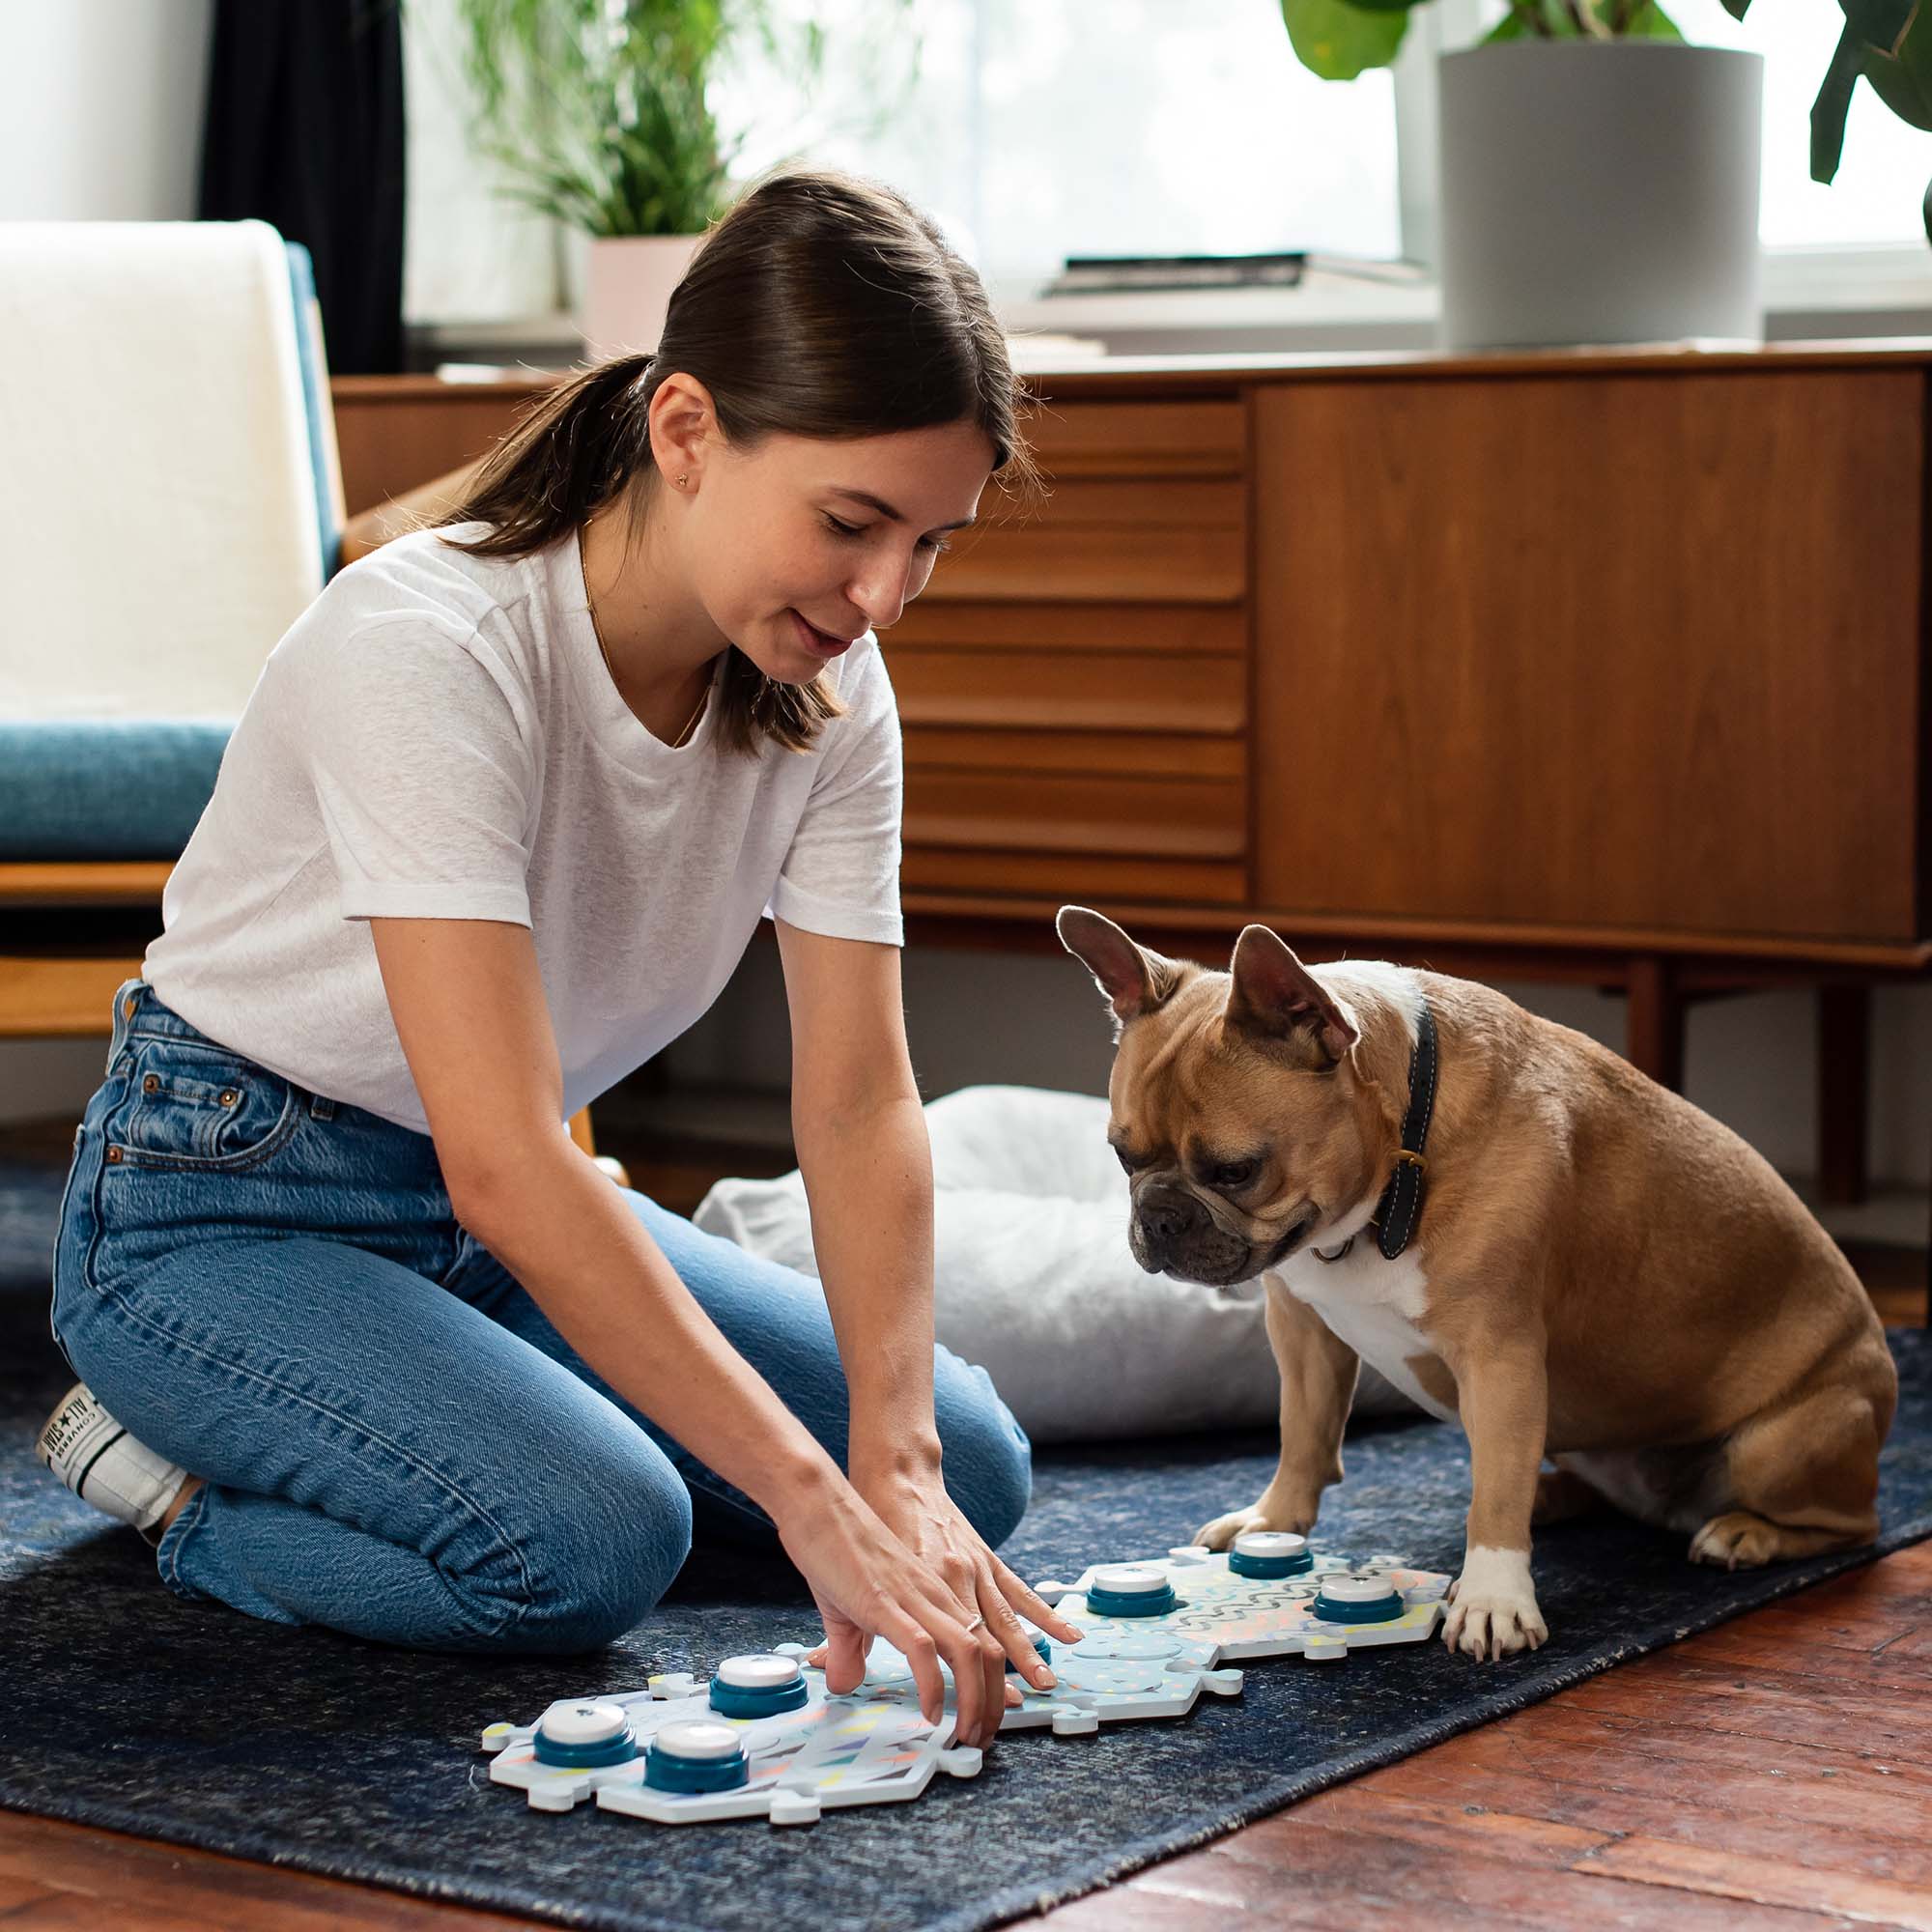
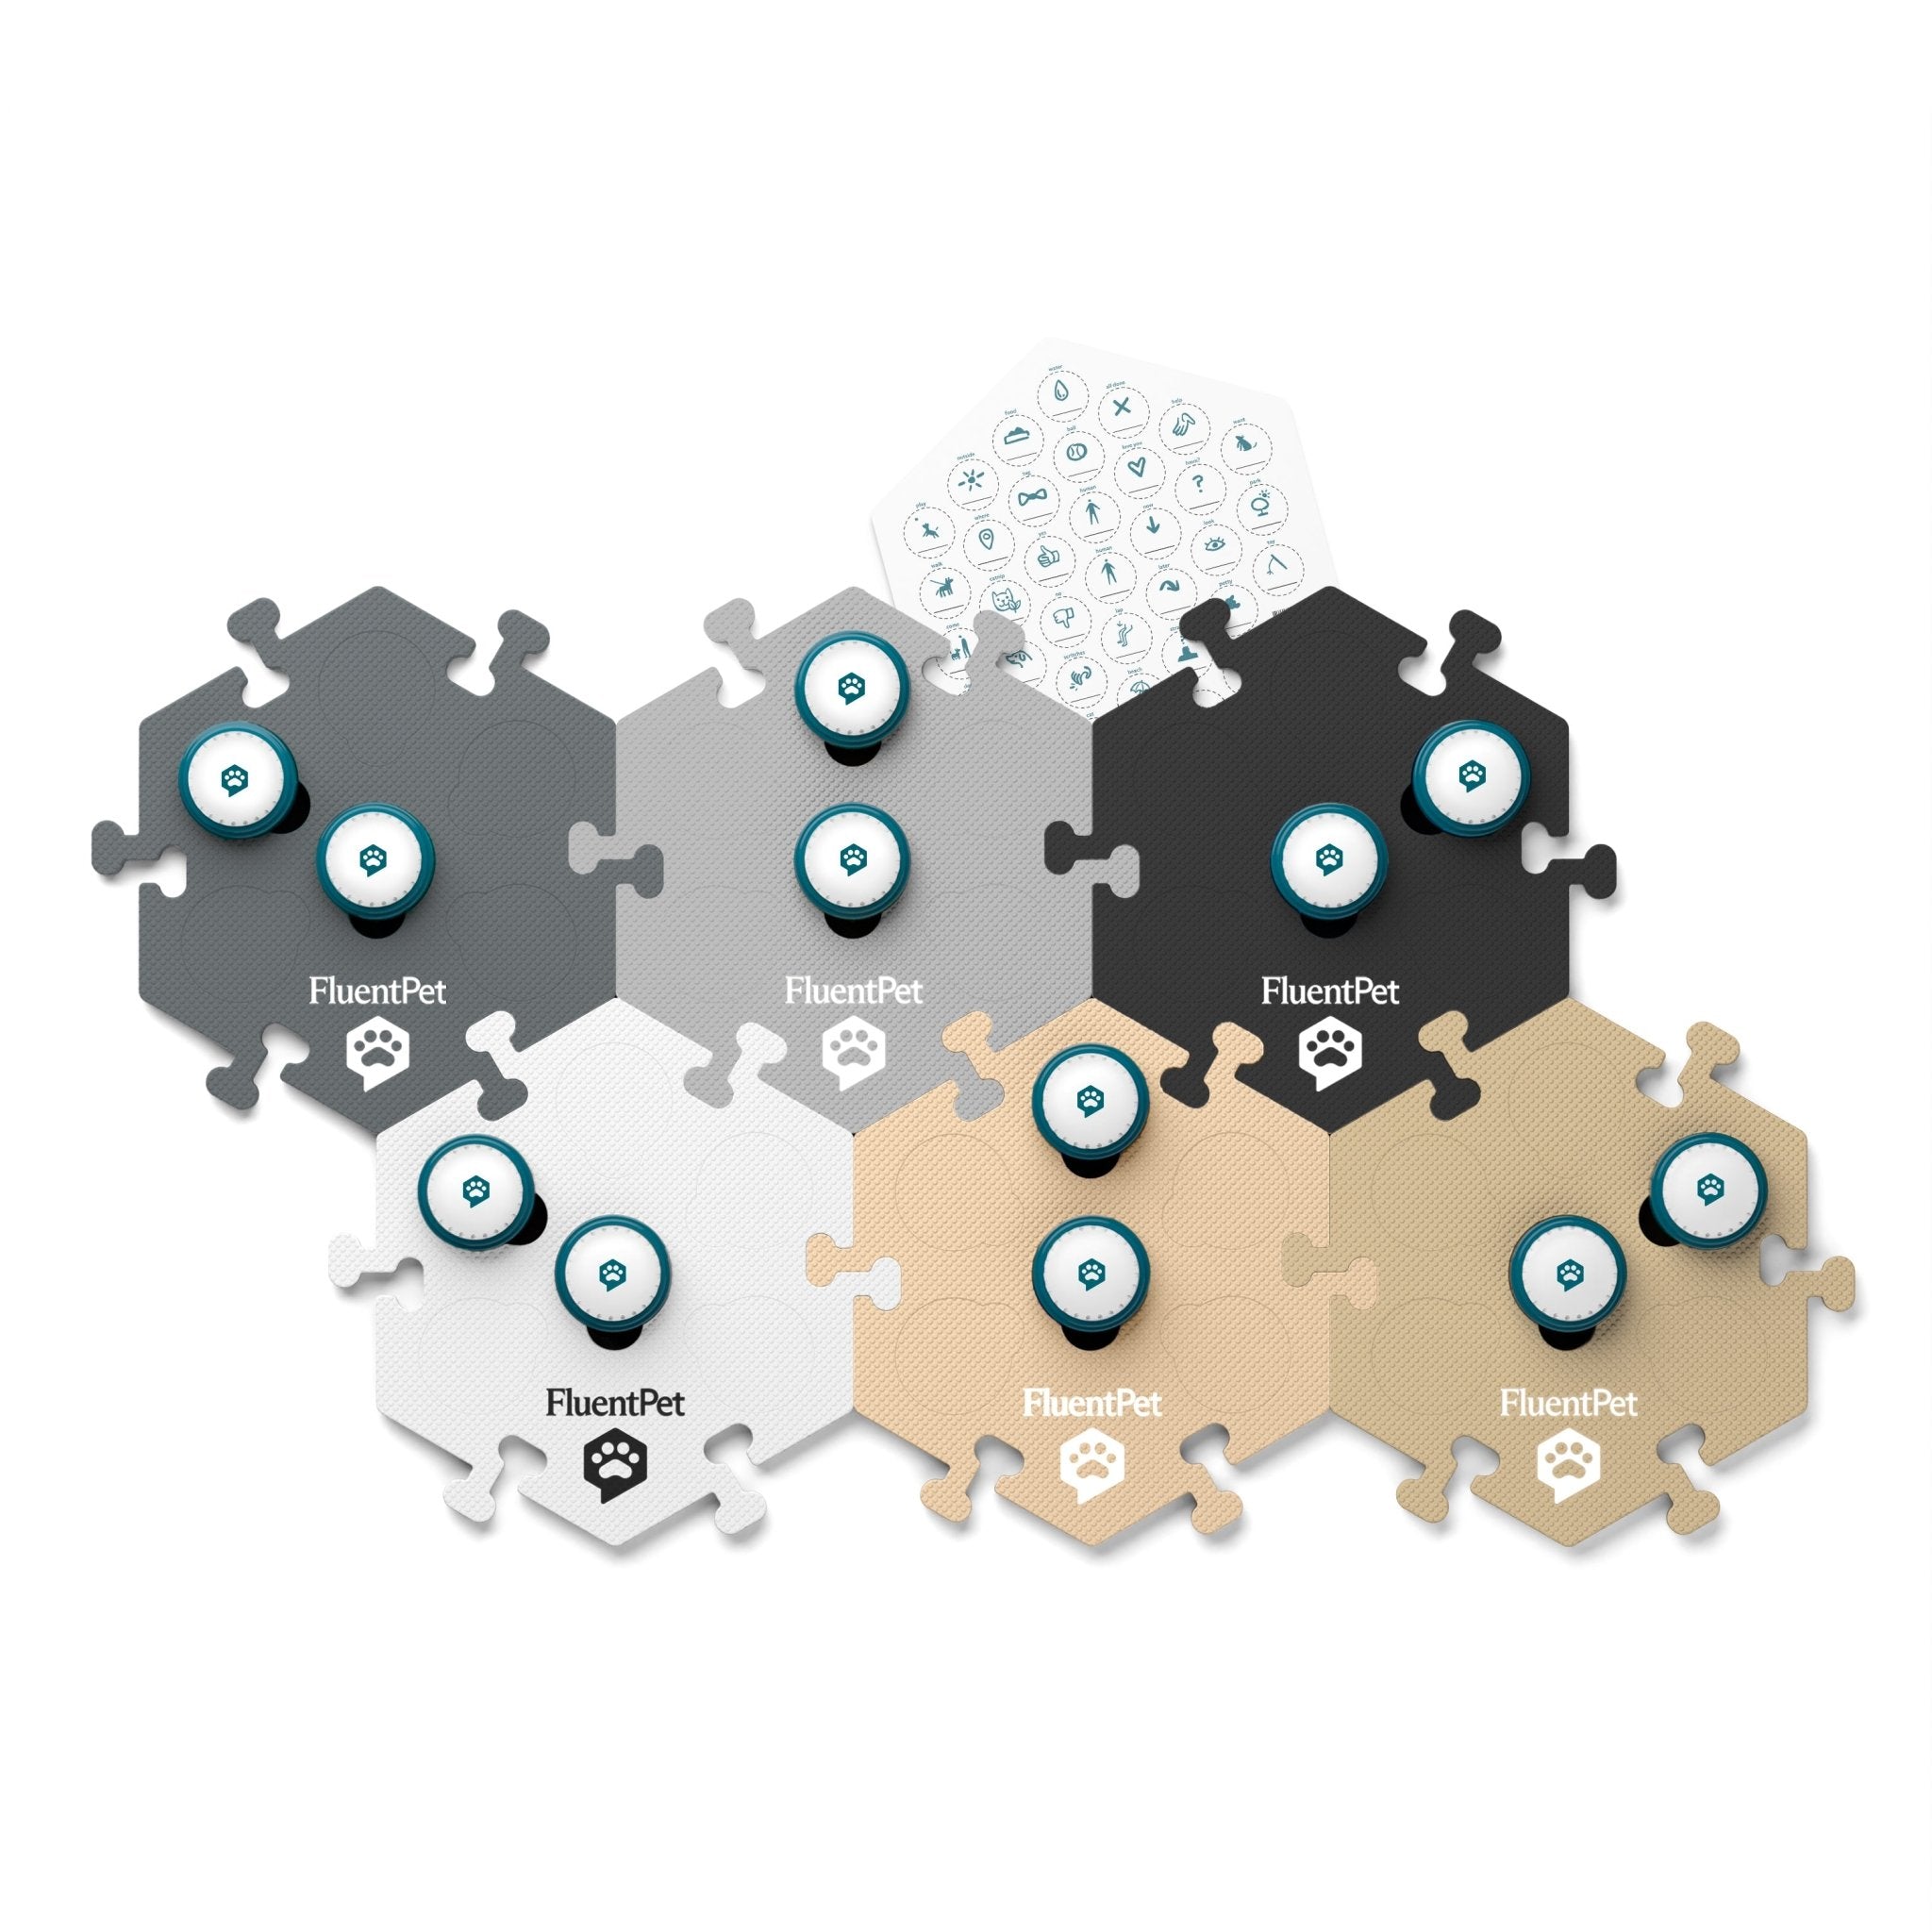
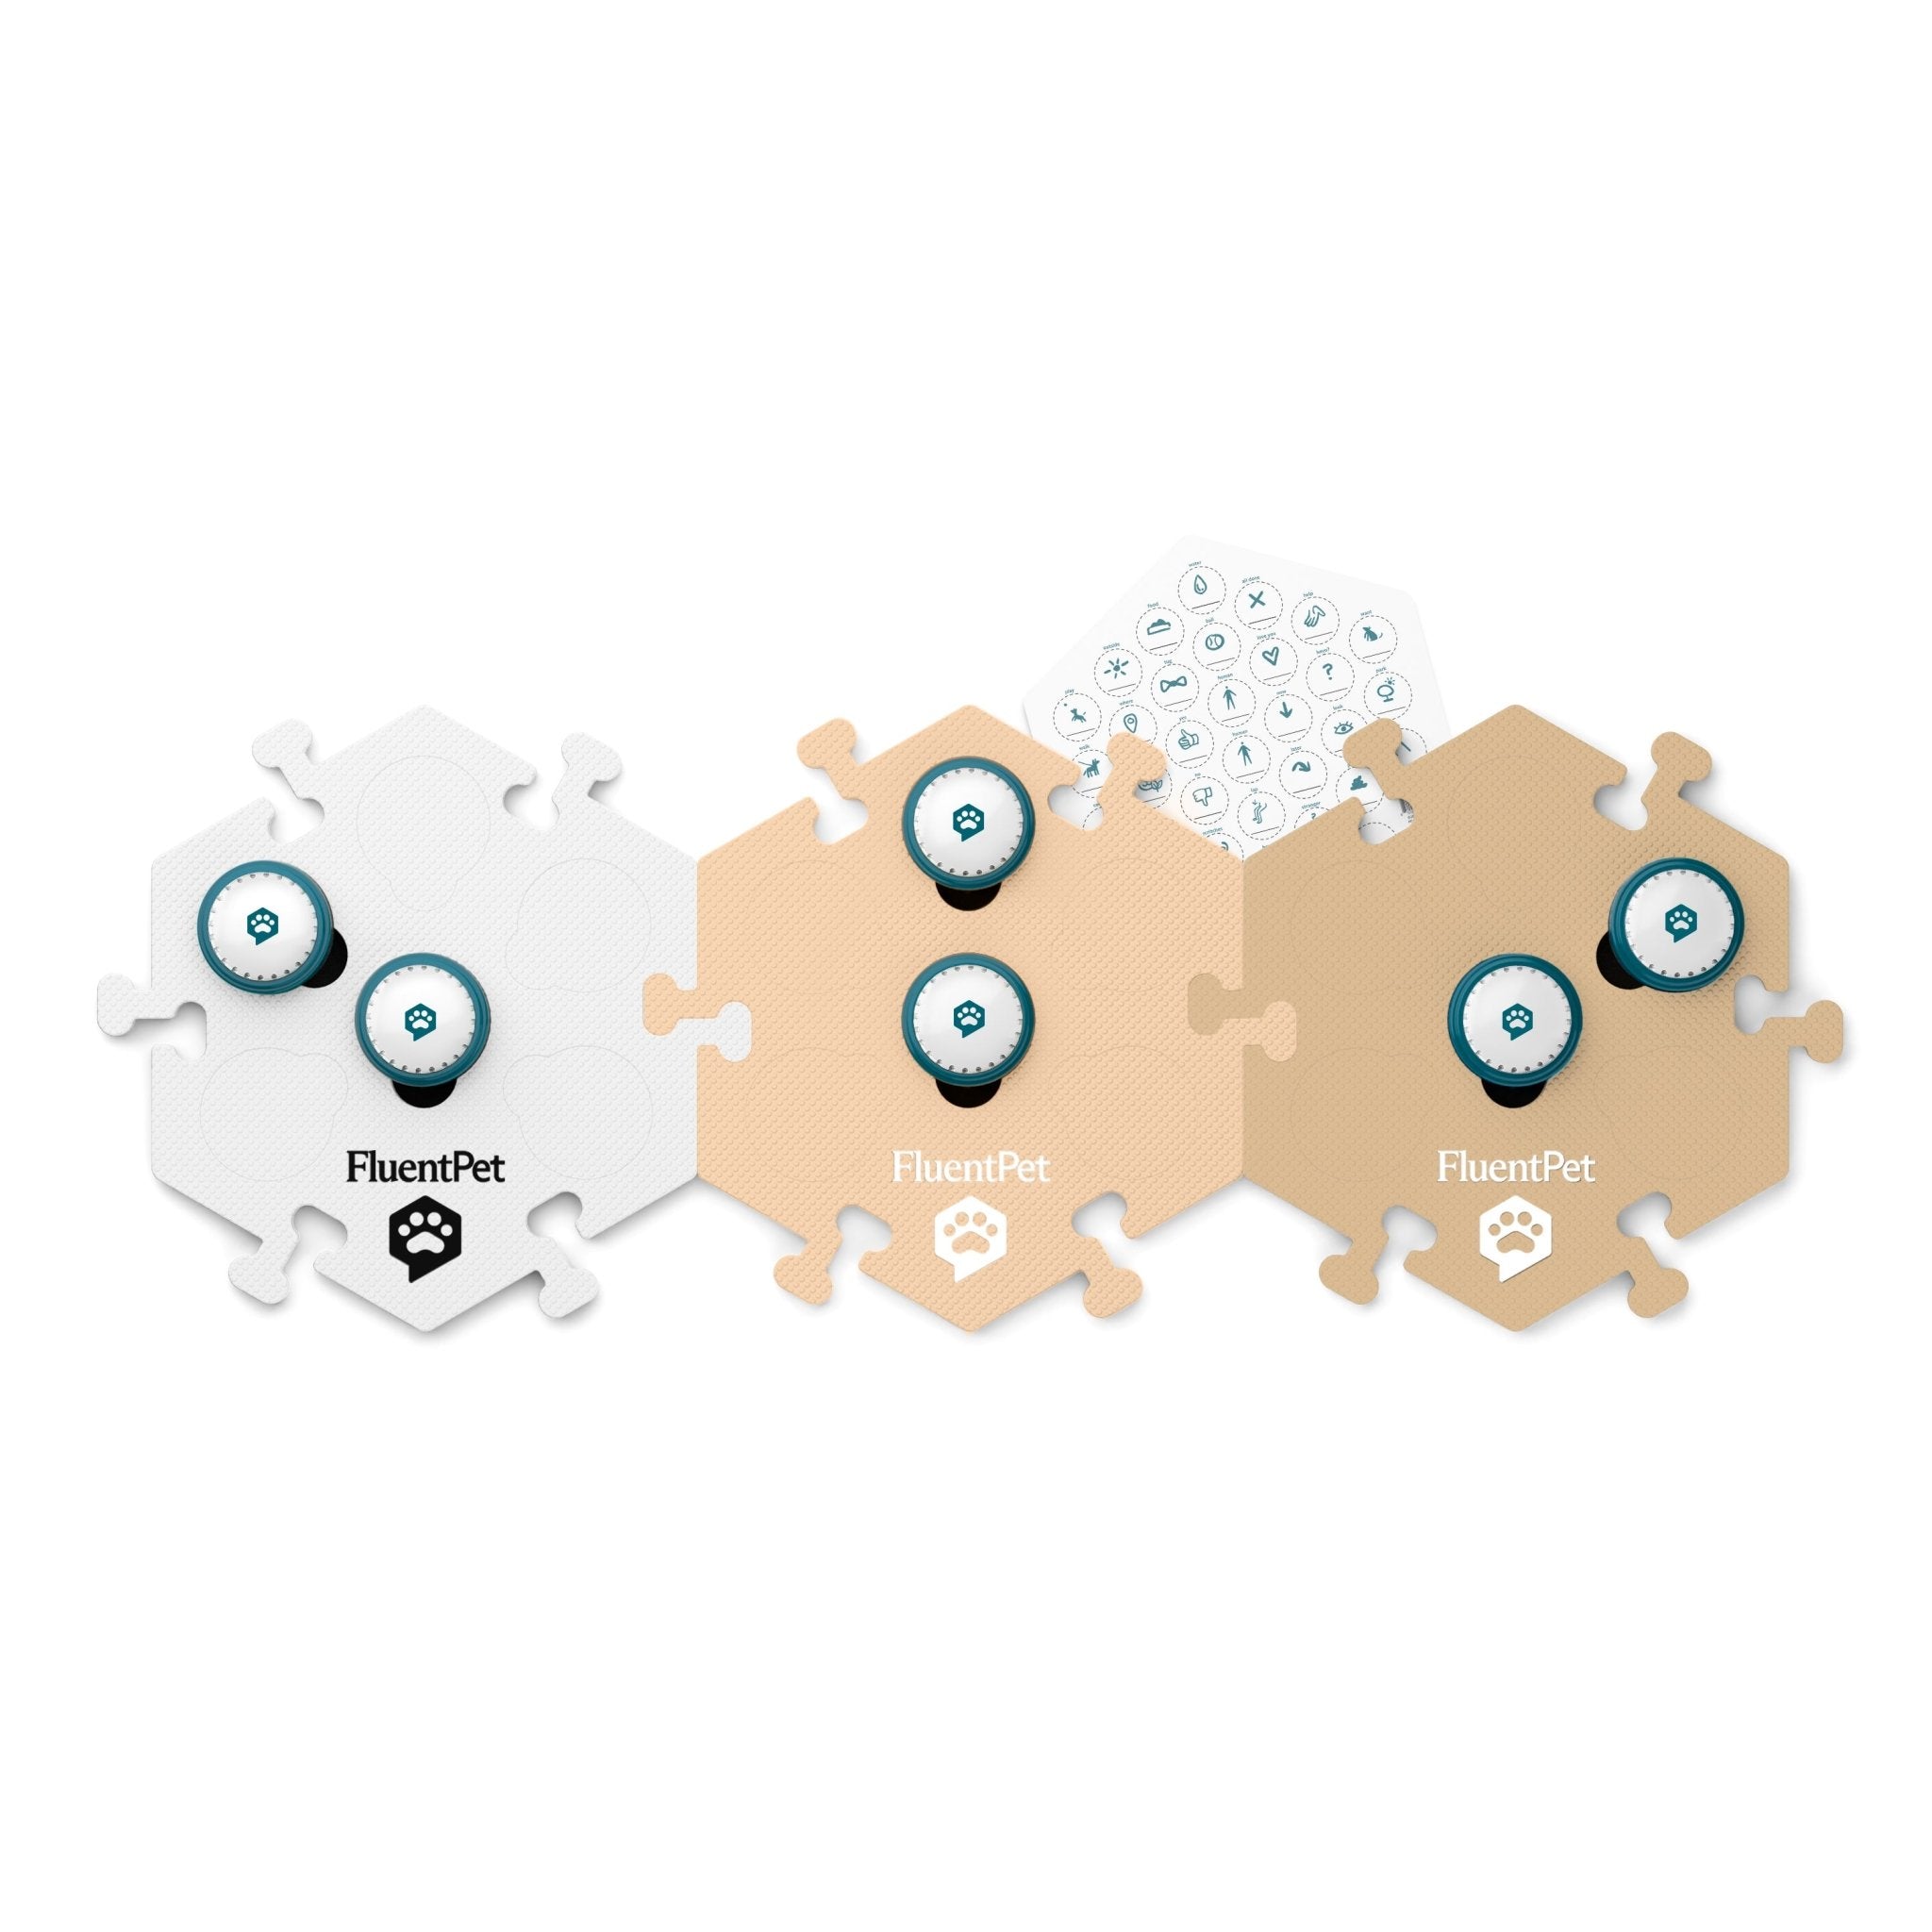
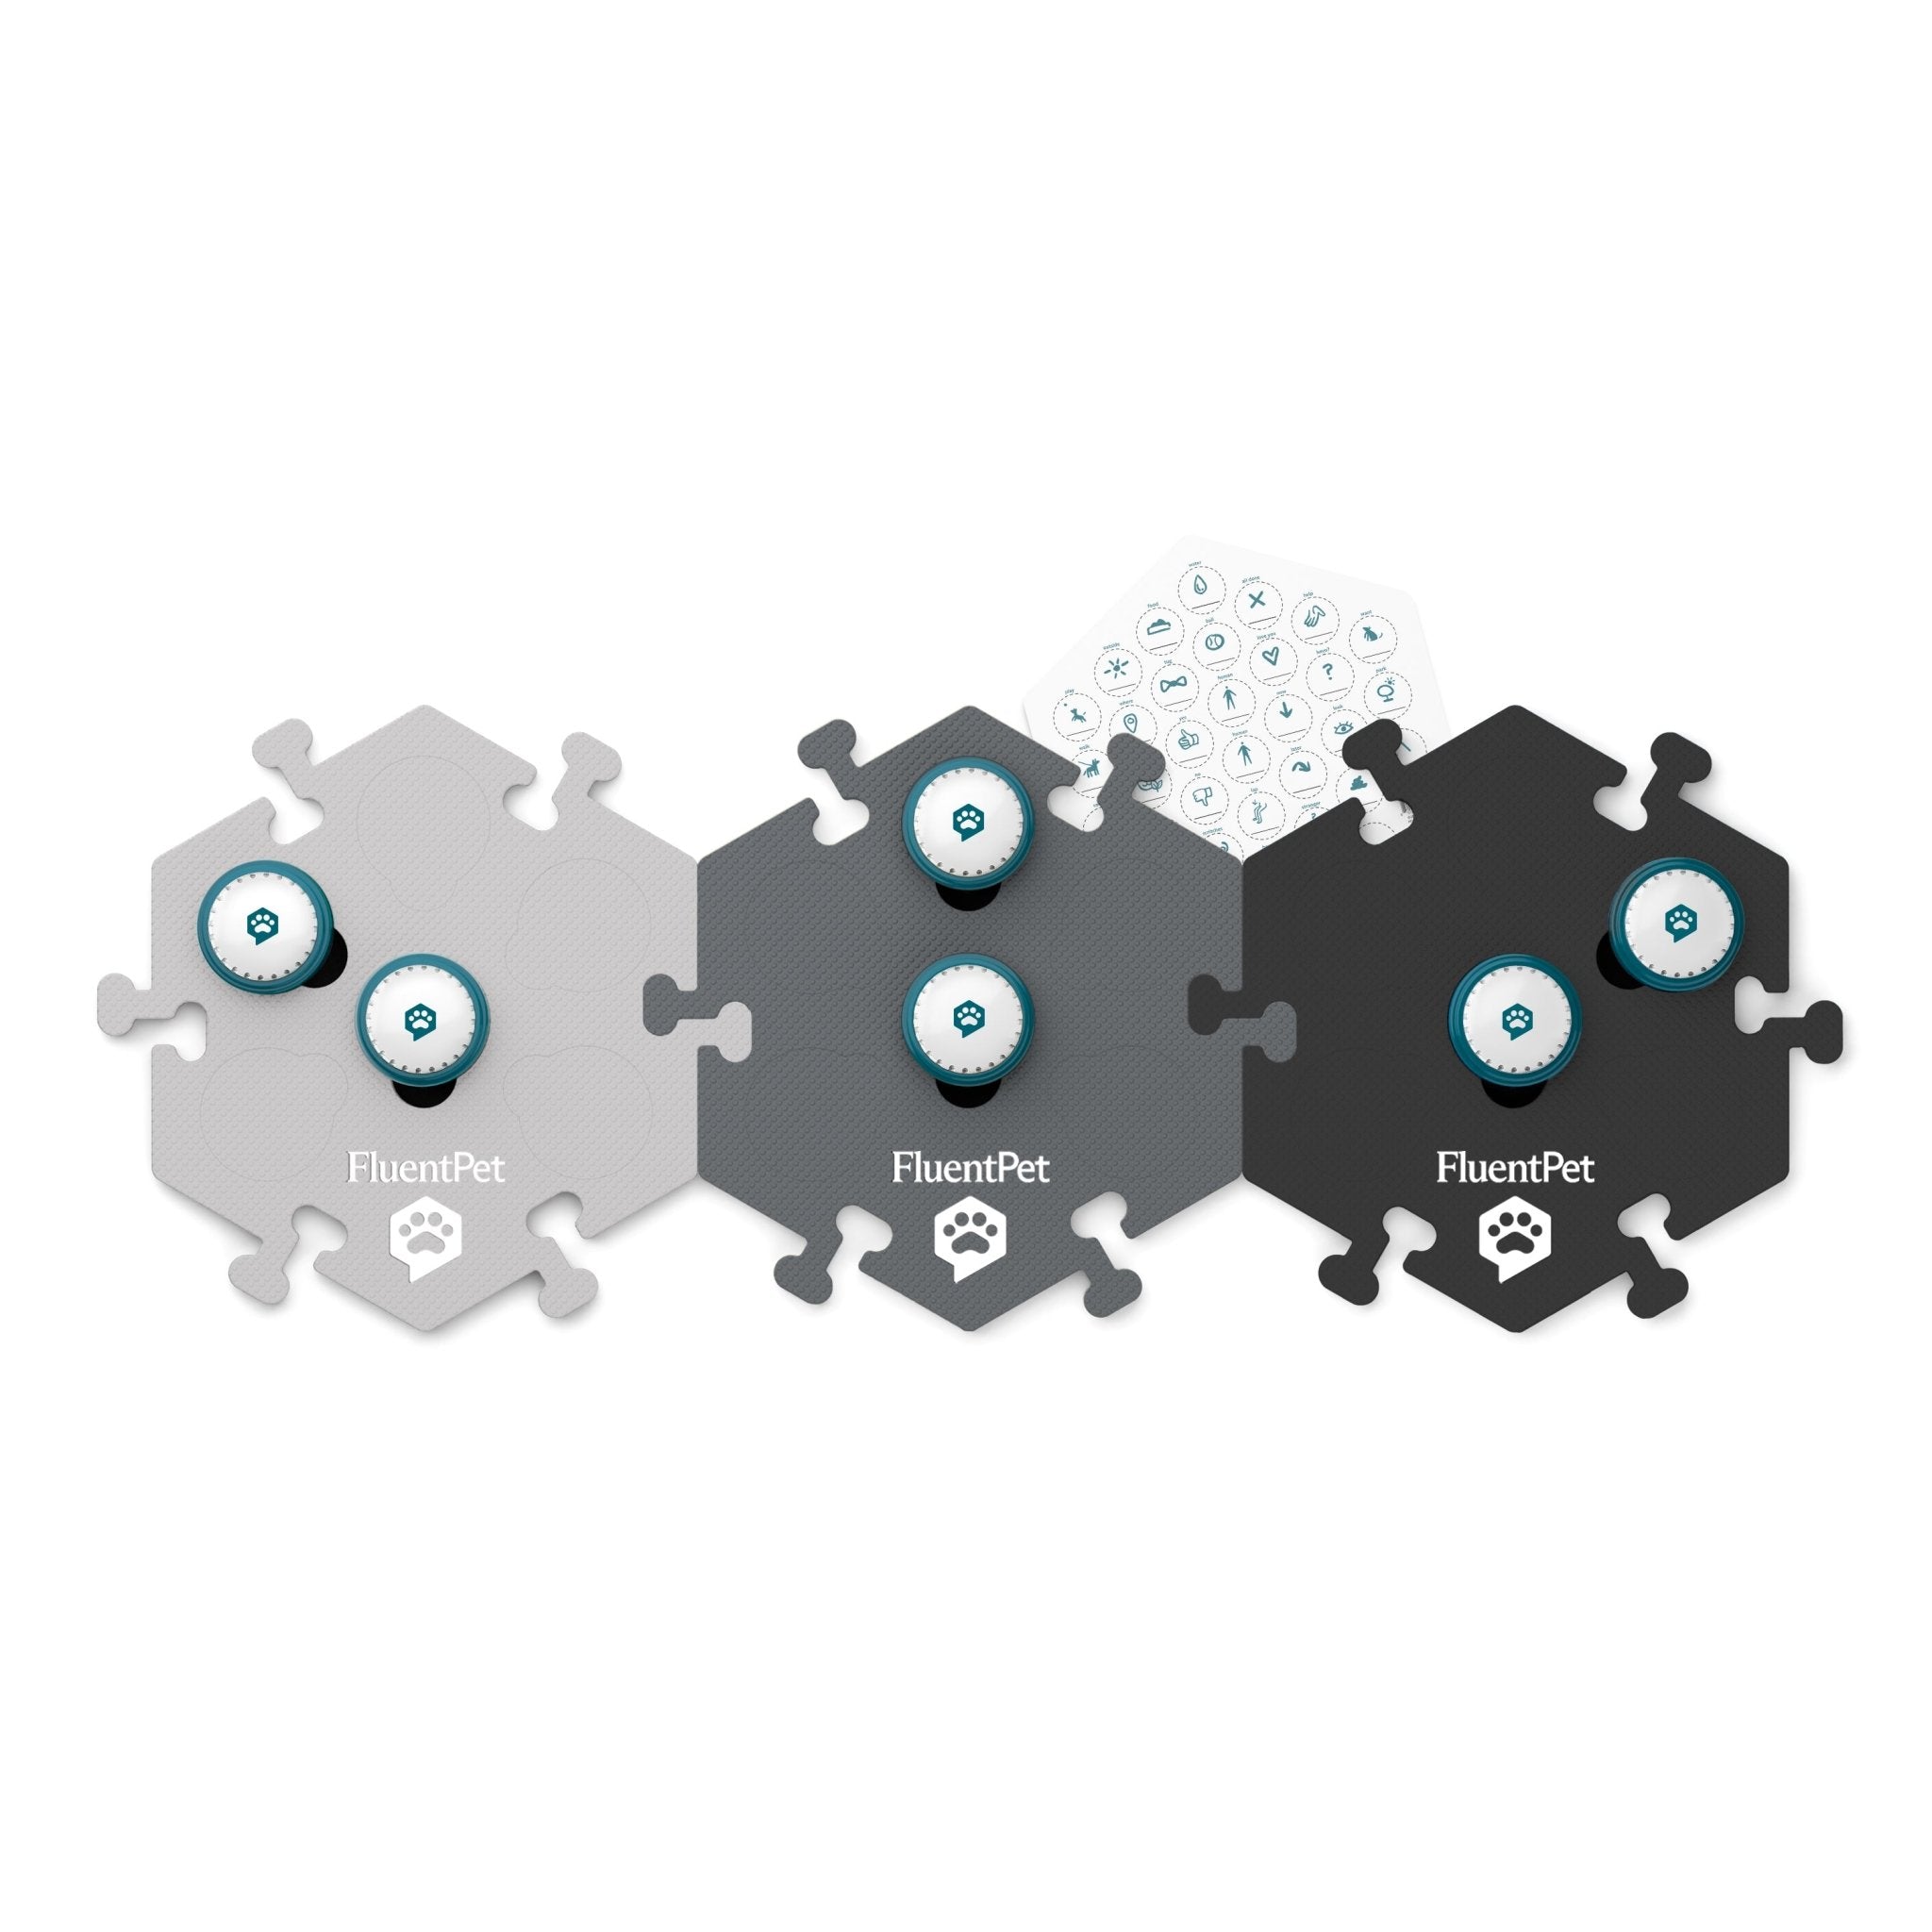
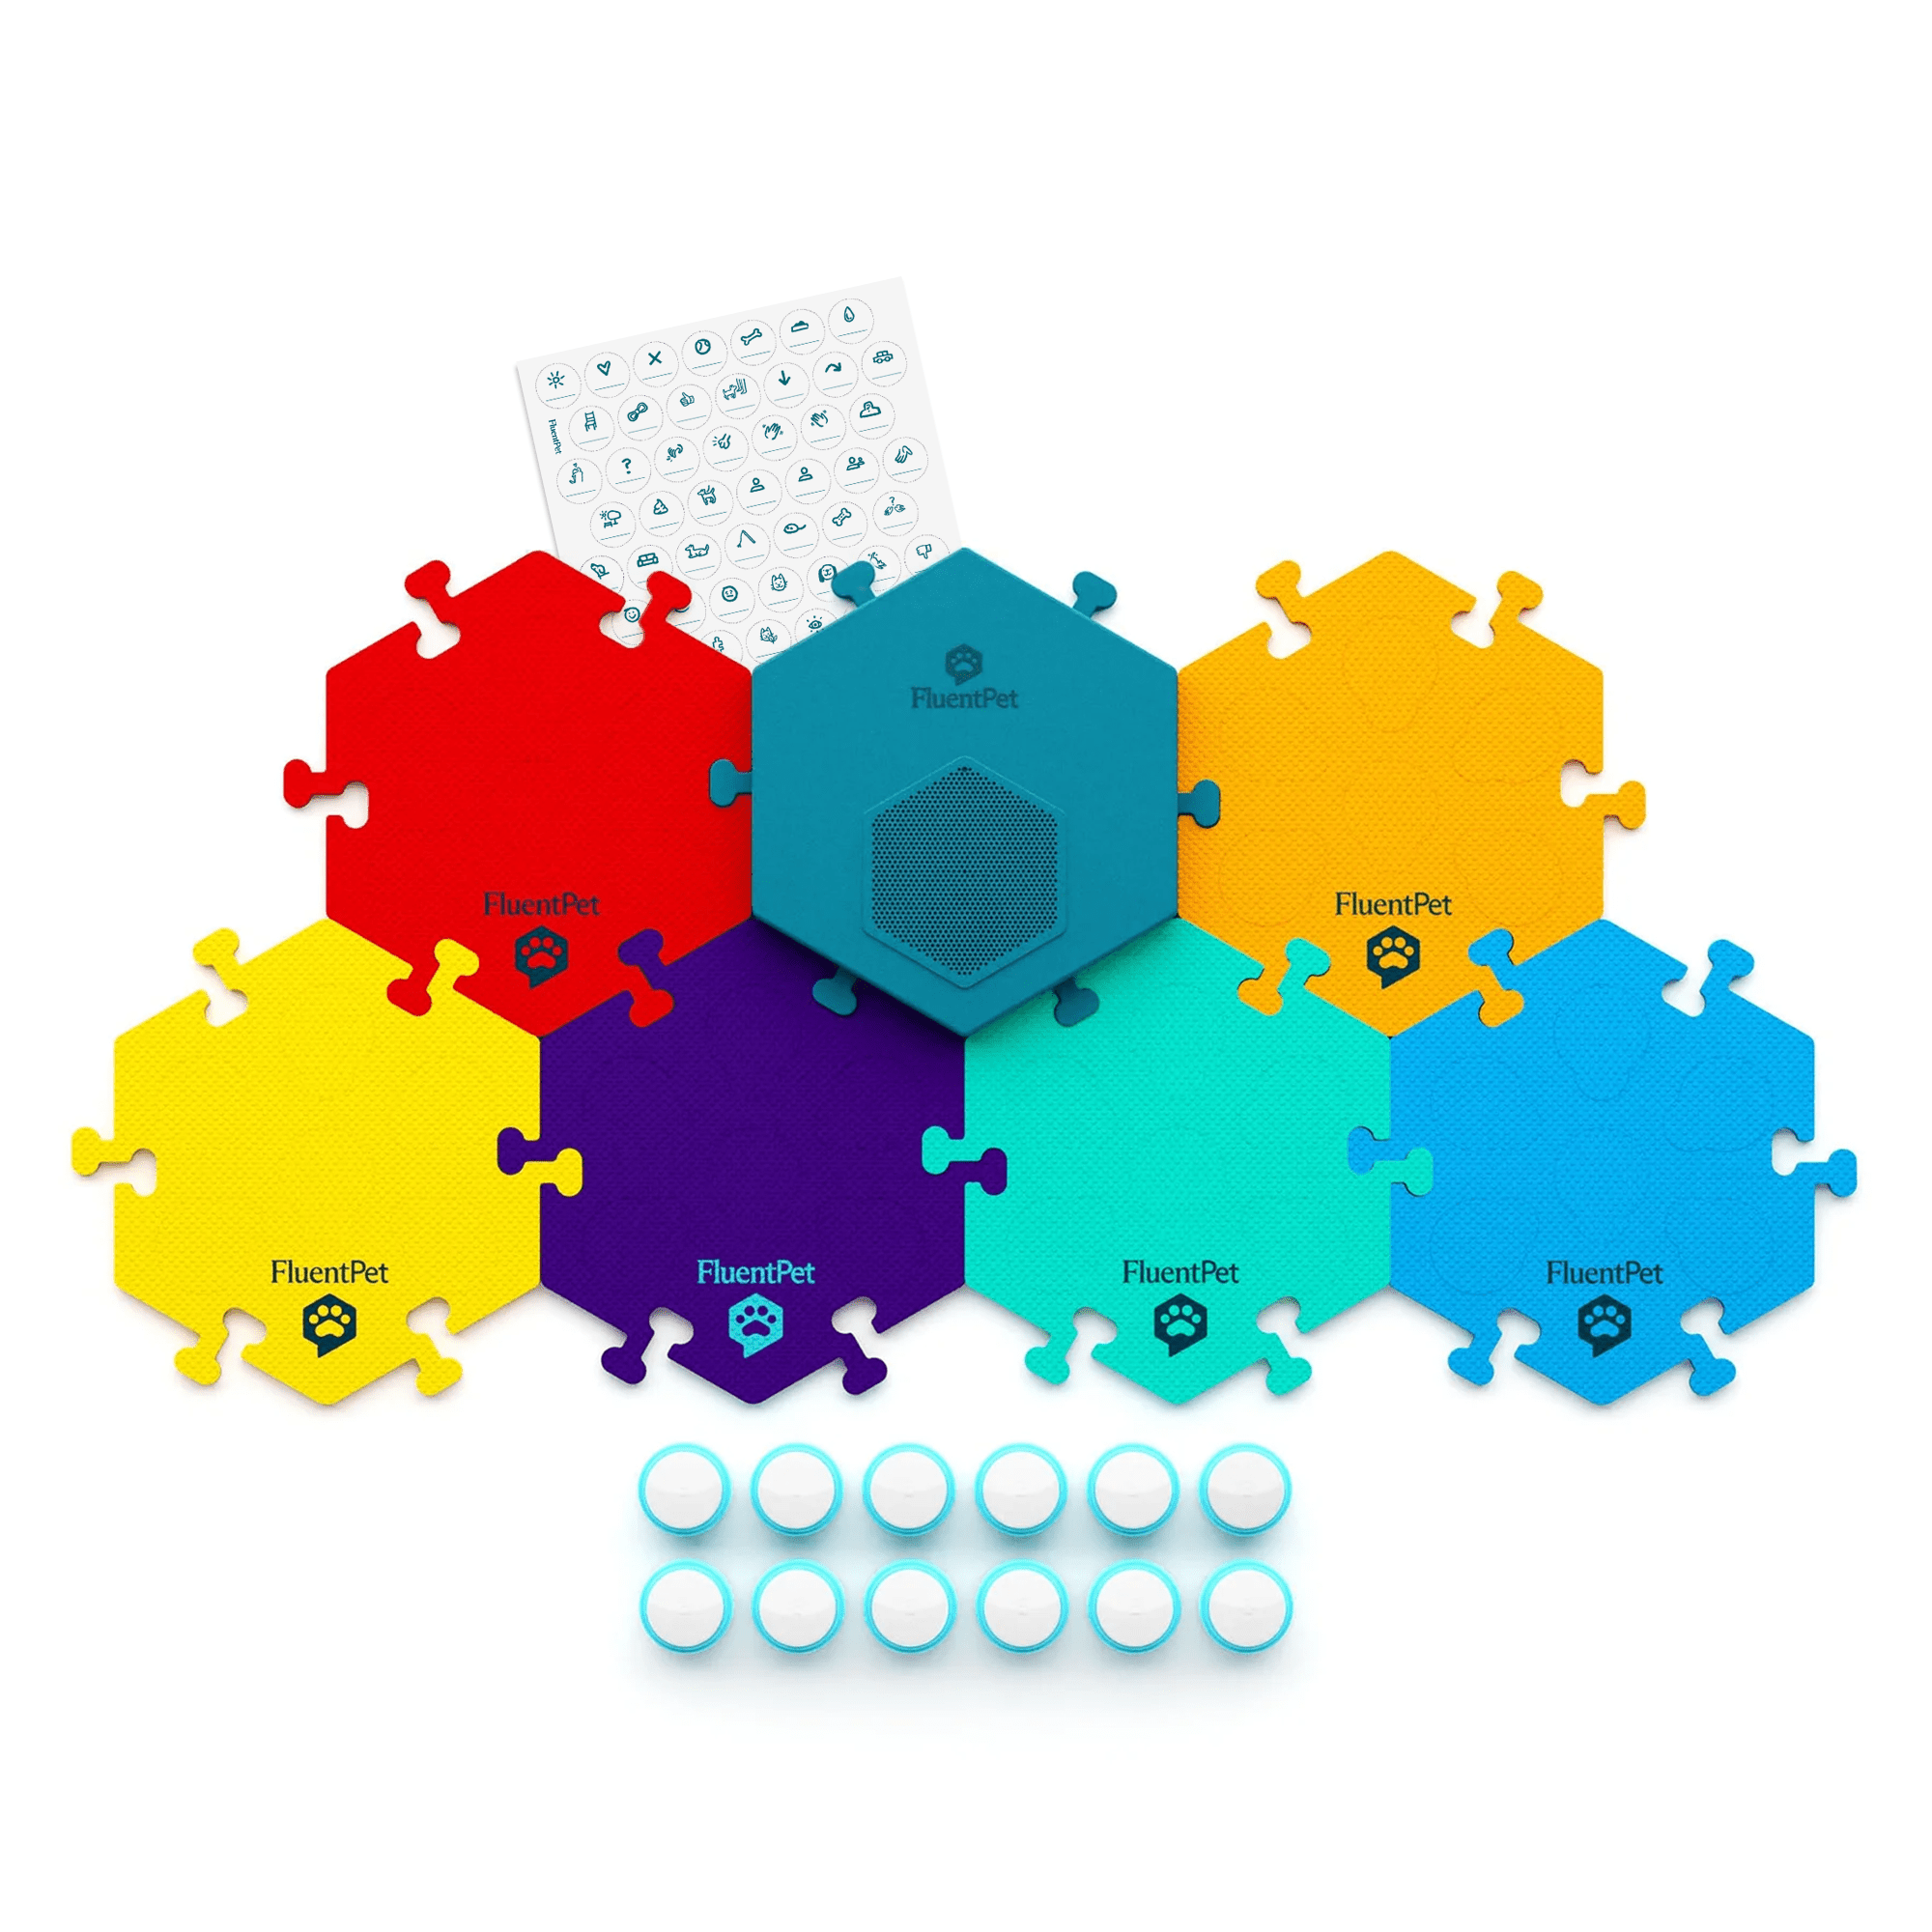
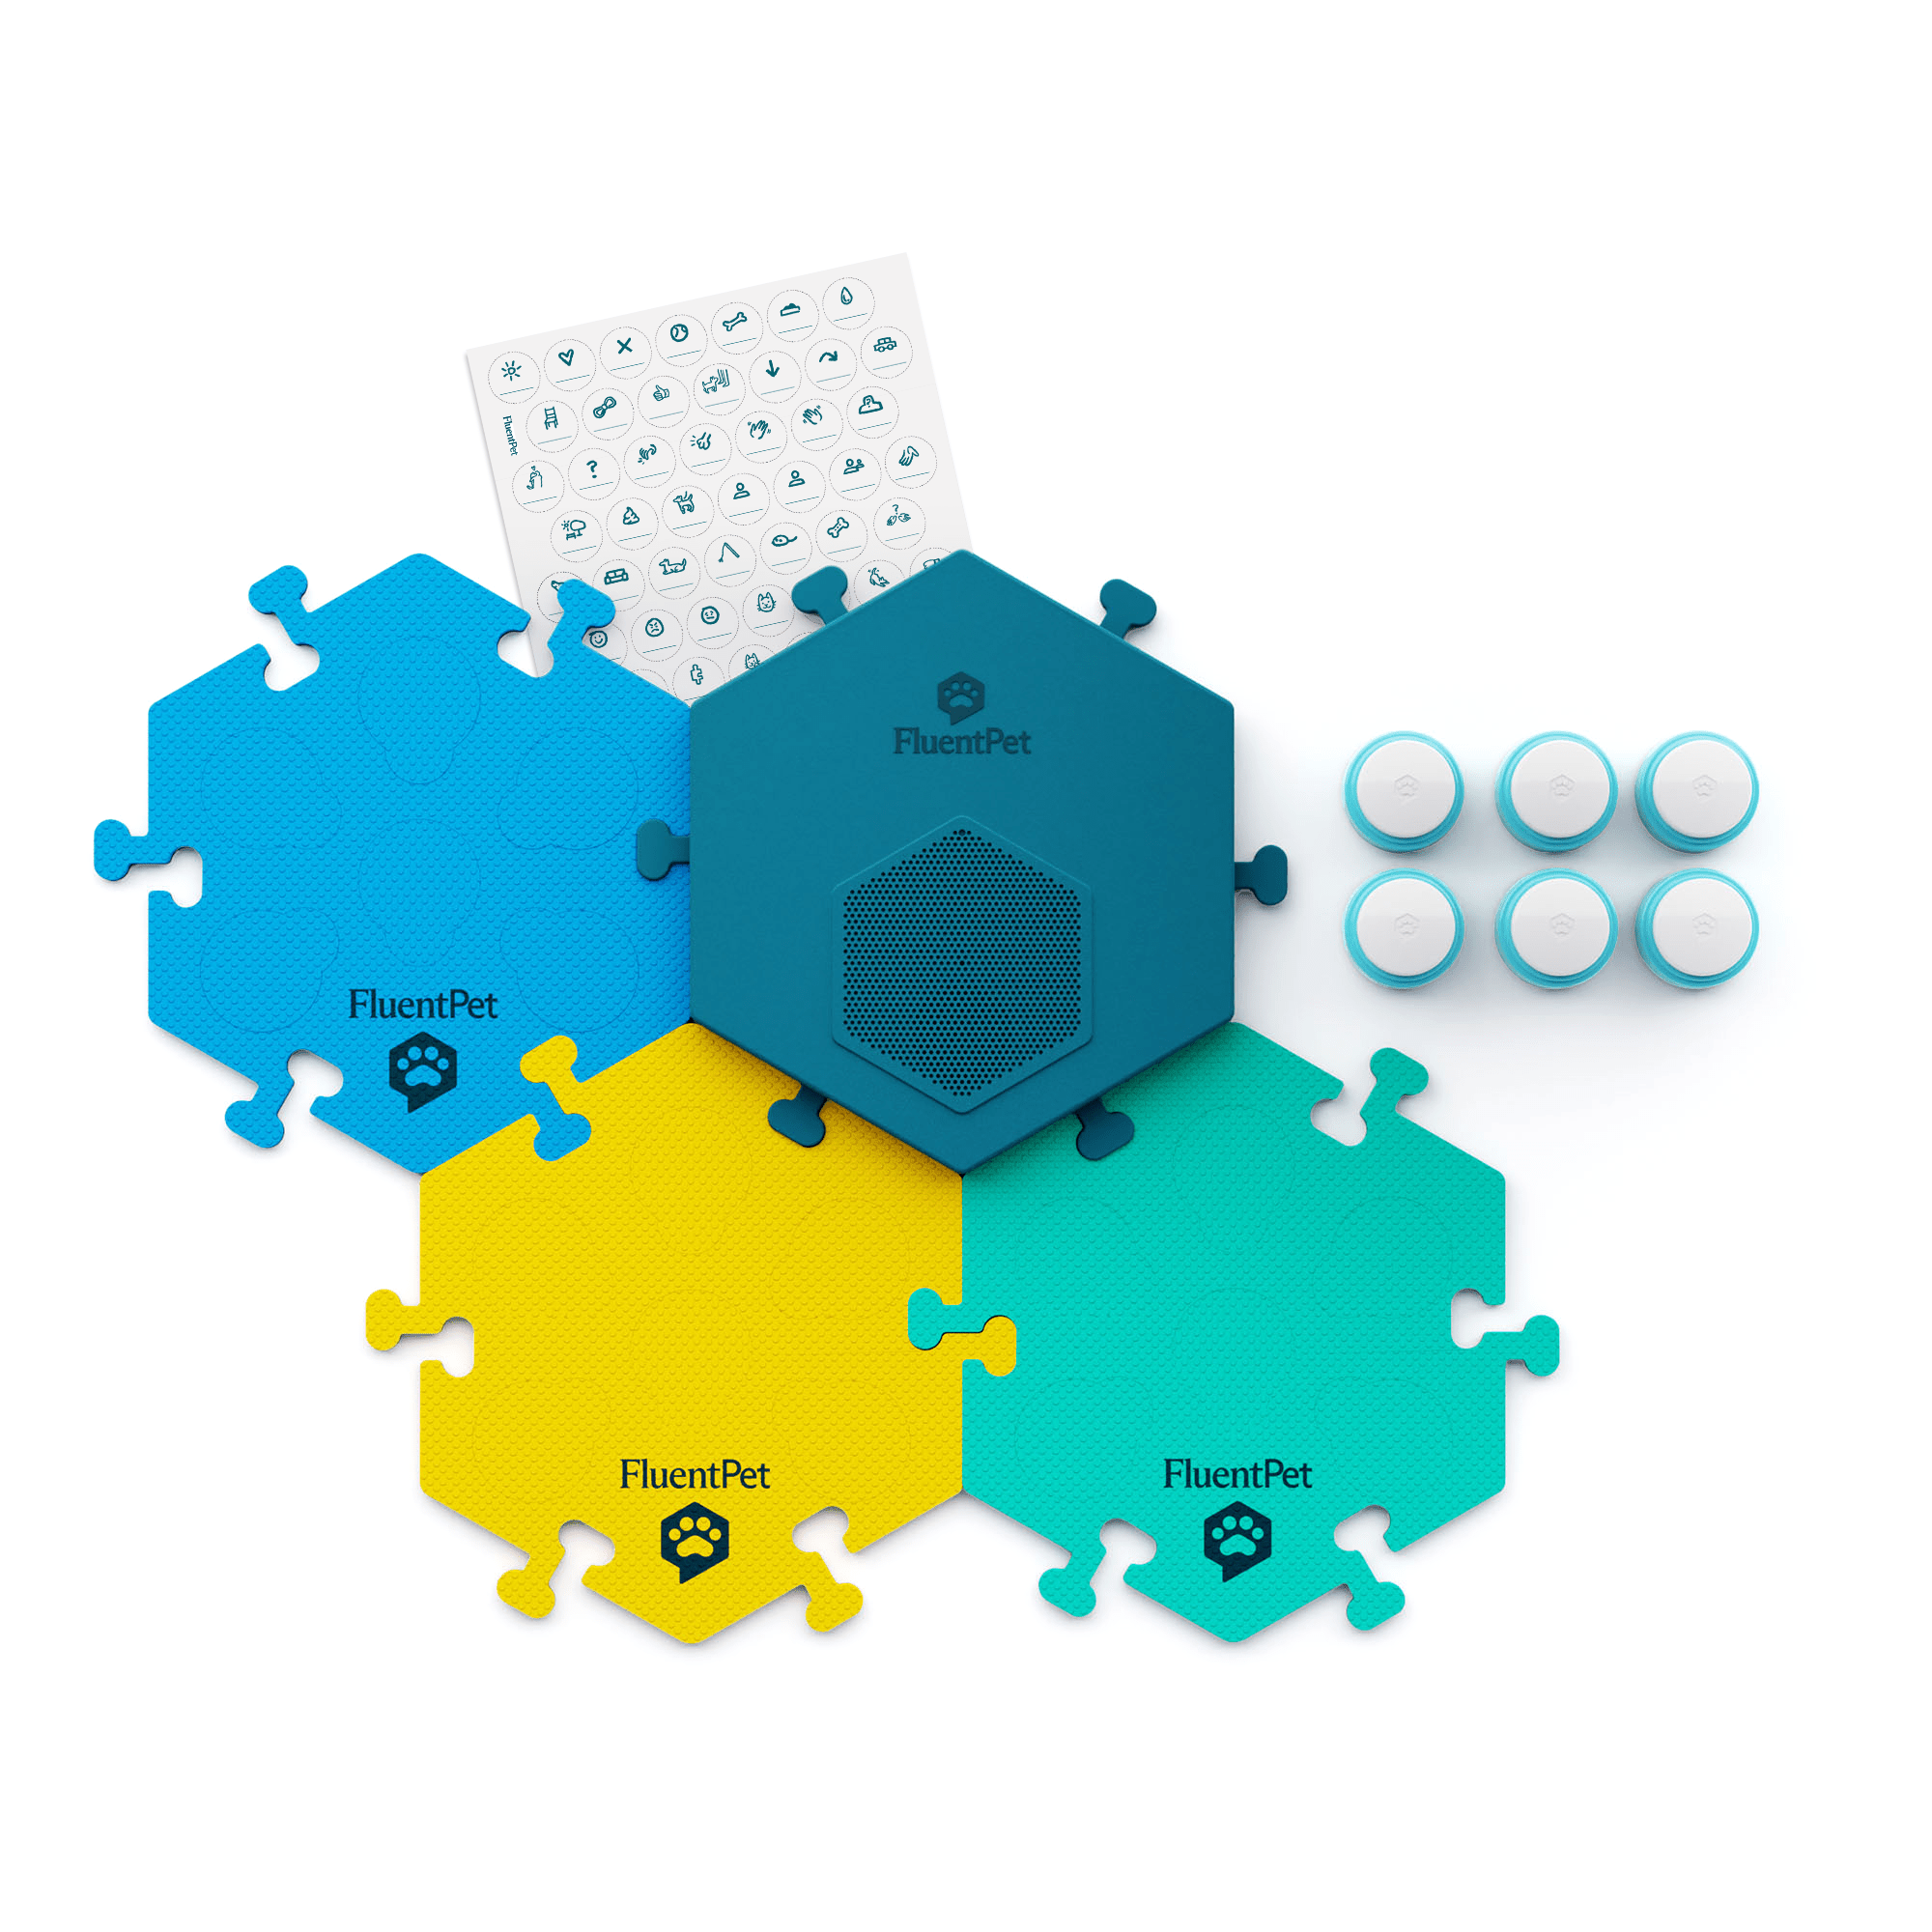
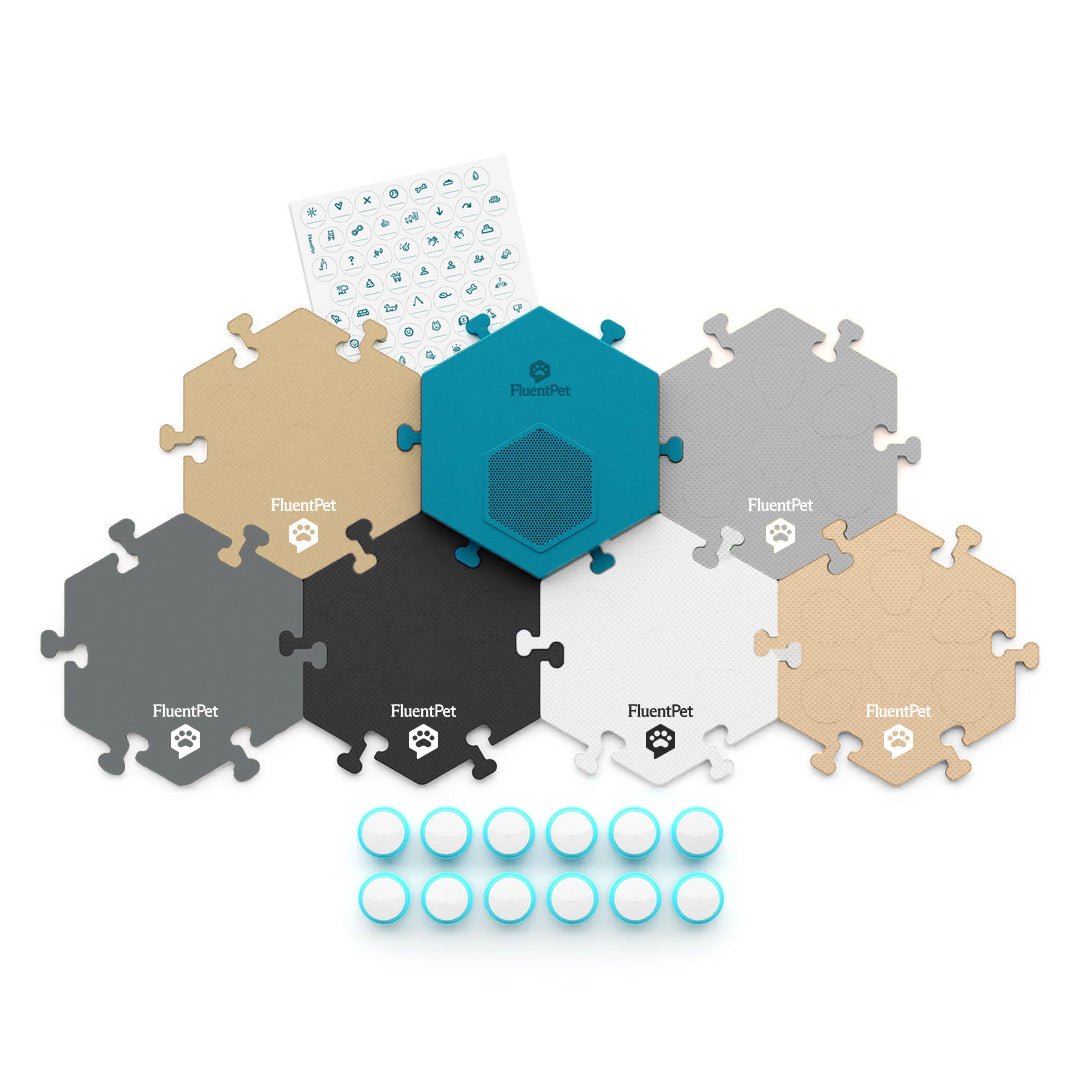
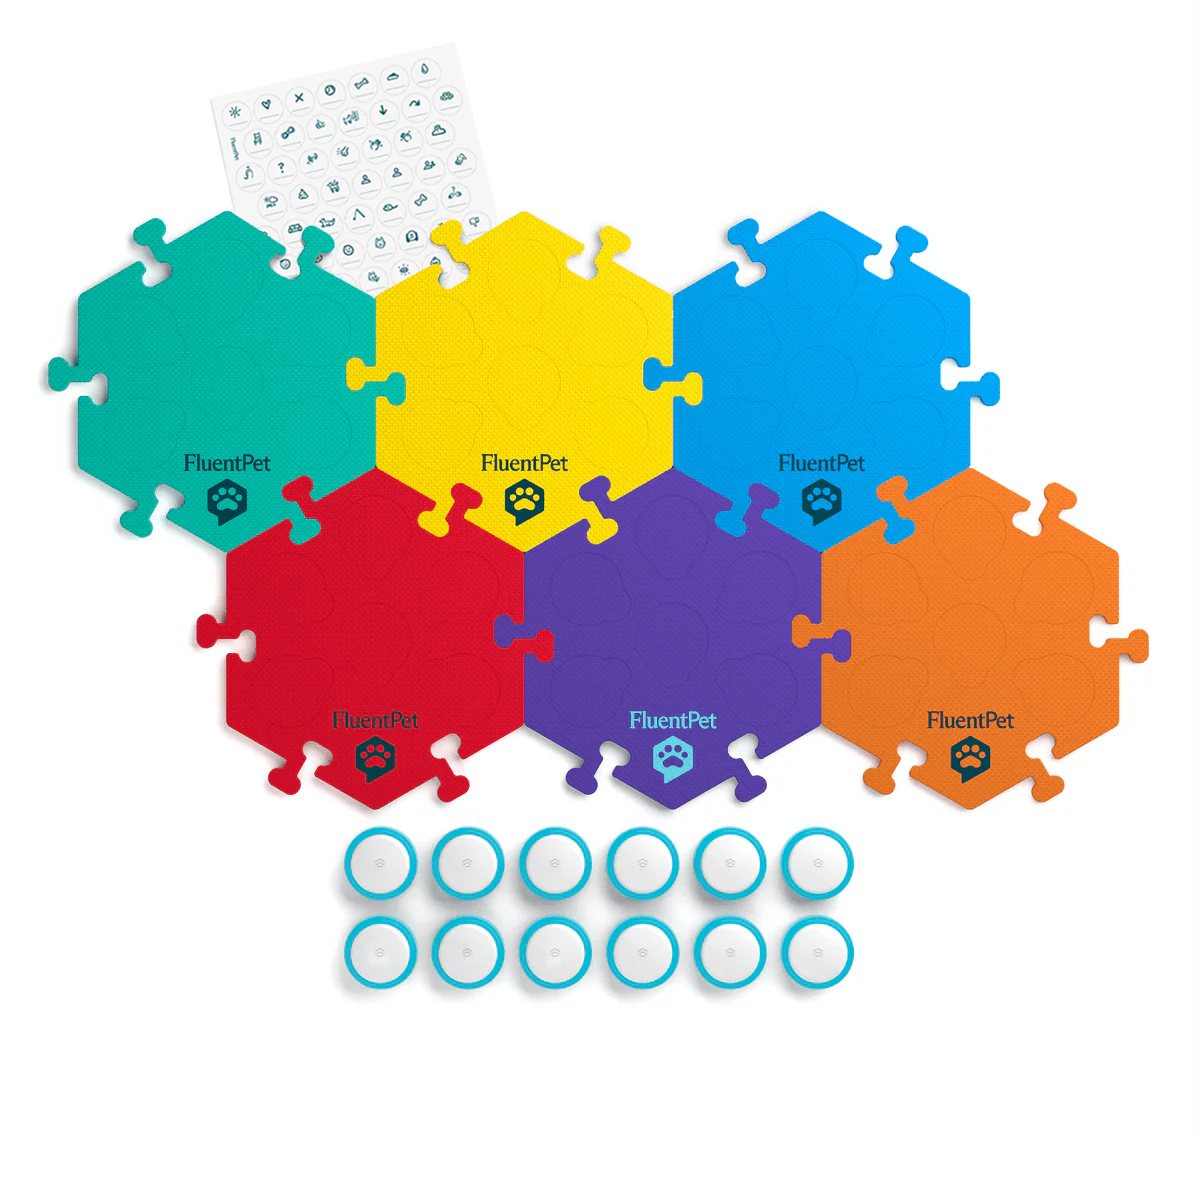
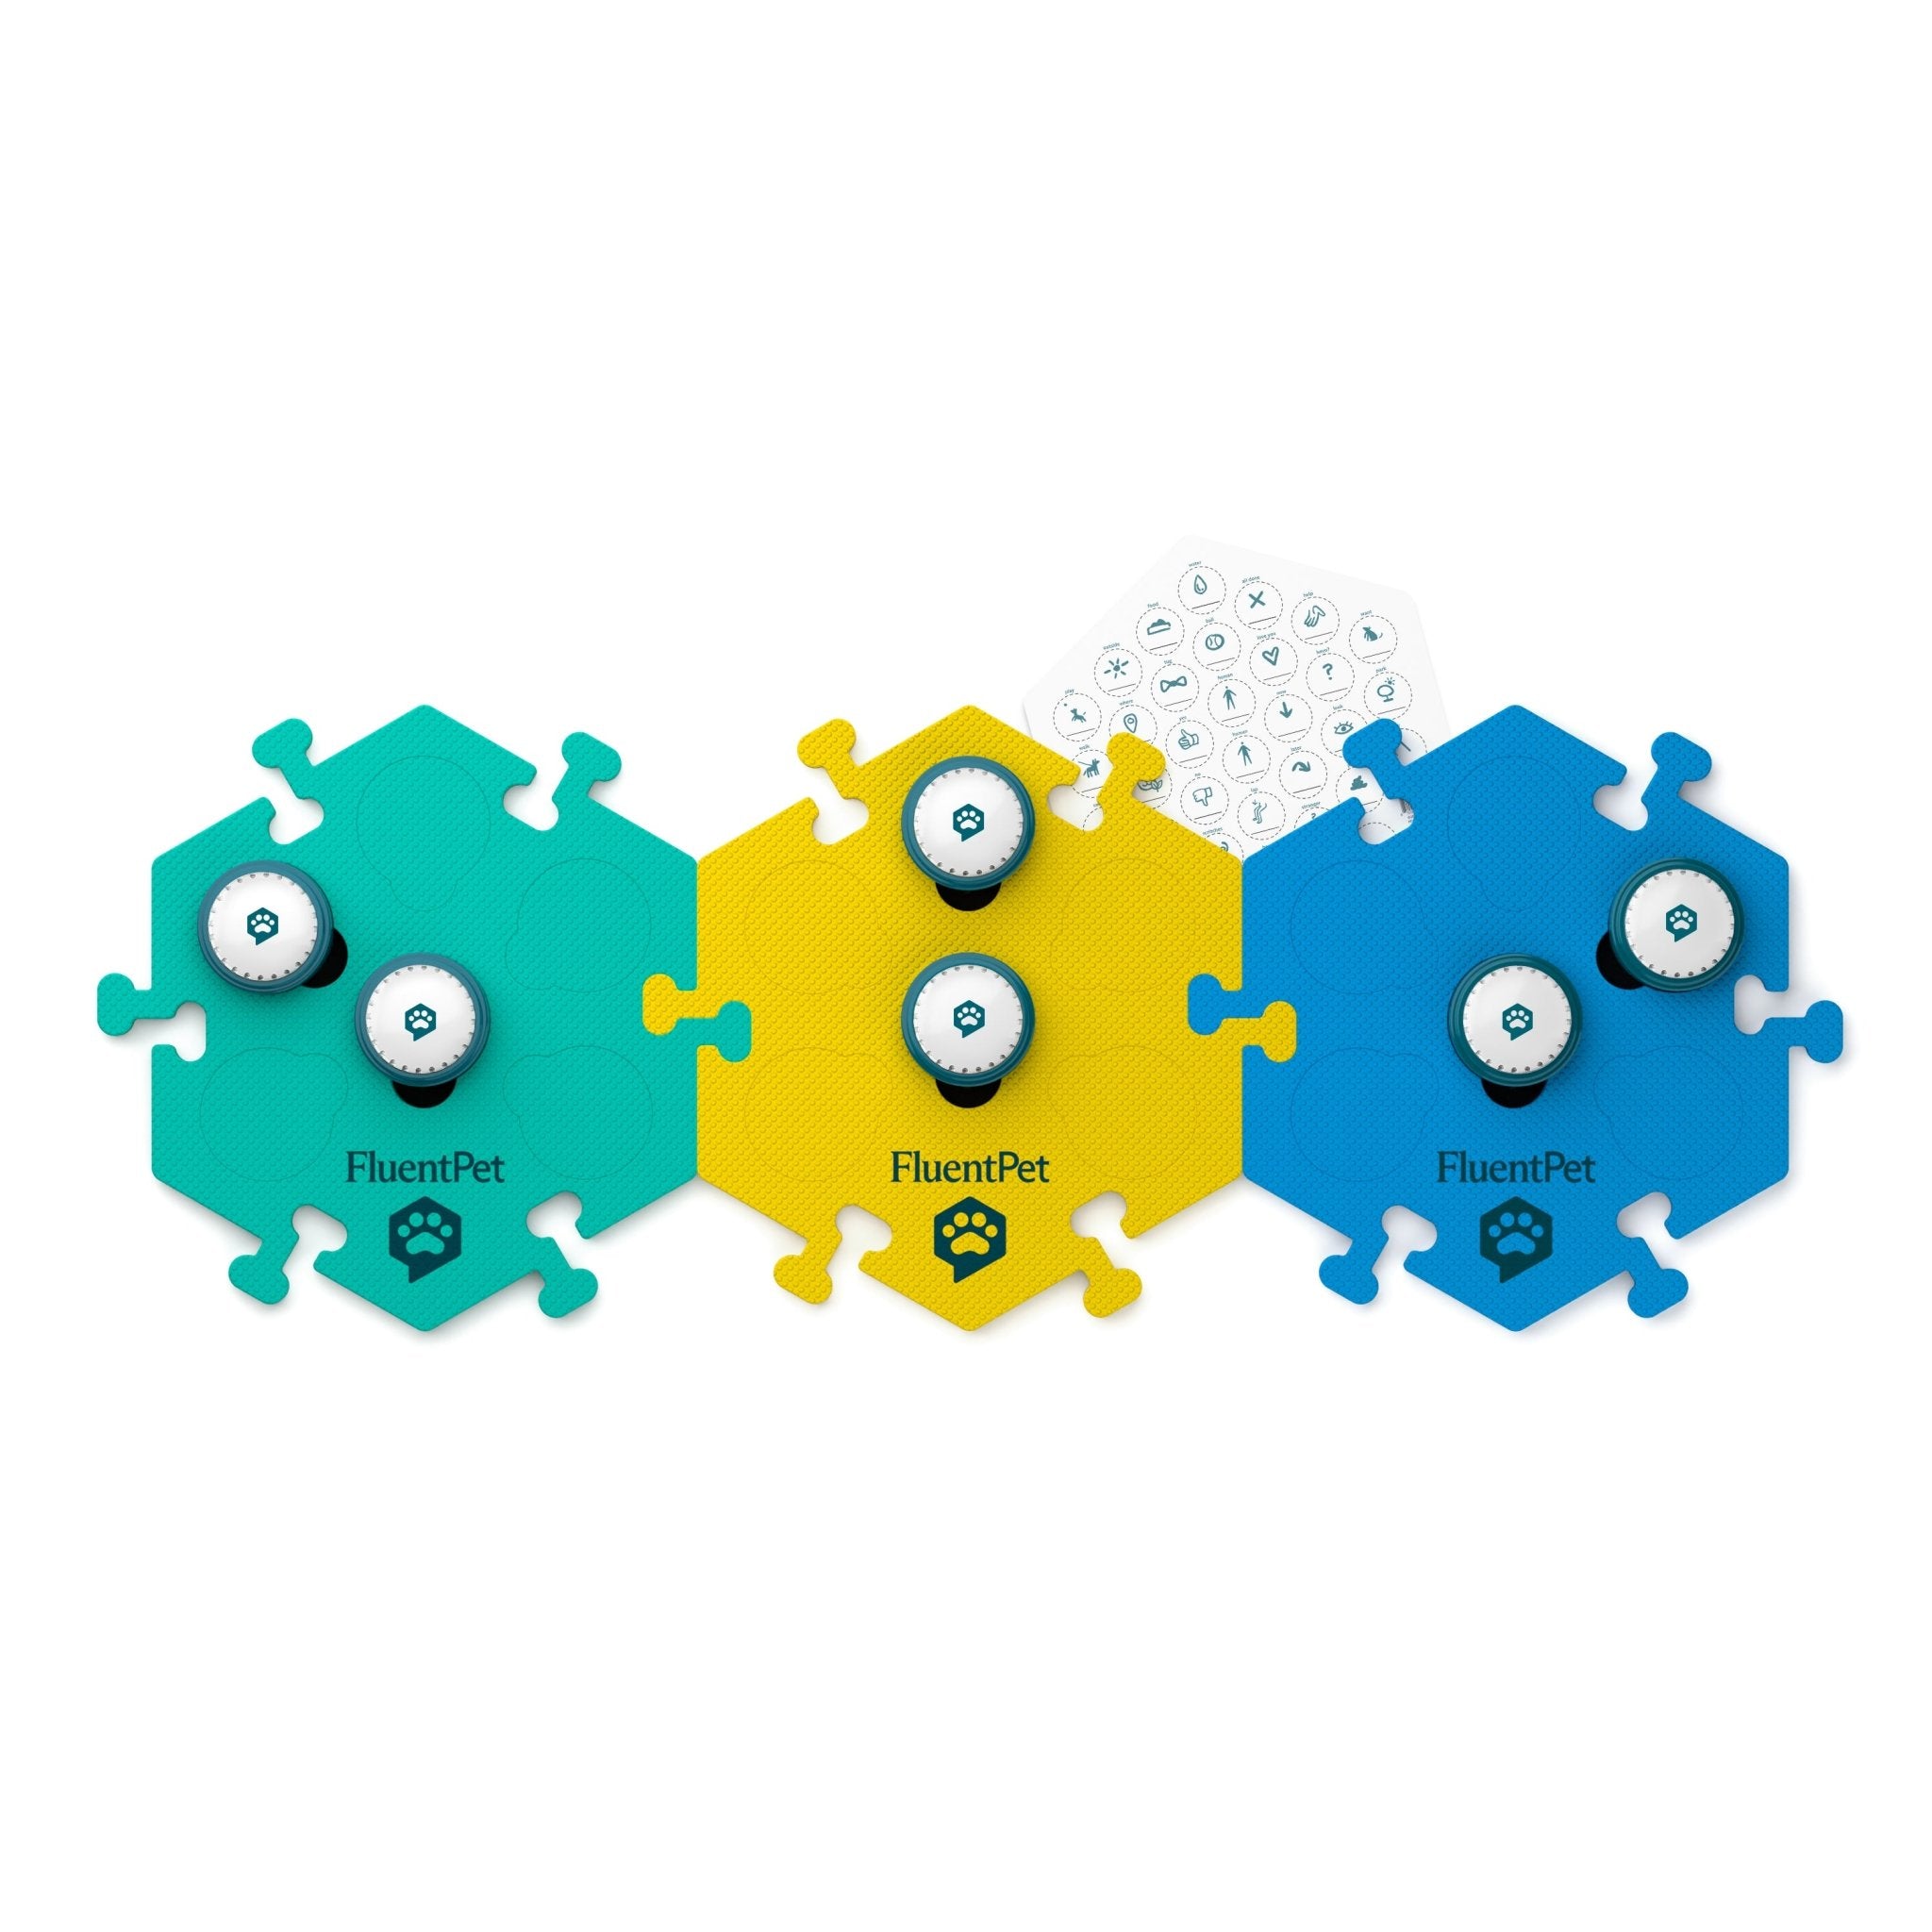
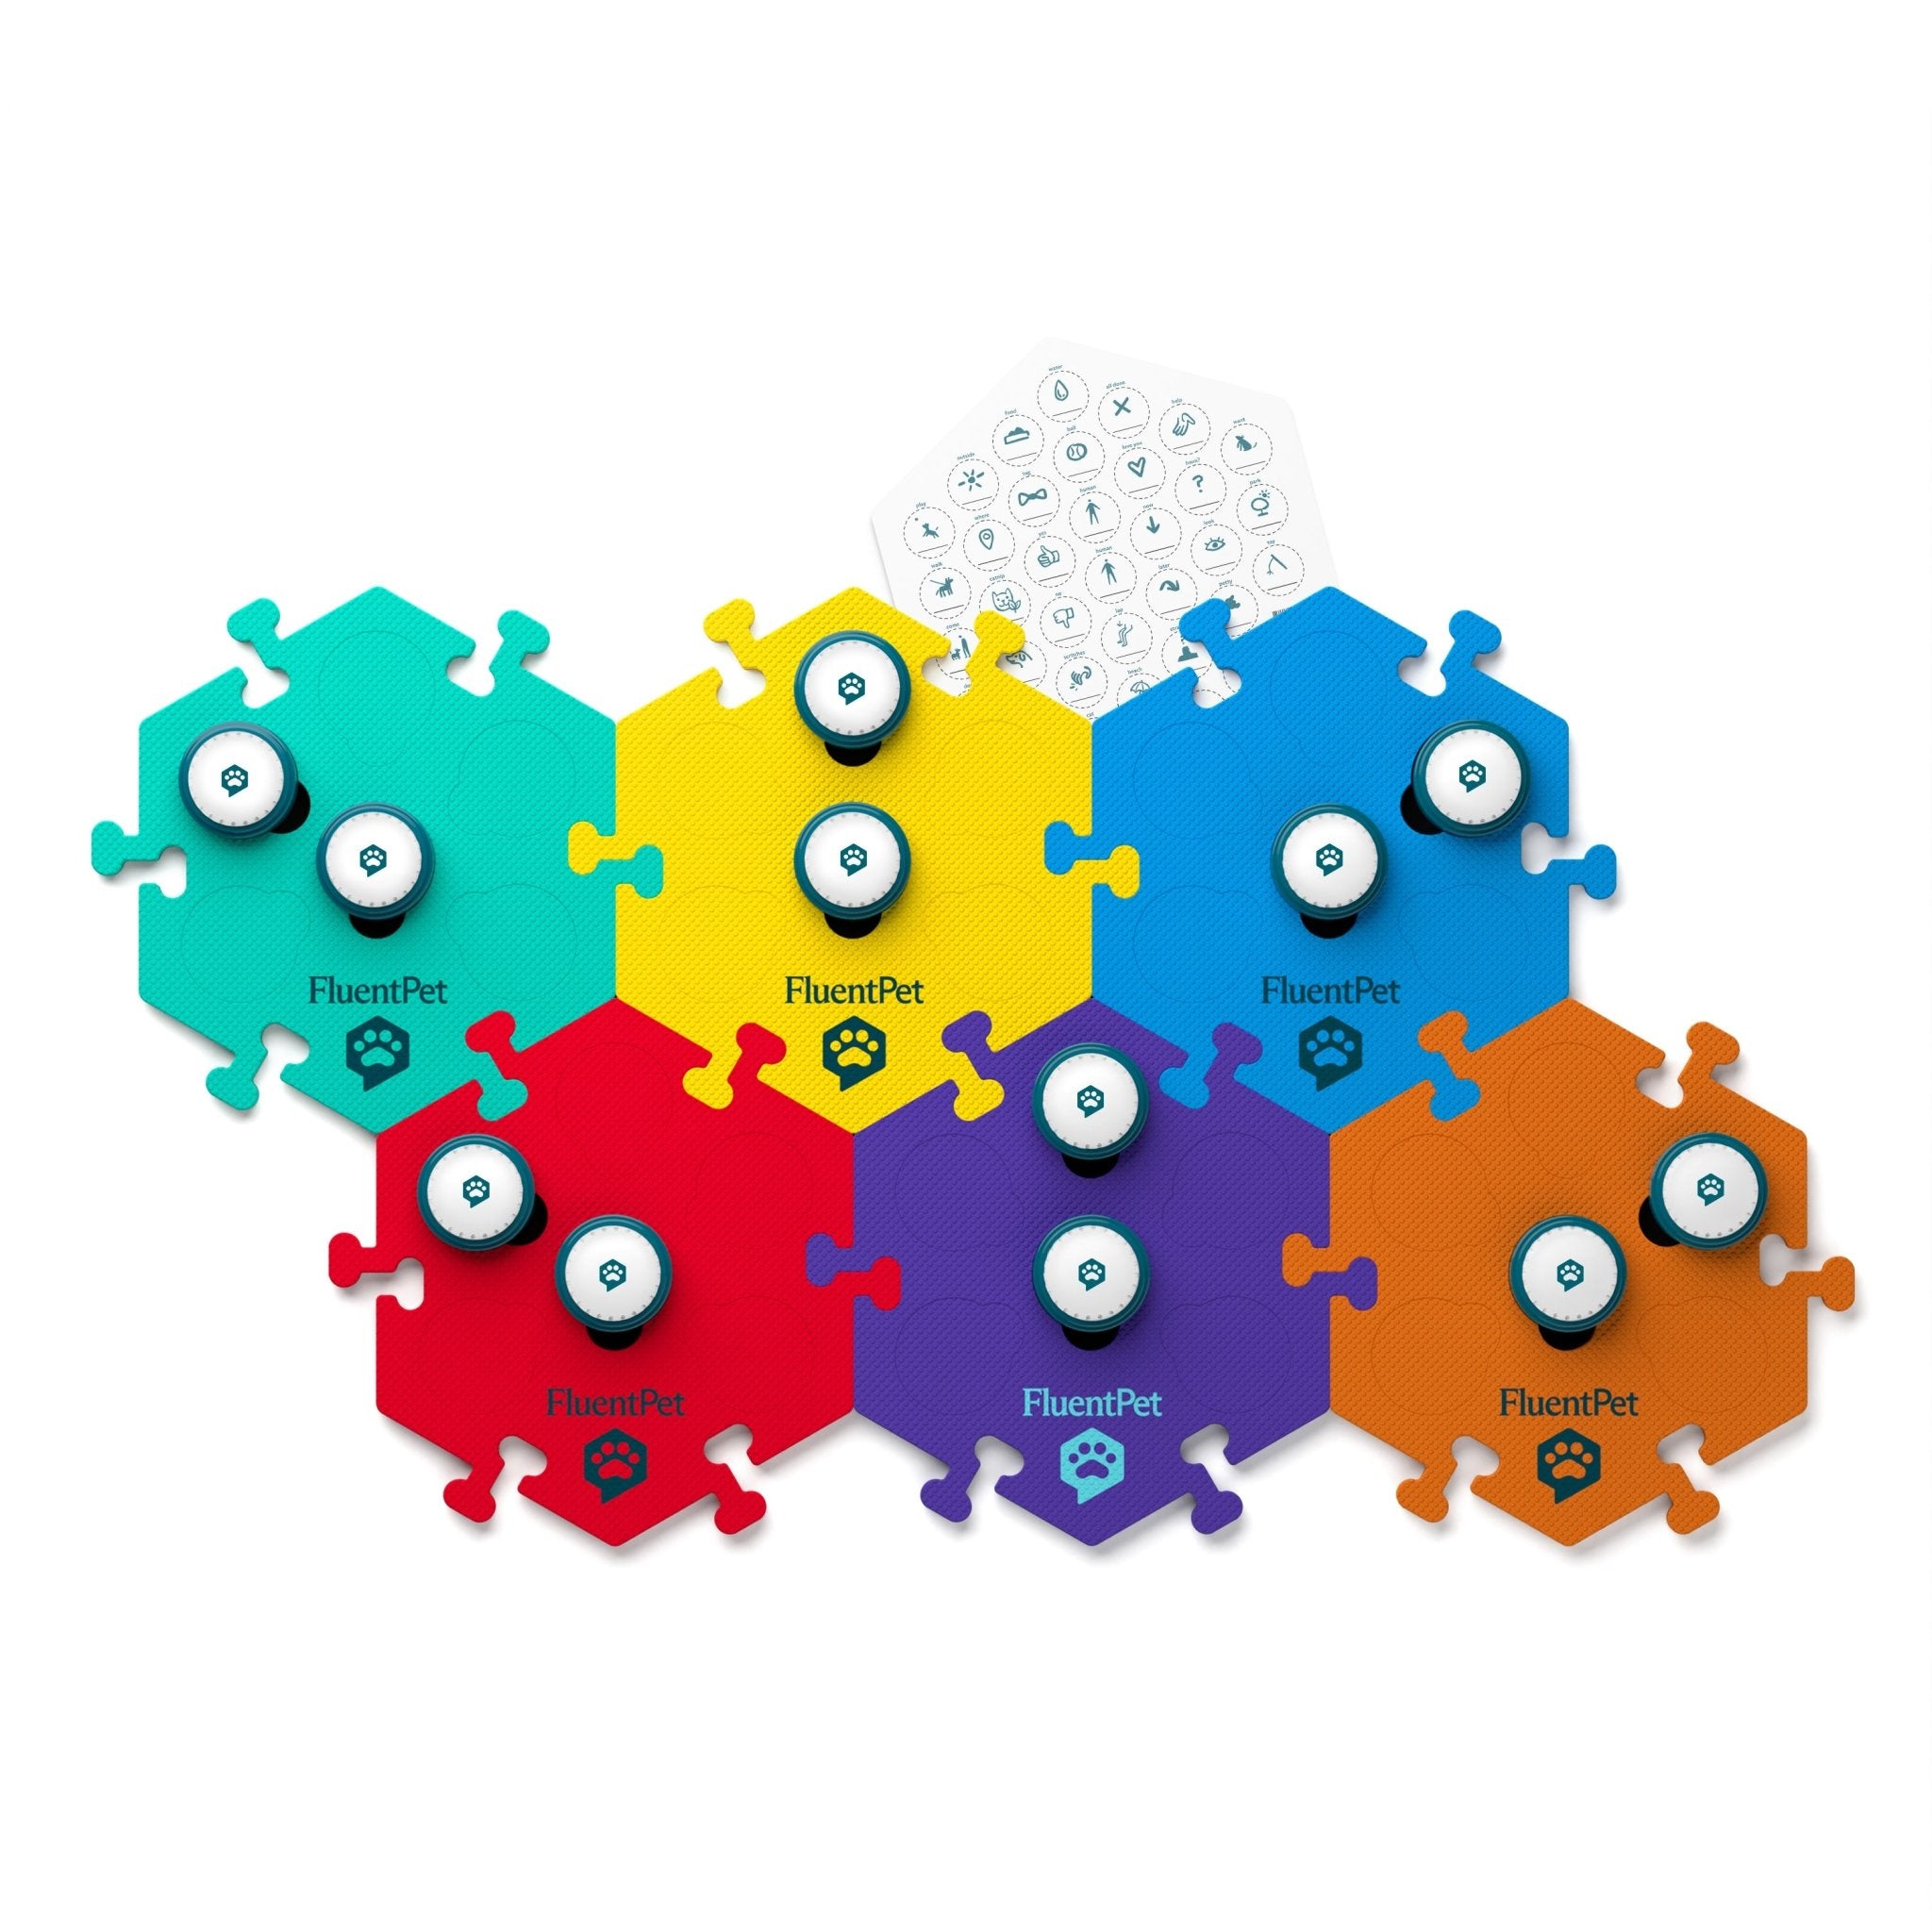
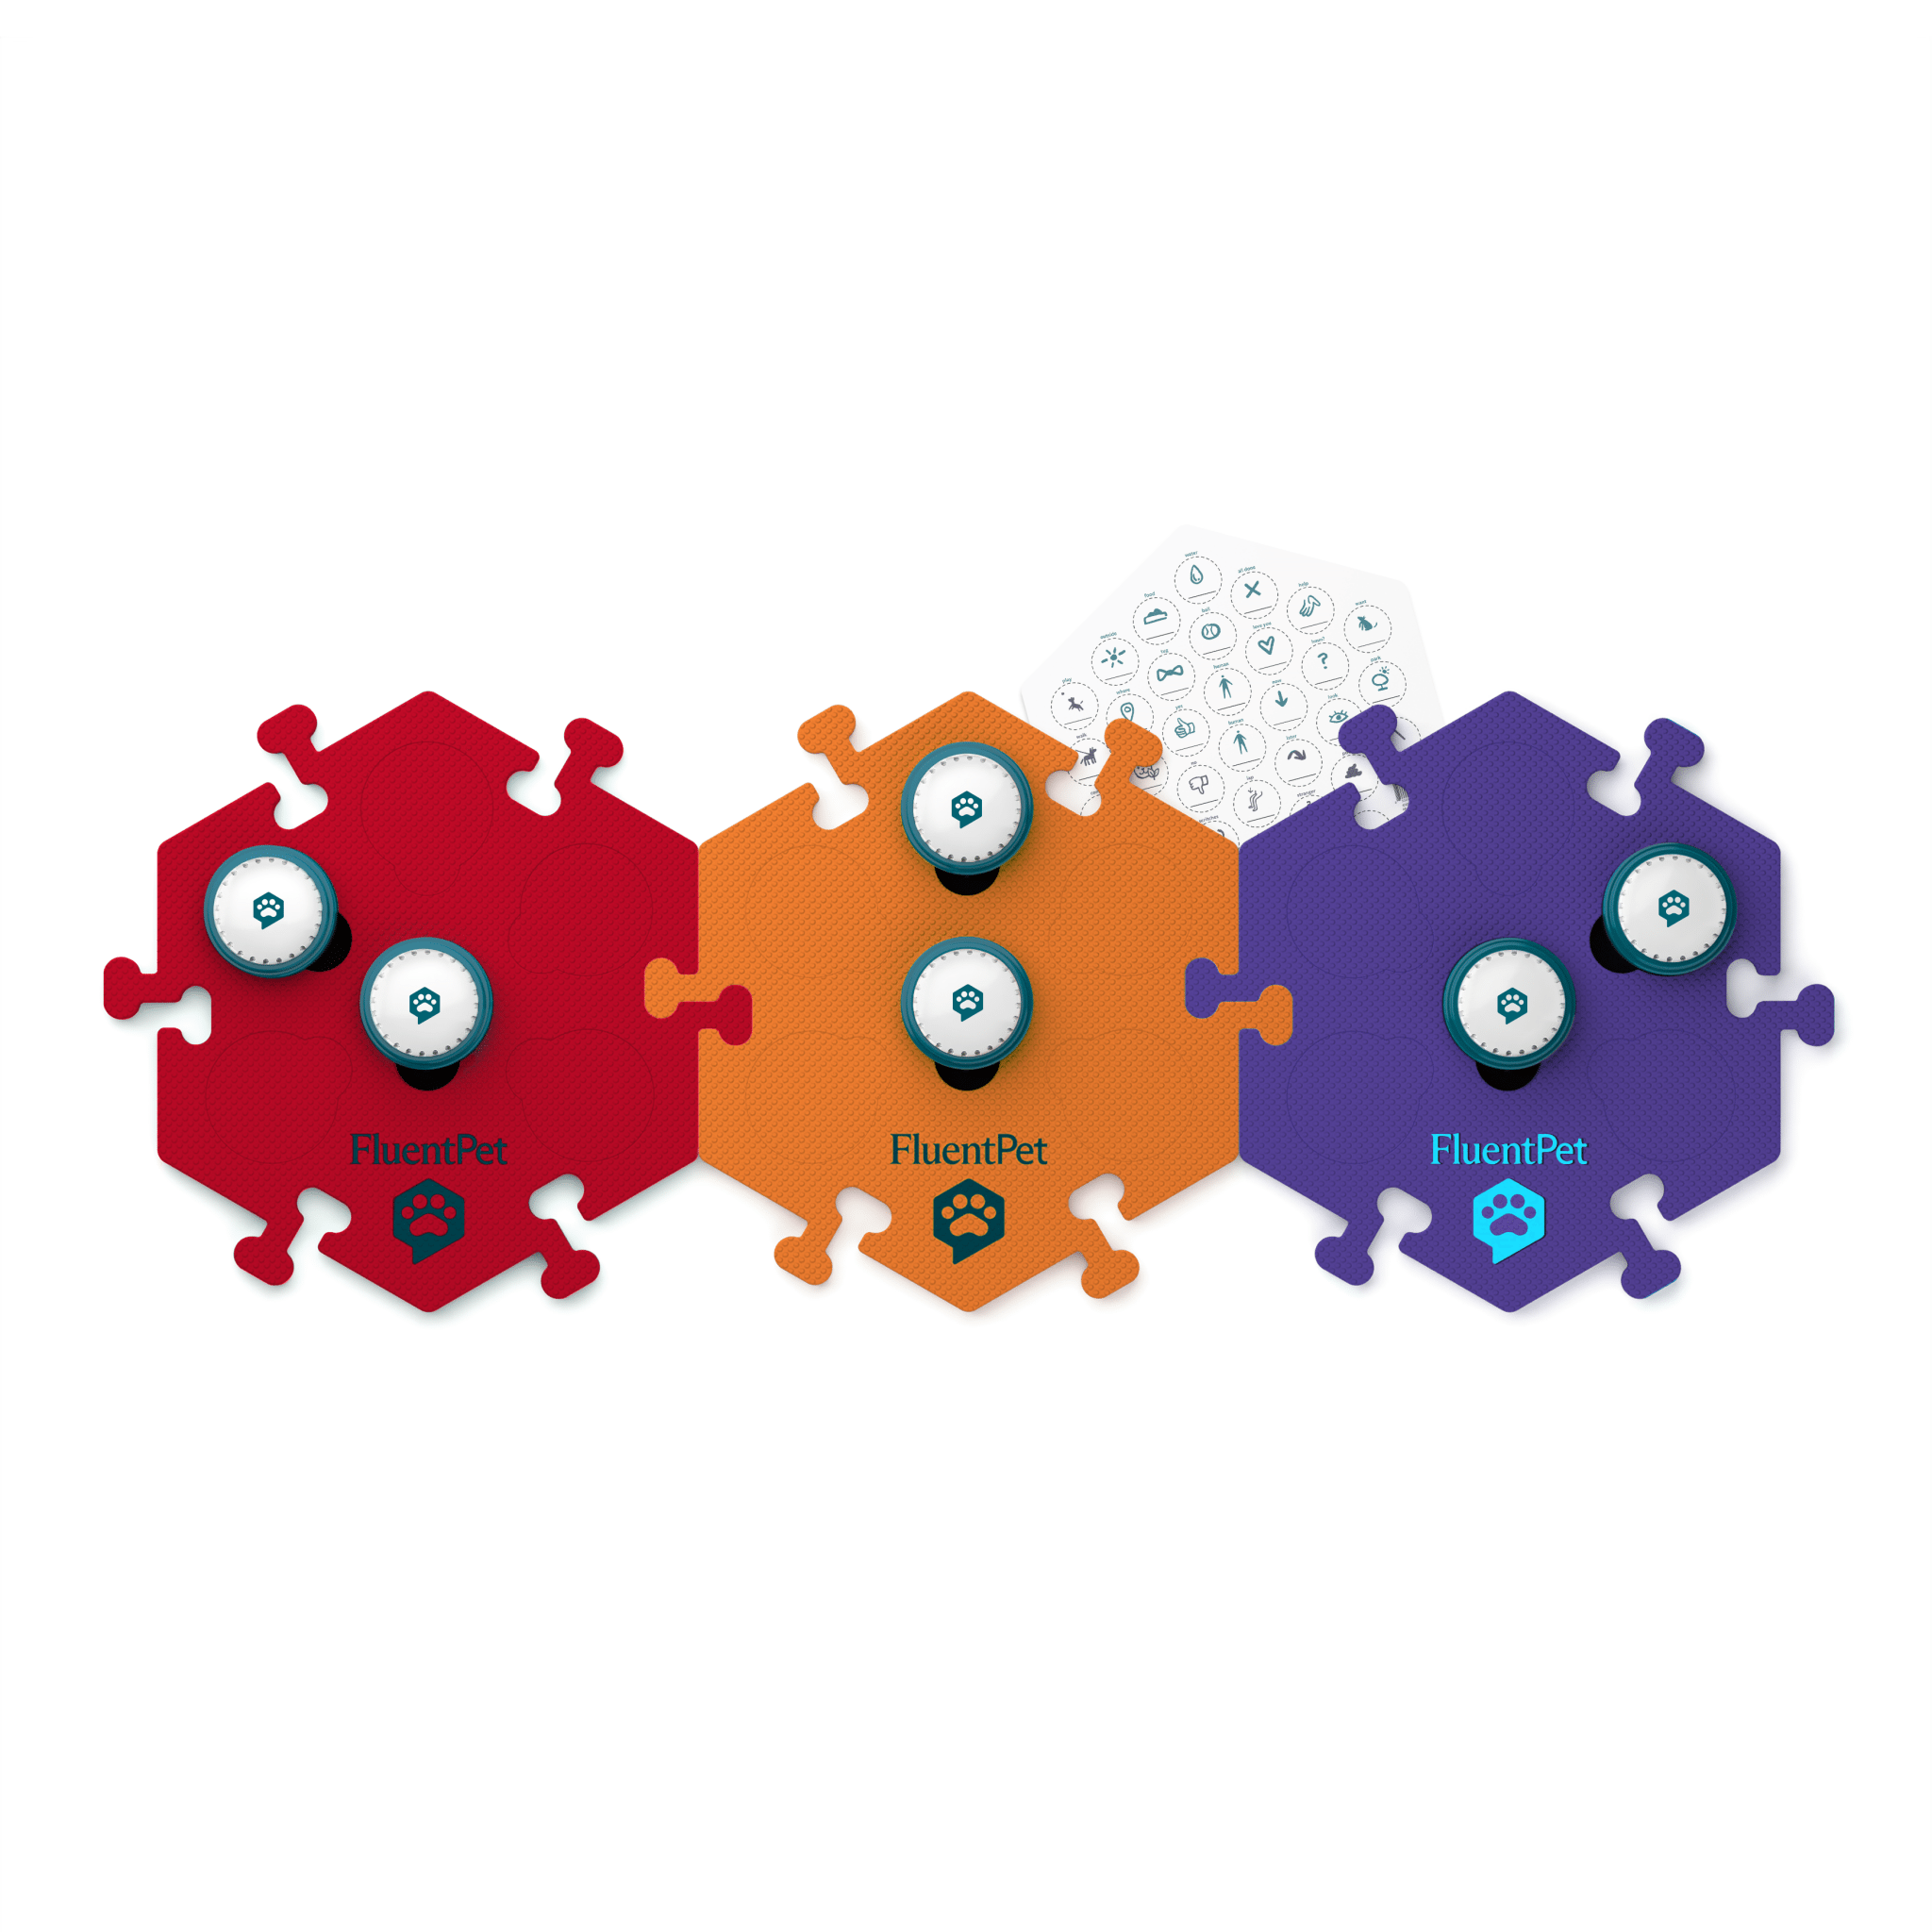
FluentPet uses compact buttons seated in a hexagonal tile grid, which makes word locations easier to learn and remember. It also helps learners efficiently reach the most words possible. Through combined ideas from speech language pathology and cognitive science, we’ve found that the hexagonal arrangement is a great way to grow without compromising button-pressing and learning.
Keep track of your learner’s progress.
We recommend either keeping your own notes to track your learner’s development or to use our FluentPet app (coming soon). Tracking developmental progress is a great way to keep an eye on overall learning trends. You may also even start getting ideas for what new words to add.
You can use the How.TheyCanTalk button progress assessment to identify what stage your learner is at. Whether they’re just starting out with investigating and requesting, or if they’ve progressed into commentary or more conversational button-pressing, you can get a good idea of how to proceed with their growth.
Speak Up! Kits
Frequently Asked Questions
What To Do If Your Learner Is Nervous Or Hesitant About Buttons?
Dogs are very aware of "spatial pressure,” which refers to using the proximity and movement of our bodies to “push” or guide toward a certain behavior. Your learner might be nervous if you’re leaning over them or the buttons while they explore the soundboard, so try taking a few steps back.
Other tips for nervous learners include letting them get used to a blank button or even one that you've taken the batteries out of. Never force your learner to use the buttons. You can always show that they're safe to play with by modeling their use, sitting near them, or even playing with them yourself!
What Do I Do If My Learner Is Too Enthusiastic (Digging At The Buttons, Biting Them, Pressing A Lot During Work Calls, Etc.)?
If your learner is really rough with your buttons, you can work on a combination of target training and redirection. When target training for this reason, make sure you’re only rewarding appropriate button presses (so they don’t get a reward for throwing the button around or biting it, only for pressing it with their paw or nose in a semi-gentle manner).
If your learner starts to be too rough with the buttons, step in and redirect them to an appropriate toy/behavior and make sure to model that, too. You want to make sure they still want to use the buttons, so try not to jump in and redirect them away from the buttons too early.
An example: Your learner goes over to sniff the board. Keep an eye on them, but leave them to it. But when they start digging roughly at the board, go over, get their attention, press “PLAY” and then hand them an appropriate chew toy (or maybe play tug).
If your learner is just super enthusiastic and pressing lots of buttons, don’t take their buttons away! Add an “ALL-DONE,” “LATER,” or similar button and use that to enforce boundaries. If your learner is trying to bug you, tell them they’re all done or that you’ll interact with them later (you can always model verbally, though modeling with buttons is even better).
What Do I Do If My Learner Was Doing Well But Then Stopped Using Buttons?
Be patient and continue modeling.
Changes such as moving your soundboard, consolidating buttons, or learners getting sick/injured can slow down your learner’s progress or even take it backwards. Every learner is different, and while some may take a few days to bounce back, others may take weeks.
Even if you haven’t made any recent changes, it’s okay. These things go in cycles with many learners going through quiet periods and then starting to talk again.
Keep paying attention to body language cues or other forms of communication. Give your learner a chance to use their buttons (do a slow count to 10), but then go ahead and model the buttons and continue on with the activity.
How Do I Handle Multiple Learners / One Learner Seems To Dominate The Soundboard?
It seems like every learner goes at a different pace. This means that in multi-learner households, you’ll generally have at least one learner who is faster than another. The general consensus is that you don’t want to hold back your fastest learner. So add words at the pace of your fastest learner.
If one of your other learners seems to be frustrated by too many buttons, you can always create a second, smaller soundboard to the side for that learner.
If you have one learner who is pushy or protective of the buttons, you might also want to create separate boards for your learners or you can try to make sure that the other learners get time alone with you and the soundboard without your pushier learner around.
What If I Didn't Hear Or Understand A Button Press?
First, go ahead and respond as well as you can based on what you did hear. Pay attention to your learner’s response: do they act confused or refuse to respond? You may have gotten it wrong. Do they happily go towards the thing? That may have been it.
You can also ask your learner to repeat (“say that again?”) and, if they do, respond to those new presses. If they don’t or aren’t interested, respond as well as you can to the first press and pay attention to your learner’s response.
If it’s a common problem, it might be worth it to consider getting a camera. Depending on what camera you get, you can then go back and check what was pressed (as well as other context clues and details you may have missed the first time).

